
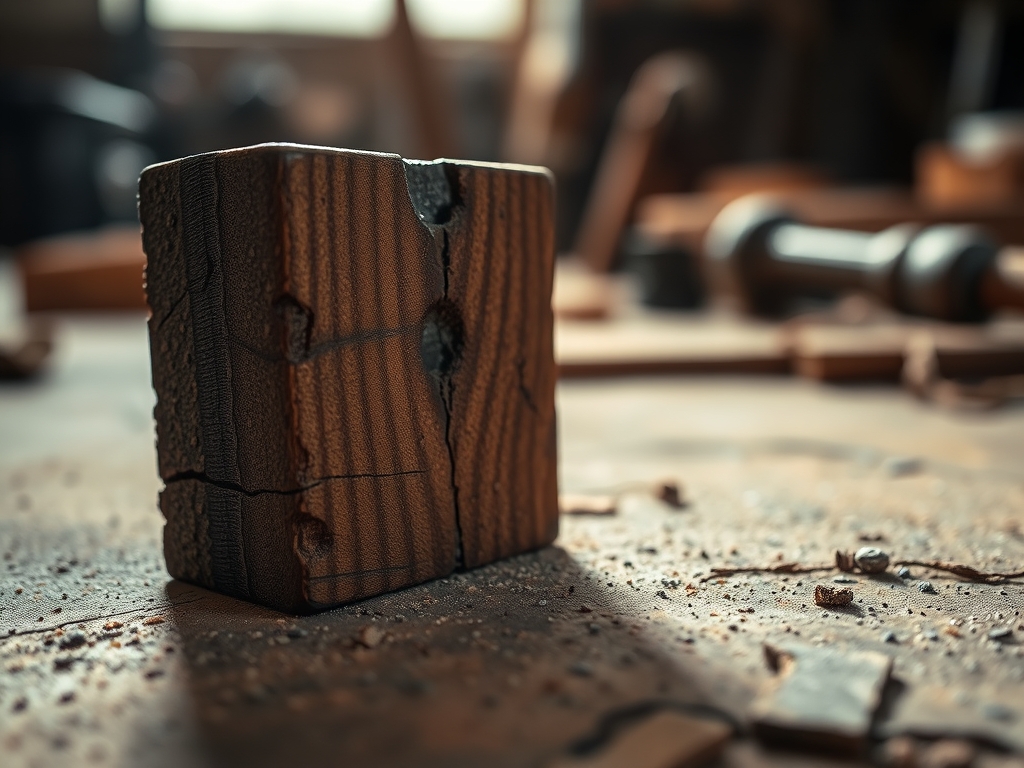
The smell of freshly milled black walnut is basically my version of expensive perfume. It is earthy, sweet, and slightly spicy; it fills the studio the second I start thicknessing the boards to a uniform gauge. When you are staring down a massive assembly, the clock becomes your biggest rival. You have to master Advanced Glue Up Strategies to ensure your joints remain seamless before the adhesive begins its initial skin-over. If you hesitate for even ninety seconds, the surface tension of the polyvinyl acetate starts to shift, and you are left with a messy, weak bond. I love the feeling of running my thumb over a perfectly planed edge. It is smooth but possesses just enough "tooth" for the fibers to interlock. We are talking about microscopic physics here; we are manipulating the cellulose structure of the timber to create a chemical and mechanical bond that is stronger than the wood itself. Grab your coffee and let us get into the grit of how I manage the pressure of the ticking clock.
THE STUDIO KIT
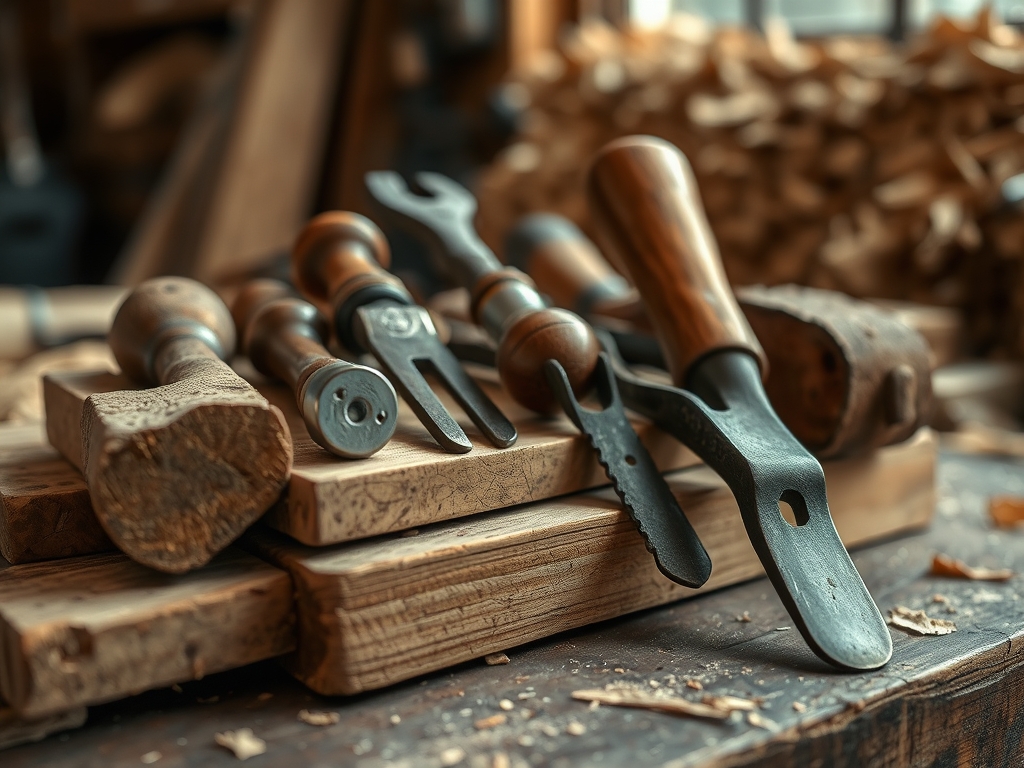
To survive a high-stakes assembly, your workbench needs to look like a surgical suite. I rely on digital calipers to verify that my tenons are within a 0.005-inch tolerance; anything looser and the tensile strength of the joint plummets. You will need a high-quality PVA adhesive with an extended open time, especially if you are working in a low-humidity environment where moisture evaporates rapidly. My "must-haves" include a set of parallel jaw clamps for even pressure distribution and a silicone spreader to ensure a uniform film thickness. For Material Substitutions, if you cannot find traditional hide glue for a vintage restoration, a high-viscosity synthetic resin works wonders, though it lacks the reversible thermoplastic properties of the original. I also keep a burnishing tool nearby to compress any stray fibers. If you are working with recycled pallet wood instead of premium hardwoods, remember that the porosity will be wildly inconsistent. You might need to "size" the end grain with a diluted glue mixture first to prevent the joint from starving.
THE TEMPO
Managing the "Maker's Rhythm" is all about understanding the viscosity of your materials versus the speed of your hands. I break my projects into three distinct zones: the Dry Fit, the Chaos Window, and the Cure. The Dry Fit takes about forty percent of my total time. This is where I use a marking awl to check every alignment point. If it does not slide together with a gentle tap from a dead-blow mallet now, it definitely won't when it is wet. The Chaos Window is the actual application of the glue; this is a high-octane ten-minute sprint where capillary action is your best friend and your worst enemy. Finally, the Cure is the twenty-four-hour period where the molecular chains link up. I never rush this. Even if the bottle says "sets in thirty minutes," the structural integrity of the lignin requires a full day to stabilize against ambient shifts in temperature and humidity.
THE CORE METHOD
1. The Pre-Assembly Scuff
Before a single drop of glue hits the wood, I use a high-grit abrasive to lightly scuff the mating surfaces. This increases the total surface area available for the chemical bond.
Mastery Tip: By increasing the microscopic surface area, you are enhancing the mechanical keying of the adhesive. This prevents "glue-starved" joints where the liquid simply sits on top of the fibers rather than penetrating the tracheids of the wood.
2. The Strategic Spread
I apply the adhesive in a "snake" pattern before using a notched spreader to level it. You want a translucent film, not a thick puddle.
Mastery Tip: If the layer is too thick, the glue acts as a lubricant, causing the parts to "hydroplane" out of alignment. Maintaining a specific micron thickness ensures that the clamping pressure forces the adhesive into the cellular voids without causing excessive squeeze-out.
3. The Progressive Clamping Sequence
I start clamping from the center and work my way outward to the edges. This "zonal" approach pushes any trapped air pockets toward the perimeter.
Mastery Tip: This technique manages hydrostatic pressure within the joint. By starting in the middle, you ensure the panels remain flat and prevent the "bowing" effect that occurs when the edges are locked down prematurely.
4. The Squeeze-Out Audit
About five minutes after clamping, I use a sharpened marking gauge or a straw to lift away the excess beads of glue.
Mastery Tip: Removing excess glue while it is in a "rubbery" state prevents it from sealing the pores of the surrounding wood. This is vital for finishing; if those pores are clogged, your stain or oil will not penetrate, leaving a visible "ghost" mark on the grain direction.
THE TECHNICAL LEDGER
Maintenance & Longevity: To keep your assembly tools in peak condition, always strip dried resin from your clamps using a wire brush. Residual glue creates uneven pressure points that can mar the aesthetic face of your next project.
Material Variations:
- Premium Hardwoods: High density requires slower clamping to allow air to escape.
- Sustainable Plywood: Watch out for "voids" in the inner ply layers which can suck up glue and cause localized failure.
- Recycled Timber: Often has a high mineral content; use a carbide-tipped scraper to prep the edges.
The Correction:
- The Gap: If a joint has a hairline gap, mix fine sawdust from the same board with glue to create a high-density filler that matches the refractive index of the wood.
- The Slide: If parts are slipping, use "salt-shaker" physics. A tiny pinch of table salt in the glue acts as a microscopic anchor to stop the pieces from moving.
- The Freeze: If the glue sets too fast, a heat gun can sometimes soften the polymer bonds just enough to allow for a quick adjustment, though this is a "last resort" move.
Studio Organization: Store your adhesives in a climate-controlled cabinet. Extreme cold can cause emulsion breakdown, rendering the glue brittle and useless. I use a "First-In, First-Out" system to ensure the shelf life never expires.
THE FINAL REVEAL
There is nothing quite like the moment you release the clamps and the piece stands on its own for the first time. The joints are so tight they look like they grew that way. When I run my hand across the surface, the tactile feedback is incredible; it feels like a single, solid mass rather than a collection of parts. The grain continuity flows across the seams perfectly, proving that all that stress during the "Chaos Window" was worth it. It is a high-energy victory for physics and patience. You have taken raw, organic material and used Advanced Glue Up Strategies to transform it into a piece of functional art that will likely outlive us both. Now, go grab a celebratory drink and admire those invisible seams!
STUDIO QUESTIONS
How do I stop my boards from slipping?
Add a tiny pinch of fine table salt to the glue. The salt grains act as friction anchors, preventing the pieces from sliding under pressure while the moisture eventually dissolves the crystals into the bond.
What is the best way to clean squeeze-out?
Wait until the glue reaches a "leathery" consistency, then use a sharp chisel to lift it away. This prevents the adhesive from being smeared deeper into the wood pores, which would ruin your final finish.
Does clamping pressure actually matter?
Yes, it is vital. You need enough pressure to bring the wood fibers into intimate contact, but too much will "starve" the joint by forcing all the adhesive out, ruining the structural integrity.
How long should I leave the clamps on?
For most PVA glues, leave the project under pressure for at least forty-five minutes. However, do not stress the joints for twenty-four hours to allow the molecular cross-linking to reach maximum strength.
Can I glue wood that is slightly damp?
It is risky. High moisture content interferes with the absorption rate of the glue. Ideally, your timber should be seasoned to an equilibrium moisture content of six to eight percent for the best results.

