The smell of fresh cedar and the cold bite of a steel ruler against my palm are the only alarms I need to start a workday. When you dive into the world of Professional Furniture Design, you are not just making a chair or a table; you are negotiating with the physical soul of the earth. I spent my morning running my thumb across a slab of black walnut, feeling for the grain direction to ensure my initial sketches respect the natural tensile strength of the wood. If you ignore the cellular structure of your medium, your build will fail before the first screw turns. I am obsessed with the way light hits a draft on vellum, revealing the skeletal geometry of a piece. It is a visceral, high energy process that demands you be part mathematician and part artist. We are looking for that perfect intersection where aesthetics meet structural integrity. Every line I draw is a promise to the material that I will not waste its potential or ignore its inherent porosity.
THE STUDIO KIT
THE STUDIO KIT
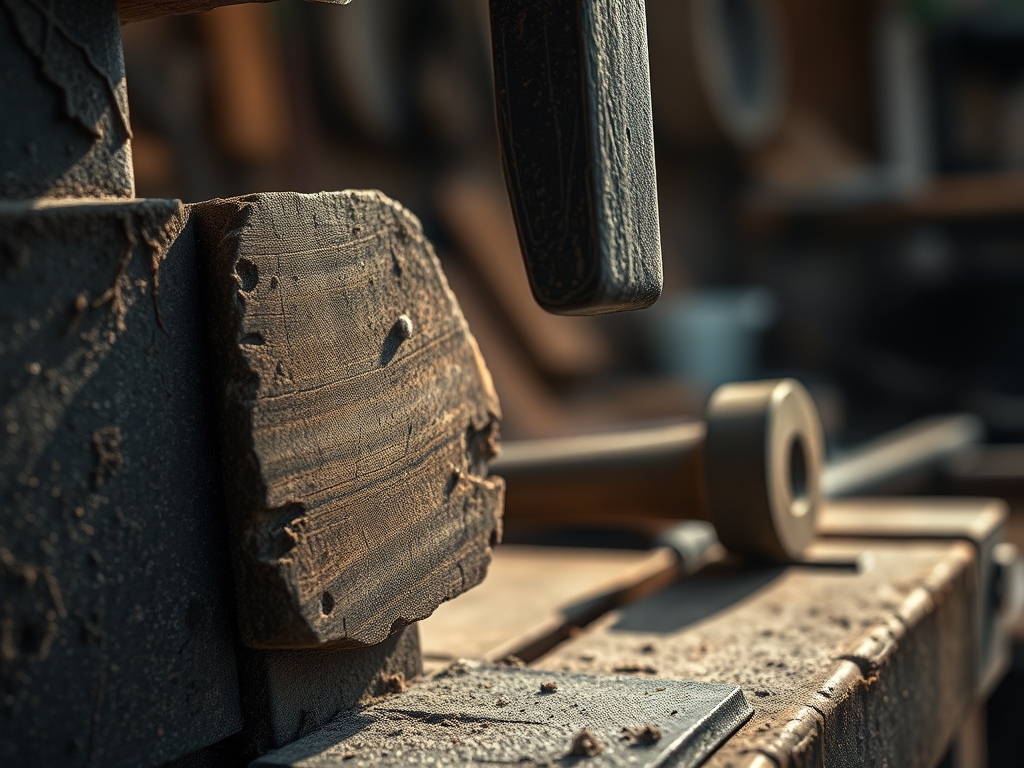
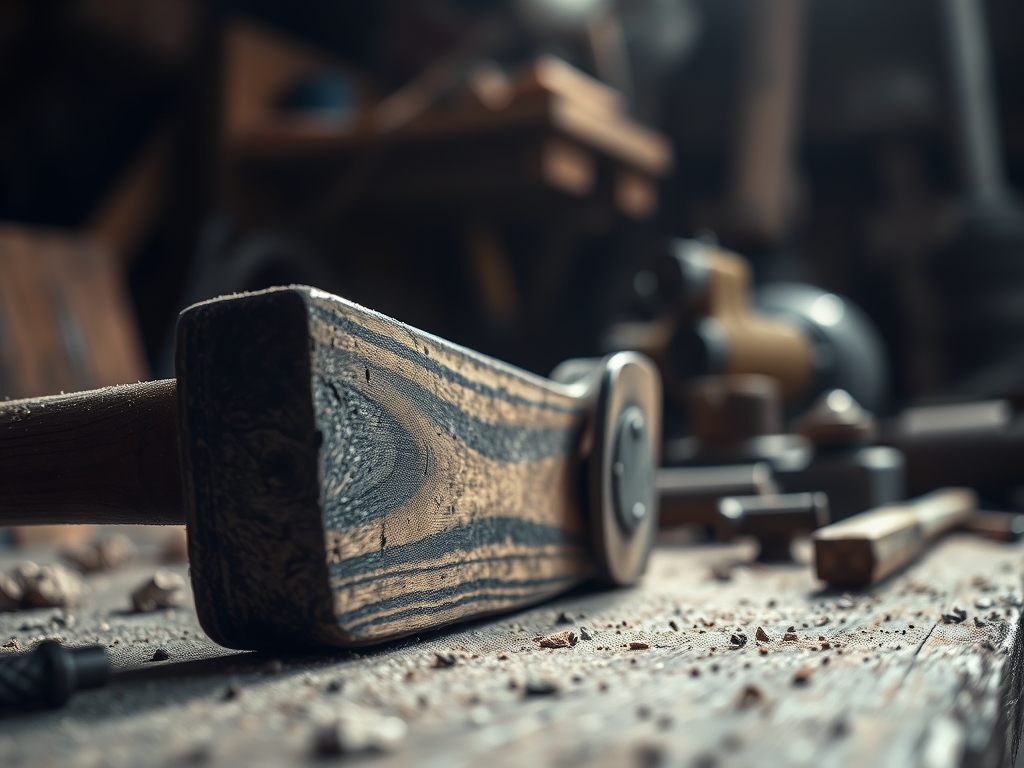
My studio is a curated ecosystem of high precision instruments designed to translate a thought into a physical form. You cannot rely on a standard tape measure when you are chasing a tolerance of 1/64th of an inch. I start with a set of hardened steel calipers to measure the exact thickness of my stock, as even a minor deviation in a board can ruin a mortise and tenon joint. For the sketching phase, I use a 0.5mm mechanical pencil and a heavy brass T-square to ensure every perpendicular line is absolute. When we move to the physical layout, a marking awl is superior to any pen because it severs the wood fibers, creating a physical track for your saw to follow.
Material selection is where the physics gets spicy. I prefer kiln-dried hardwoods for their stability, but for prototypes, I often reach for Baltic birch plywood due to its cross-banded layers which offer incredible dimensional stability. If you are looking for Material Substitutions, consider using MDF for templates; it is isotropic, meaning it has the same properties in all directions, making it perfect for jigs. For high end finishes, I keep a bone folder and various burnishing tools to compress wood fibers at the edges, increasing their resistance to moisture and wear.
THE TEMPO
The "Maker's Rhythm" is a specific frequency you find when the work flows. It is not about speed; it is about the cadence of curing and cutting. I allocate roughly 20 percent of my time to the "Deep Sketch," 50 percent to the "Rough Cut and Joinery," and 30 percent to the "Refinement and Finish." You have to account for the hygroscopic nature of wood; it needs time to acclimate to your studio's humidity before you start your final dimensions.
A typical build takes about forty to sixty hours of active labor, spread over three weeks to allow for glue sets and oil absorption. If you rush the evaporation rate of your finishes, you risk a cloudy "blush" on the surface. I treat the studio like a laboratory where time is a controlled variable. We move fast during the assembly to beat the open time of the adhesive, but we move like glaciers during the final sanding to ensure the surface is perfectly planar.
THE CORE METHOD
1. The Volumetric Sketch
I begin by mapping the "negative space" the furniture will occupy. I use a rotary cutter to slice thin strips of balsa wood for 1:10 scale models. This allows me to visualize the load bearing paths without wasting expensive walnut. By creating a physical miniature, I can test the center of gravity and ensure the piece won't tip under lateral pressure.
Mastery Tip: Always account for the kerf, which is the width of the material removed by the saw blade. If you do not factor this into your sketches, your final piece will be shorter than your plan by the sum of every cut you made.
2. The Grain Mapping
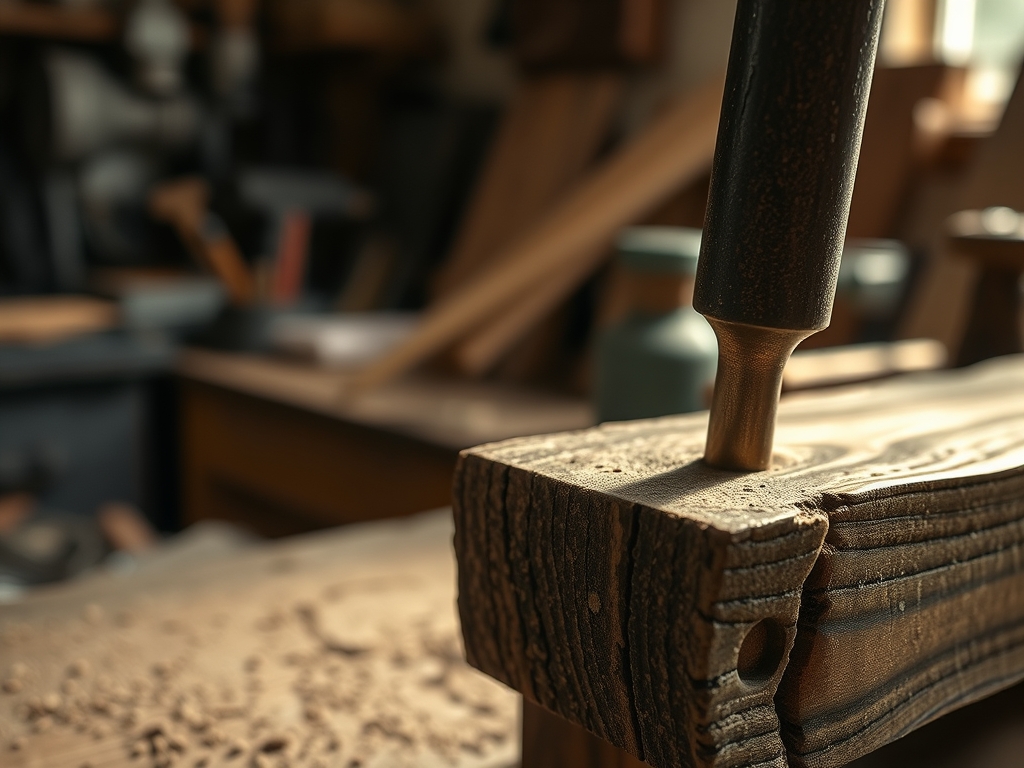
Once the sketch is finalized, I overlay it onto my raw lumber. I look for "cathedrals" in the grain and align them to the visual center of the piece. I use a marking gauge to scribe lines directly onto the wood. This is where we consider anisotropy, the property of being directionally dependent. Wood is much stronger along the grain than across it.
Mastery Tip: Use a moisture meter to check the internal saturation of your boards. If the core is more than 2 percent wetter than the surface, the board will "cup" or "bow" as it reaches equilibrium with your room.
3. The Joinery Calculation
This is the mathematical heart of Professional Furniture Design. I calculate the surface area of every joint. A standard wood glue bond is actually stronger than the wood itself, provided you have sufficient surface contact. I use a jeweler's saw for intricate dovetails where a larger tool would be too aggressive.
Mastery Tip: Remember capillary action. When you apply glue, the porous end grain will suck the moisture out of the adhesive too quickly, leading to a "starved joint." Always "pre-size" your end grain with a thin layer of glue before the final assembly.
4. The Ergonomic Refinement
Furniture must interface with the human body. I use an oscillating tool with a sanding attachment to contour areas where hands or legs will rest. I check the rake and splay of chair legs to ensure they distribute weight evenly across the floor.
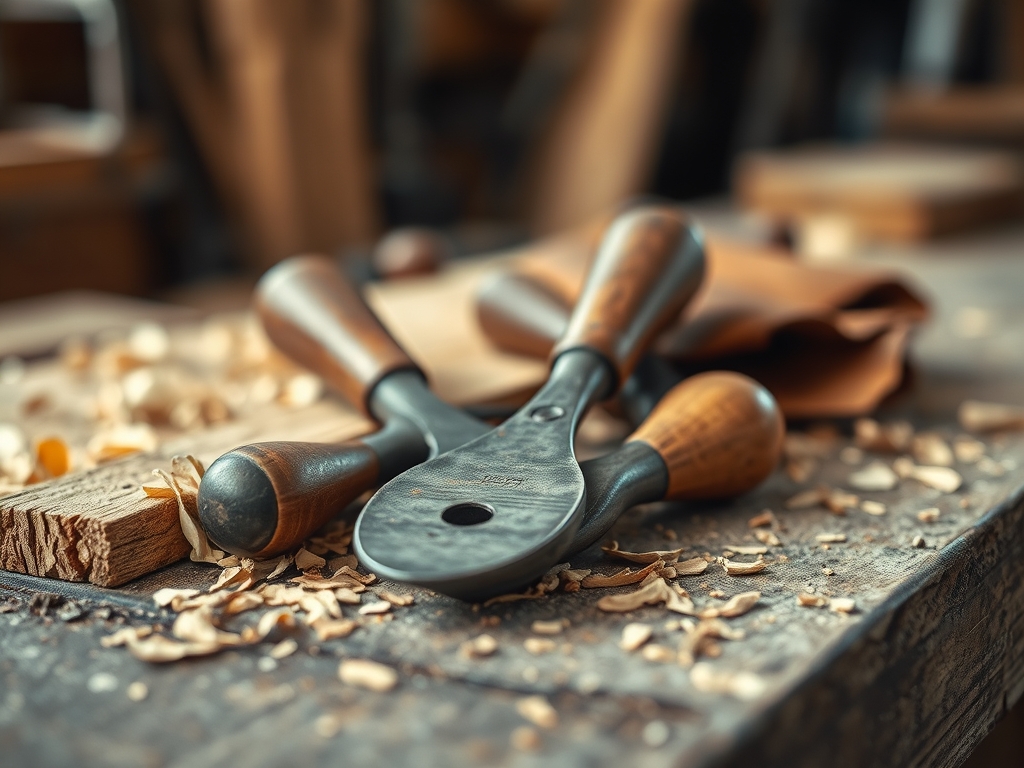
Mastery Tip: Use a spokeshave to create "micro-facets" on rounded edges. These tiny flat surfaces catch the light better than a perfectly smooth curve, giving the piece a hand-tooled, professional shimmer.
THE TECHNICAL LEDGER
Maintenance & Longevity: To keep your build in museum quality condition, use a microcrystalline wax. Unlike standard beeswax, it has a higher melting point and is pH neutral, preventing it from reacting with the wood's natural tannins over time.
Material Variations:
- Sustainable: Reclaimed Douglas Fir offers high compressive strength but requires careful scanning with a metal detector for old nails.
- Premium: Quarter-sawn White Oak provides incredible fleck and ray patterns and superior water resistance due to tyloses in its pores.
The Correction:
- The Gap: If a joint has a hairline gap, do not just fill it with putty. Mix fine sanding dust from the same board with wood glue to create a custom filler that matches the refractive index of the wood.
- The Tear-out: If a planer bites too deep, use a card scraper to feather the area out. This tool removes shavings measured in microns, allowing for a seamless repair.
- The Over-sand: If you sand through a veneer, you must "patch and grain." Use a fine brush to paint in the grain lines using a pigmented lacquer to trick the eye.
Studio Organization: Store your lumber horizontally on a cantilever rack with "stickers" (small wood spacers) between every layer. This allows for 360 degree airflow, preventing differential drying which causes warping.
THE FINAL REVEAL
There is nothing quite like the moment the final coat of oil hits the wood. The colors deepen, the grain "pops," and the geometry you labored over in your sketches finally stands in three dimensions. It is a high energy transformation from a pile of organic matter to a piece of Professional Furniture Design that will outlive us all. When you run your hand over the finished surface, it should feel like silk but have the structural weight of an anchor. You did it. You took a spark of an idea and anchored it into reality using physics, sweat, and a little bit of studio magic.
STUDIO QUESTIONS
How do I choose the best wood for a desk?
Select a hardwood with a high Janka hardness rating like White Oak or Maple. These species resist indentation from writing and daily use. Ensure the lumber is kiln-dried to a 6 to 8 percent moisture content to prevent warping.
What is the most important tool for a beginner?
A high quality combination square is essential. Accuracy in furniture design depends on perfectly square references. If your initial layout is off by even a fraction of a degree, the error will compound throughout the entire build process.
Can I use hardware store pine for furniture?
Yes, but be aware of its high resin content and softness. Pine is prone to "seasonal movement," so you must use "figure-eight" fasteners or slotted holes to allow the wood to expand and contract without cracking the frame.
How do I prevent my glue joints from failing?
Ensure the mating surfaces are perfectly flat and free of "burnishing" from dull saw blades. Use enough clamping pressure to see a small bead of "squeeze out" along the entire seam, indicating total interfacial contact between the wood fibers.
Why does my finish look blotchy?
Blotchiness occurs in woods with uneven pore density like Cherry or Pine. Apply a "pre-stain conditioner" or a thin coat of shellac to partially seal the pores. This ensures the final stain absorbs at a uniform rate across the surface.