
Close your eyes and run your fingertips along a raw, jagged concave edge; it feels like a serrated promise waiting to be fulfilled. There is a specific, electric tension in the wood when you are fighting a curve. The grain wants to splinter and the fibers are screaming under the pressure of a flat blade. If you want to achieve that buttery, seamless arc that catches the light without a single shadow of a ripple, you must start Mastering the Compass Plane. This tool is the secret handshake of high-end luthiers and furniture makers. It transforms a clunky, faceted interior into a fluid silhouette. We are talking about manipulating the tensile strength of the wood fibers by matching the tool's sole to the exact radius of your workpiece. It is not just sanding; it is a high-stakes dance with the cellular structure of the timber. When you get it right, the shavings come off in translucent, gossamer ribbons that feel like silk.
THE STUDIO KIT

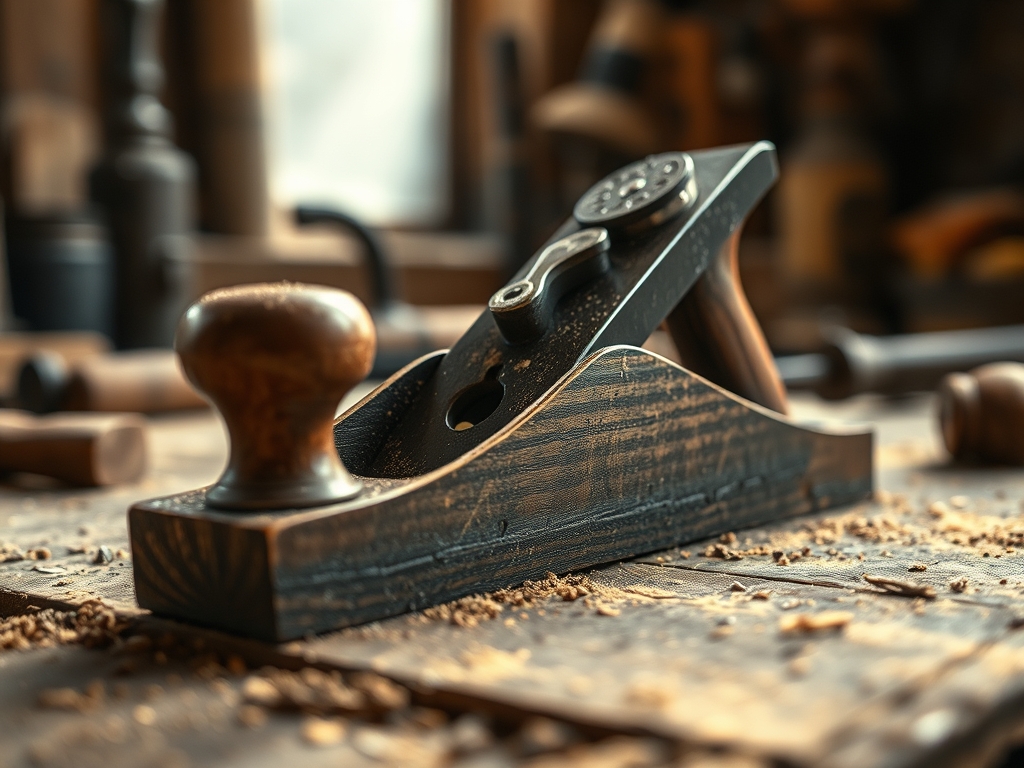
To master this curve, your workbench needs to look like a precision laboratory. The star of the show is the Compass Plane, specifically a model with a flexible steel sole that can be adjusted via a central screw. You will also need a digital caliper to measure the thickness of your stock to ensure you do not breach the structural integrity of the curve. Grab a card scraper for the final burnishing and a sliding T-bevel to check your angles against your template. For marking, skip the dull pencil and use a marking awl; it slices the fibers rather than crushing them, providing a microscopic guide for your blade.
Material Substitutions: If you are working with high-density foam or soft plastics instead of hardwood, swap the compass plane for a surform tool or a specialized oscillating tool with a drum attachment. For sustainable alternatives, look into reclaimed heart pine or bamboo ply, though be warned that the alternating grain directions in plywood require a much sharper iron gauge to prevent tear-out.
THE TEMPO
The "Maker's Rhythm" is all about the heartbeat of the shop. You cannot rush a concave radius. The Preparation Phase takes about thirty minutes; this involves truing your blade on a whetstone until it can shave hair and setting your template. The Execution Phase is the longest, typically sixty to ninety minutes of active planing. You must listen to the sound of the metal against the wood. A rhythmic "shirr" means you are cutting cleanly; a "thump" means you are hitting a knot or grain reversal. Finally, the Refining Phase takes twenty minutes of delicate burnishing. Total time is roughly three hours of deep, focused work where the world outside the studio simply ceases to exist.
THE CORE METHOD
1. Calibrating the Sole Radius
Before the steel touches the wood, you must adjust the flexible sole of the compass plane to be slightly shallower than the curve you are smoothing. Use your sliding T-bevel to verify the arc. If the sole is too tight, it will dig into the center; if it is too flat, it will only hit the "shoulders" of the curve.
Mastery Tip: This is about geometric alignment. By setting the sole slightly flatter than the workpiece, you ensure the blade engages at the apex of the stroke, preventing the tool from "chattering" against the porous end grain.
2. Reading the Grain Direction
Look at the side of your board. Grain on a curve is a literal minefield. You must always plane "downhill" from the highest point of the grain to the lowest. This usually means working from the ends toward the center of the concave arc.
Mastery Tip: This manages the structural integrity of the fibers. Planing "uphill" forces the blade under the fiber bundles, causing them to lift and snap, a phenomenon known as tear-out. Planing downhill compresses the fibers as they are cut.
3. The Skewed Attack
Do not push the plane straight ahead. Hold the tool at a slight angle—about twenty degrees—to the direction of travel. This creates a "slicing" action rather than a "plowing" action.
Mastery Tip: Skewing the blade effectively lowers the cutting angle, which reduces the resistance the wood offers. It is the same physics used in a jeweler's saw to navigate tight turns without snapping the delicate blade.
4. The Final Burnish
Once the plane has removed the ridges, put it away and pick up your card scraper. Flex the steel with your thumbs to create a slight curve and pull it toward you. This removes the microscopic "fuzz" left by the plane blade.
Mastery Tip: This process relies on friction-induced heat. The scraper does not just cut; it burnishes the surface, collapsing the open cells of the wood and creating a natural luster that resists moisture absorption via capillary action.
THE TECHNICAL LEDGER
Maintenance & Longevity: Your compass plane is a precision instrument. Every ten minutes of use, check the lateral adjustment lever. If the blade is even a fraction of a millimeter out of square, your curve will become a funnel. Wipe the sole with a light machine oil after every session to prevent oxidation from the oils in your skin.
Material Variations:
- Premium: Black Walnut or Cherry offers the most predictable grain for curving.
- Sustainable: Cork-infused composites are becoming popular but require a rotary cutter for edges rather than a plane.
- Recycled: Pallet wood can be used, but you must scan it with a metal detector first; a single hidden nail will ruin a $100 plane iron instantly.
The Correction:
- The Gouge: If you dive too deep, do not sand it. Steam the area with a damp cloth and a soldering iron to swell the fibers back up.
- The Chatter: If the tool bounces, your blade is dull or the "frog" is loose. Sharpen and tighten.
- The Flat Spot: If you lose the curve, re-mark with your marking awl and template; you must take "feather" strokes on either side of the flat spot to blend it.
Studio Organization: Store your templates in a vertical rack to prevent warping. The compass plane should be stored on its side on a wooden shelf; never rest it on its sole, as this can dull the blade and put unnecessary tension on the adjustment spring.
THE FINAL REVEAL
There is nothing quite like the moment you pull that final, perfect shaving. The inside of the curve should look like polished stone, reflecting a continuous line of light from one end to the other. When you run your hand across it, there is no friction, just the cool, dense reality of perfectly machined wood. You have taken a chaotic piece of nature and forced it into a mathematically perfect arc. It is powerful, it is elegant, and it is officially finished. You are not just a hobbyist; you are a master of the radius.
STUDIO QUESTIONS
How do I know if my compass plane is sharp enough?
If the blade can slice through a piece of freestanding newsprint without tearing the edges, it is ready. A dull blade will crush the vascular bundles of the wood rather than severing them cleanly, leading to a fuzzy, uneven surface.
Can I use a spokeshave instead of a compass plane?
Yes, for tight radii, a spokeshave is excellent. However, for long, sweeping architectural curves, the compass plane provides more "registration" surface. This prevents the "wavy" look that often occurs with the shorter base of a spokeshave or rotary cutter.
What is the best way to check for flat spots?
Shine a single-point light source across the curve. Any flat spots will cast a distinct, sharp shadow. You can also use a digital caliper to check for consistent thickness across the arc to ensure the tensile strength remains uniform.
Why does my wood keep splintering at the ends?
This is caused by "blowing out" the grain. To fix this, clamp a "sacrificial" piece of scrap wood to the exit end of your curve. This supports the fibers and allows the blade to pass through the joint without lifting the ply.
Does the moisture content of the wood matter?
Absolutely. Wood with a moisture content above 12 percent is more tactile but prone to "fuzzing." For the cleanest results with a compass plane, aim for kiln-dried lumber with a moisture content between 6 and 8 percent.

