Imagine the scent of fresh rain and sweet sap hitting your face as the first ribbon of wet wood spirals off the gouge. That is the magic of working with green maple. It is soft, forgiving, and incredibly hydrated; it feels more like cutting through chilled butter than a dense hardwood. When we dive into Advanced Lathe Turning, we are not just making a vessel; we are collaborating with the internal hydraulic pressure of the tree itself. Green maple has a high moisture content that makes it remarkably elastic. This elasticity allows us to push the limits of wall thickness until the wood becomes translucent. You can feel the vibration change in the tool handle as the wood thins out. It shifts from a solid thud to a high pitched sing. We are chasing that perfect, uniform curve where the light starts to glow through the grain. It is a high stakes game of physics and finesse, but honestly, there is nothing more addictive than the spray of cool mist as the lathe spins up to speed.
THE STUDIO KIT
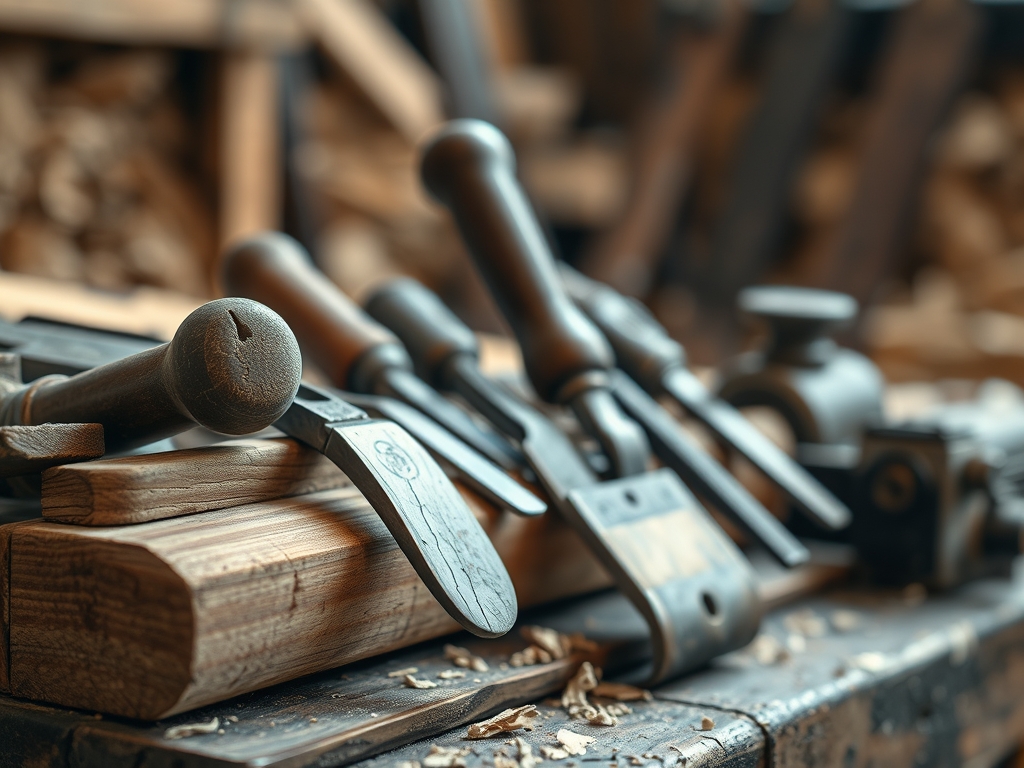
To master this project, your workbench needs to be a symphony of precision. Your primary weapon is a **half inch bowl gouge** with a fingernail grind; this specific geometry allows for the heavy clearing of bulk material and the delicate shear scraping required for a feather light finish. You will also need a pair of **spring calipers** to monitor the wall thickness with sub millimeter accuracy. Because green wood is prone to warping, a **four jaw chuck** with 50mm jaws is essential for a secure mechanical grip on the tenon. For the final smoothing, a **negative rake scraper** will minimize grain tear out on the porous end grain sections.
If you cannot find fresh sugar maple, look for green birch or cherry as excellent material substitutions. These species share a similar diffuse porous cell structure, meaning the water is distributed evenly through the wood fibers rather than being concentrated in large vessels. This structural uniformity prevents the wood from shattering when you reach that critical 2mm thickness. Always keep a bottle of thin cyanoacrylate adhesive nearby; it acts as a chemical stabilizer if you encounter a micro fracture during the high speed rotation.
THE TEMPO
The maker's rhythm for a thin walled bowl is a race against evaporation. You have a window of about two to three hours before the wood begins to lose enough moisture to start shifting shape. The first sixty minutes are the power phase; this is where you rough out the exterior and establish the foot. The next hour is the focus phase. This is when you hollow the interior in stages, moving from the rim toward the center to maintain structural integrity. If you stop halfway, the uneven drying will cause the rim to go oval, making it impossible to get a clean cut when you return. Finally, the twenty minute finishing phase involves a rapid sanding sequence while the wood is still damp, followed by a controlled drying period of three to five days in a paper bag to slow down the desiccating airflow.
THE CORE METHOD
1. Preparing the Blank and Tenon
Mount your green maple log between centers and use a roughing gouge to bring it to a cylinder. Once true, use a parting tool to create a precise tenon that fits your chuck jaws perfectly. Mastery Tip: The science here is all about tensile strength. By creating a slightly dovetailed tenon, you utilize the mechanical advantage of the chuck to compress the wood fibers. This prevents the wet, soft wood from stripping out under the centrifugal force of the lathe.
2. Shaping the Exterior Profile
Use your bowl gouge to sweep from the base toward the rim. This is called cutting with the grain. You want to establish the final outside shape now because once the inside is hollowed, the wall will be too flexible to support heavy exterior shaping. Mastery Tip: Pay attention to the grain orientation. In a bowl, the grain runs perpendicular to the spindle. Cutting from the small diameter to the large diameter ensures you are laying the wood fibers down rather than peeling them up, which prevents unsightly "pitting" in the curves.
3. Hollowing the First Tier
Start at the rim and hollow out only the first two inches of depth. Take this section down to its final thickness immediately. Do not hollow the whole bowl at once. Mastery Tip: This technique leverages mass damping. By leaving the bulk of the wood in the bottom of the bowl, you provide a solid foundation that absorbs vibrations. If you hollow the whole thing thin at once, the rim will vibrate like a tuning fork, causing "chatter" marks that are nearly impossible to sand out.
4. Reaching Translucency
Continue hollowing in stages, moving down the wall toward the center. Use your calipers every few passes. You are aiming for a consistent 2mm to 3mm thickness. Mastery Tip: This relies on the capillary action of the wood. As the wall gets thinner, the surface area to volume ratio increases dramatically. The wood begins to lose moisture to the air almost instantly. Keeping the wall thickness uniform ensures that the internal stresses are distributed evenly, which prevents the bowl from cracking as it inevitably begins to warp into an organic oval shape.
5. The Shear Scrape Finish
Rotate your gouge to a 45 degree angle and light touch the wood. You are not cutting; you are shaving. This removes the tiny ridges left by the gouge. Mastery Tip: This process is about surface tension. A sharp tool at a high shear angle severs the wood cells cleanly rather than crushing them. This leaves a surface so smooth that it requires minimal sanding, which is vital because sanding wet wood can clog the abrasive pores and generate heat that causes localized cracking.
THE TECHNICAL LEDGER
Maintenance and Longevity
Your lathe tools will dull faster on green wood due to the acidic sap. Frequent honing with a diamond hone is required every ten minutes of cutting time. After the session, wipe down your lathe bed with a light machine oil; the moisture from the maple can cause flash rusting on cast iron surfaces within hours.
Material Variations
- Sustainable: Use "storm fall" maple from local arborists to reduce your carbon footprint.
- Premium: Look for "curly" or "quilted" green maple. The undulating grain creates a holographic effect when turned thin.
- Recycled: Salvage green logs from construction site clearings; just ensure there are no embedded nails using a metal detector.
The Correction
- The Mistake: The rim is vibrating and creating ripples. The Fix: Increase your lathe speed and reduce your feed rate. Use your non dominant hand to lightly "brace" the outside of the bowl to dampen the harmonics.
- The Mistake: The calipers show the bottom is thicker than the sides. The Fix: Use a round nose scraper to gently blend the transition. Do not push hard; let the tool weight do the work.
- The Mistake: Small cracks appear at the rim. The Fix: Apply a drop of thin CA glue immediately. This wicks into the fibers and bonds them before the crack can propagate toward the base.
Studio Organization
Store your finished green bowls in a dedicated "drying zone." This should be a cool, dark corner away from direct sunlight or heater vents. Place the bowls in brown paper bags filled with their own wet shavings. This creates a microclimate that allows the moisture to escape slowly, ensuring the wood warps into a beautiful curve without splitting.
THE FINAL REVEAL
When you pull that bowl off the lathe, it is a living thing. It is cool to the touch, heavy with water, and incredibly delicate. As it dries over the next few days, it will move. The perfectly round rim will pull into a soft, organic ellipse, and the walls will tighten. This is the peak of Advanced Lathe Turning; you have taken a heavy, solid log and transformed it into a vessel that feels like a dried leaf. The light will catch the grain, showing off every shimmer and curl. It is not just a bowl; it is a physical record of the tree's history and your technical skill.
STUDIO QUESTIONS
Why does green wood warp when it dries?
Wood cells are like bundles of straws filled with water. As the water evaporates, the straws shrink. Since wood shrinks more around the growth rings than across them, the bowl pulls into an oval shape during the drying process.
Can I sand green wood normally?
Not exactly. Use "wet and dry" silicon carbide sandpaper. The water in the wood acts as a lubricant. Standard sandpaper will clog instantly with wet fibers, generating friction heat that causes the wood to check or crack prematurely.
How do I know if the wall is thin enough?
Hold a bright LED flashlight against the outside of the bowl while the lathe is off. If you see a warm, orange glow through the wood, you have reached the 2mm to 3mm range where the maple becomes translucent.
What is the best finish for a green bowl?
Wait until the bowl is fully dry and has stopped moving. Then, apply a food safe linseed oil or walnut oil. These oils penetrate deep into the fibers, highlighting the grain while providing a durable, breathable protective layer.