
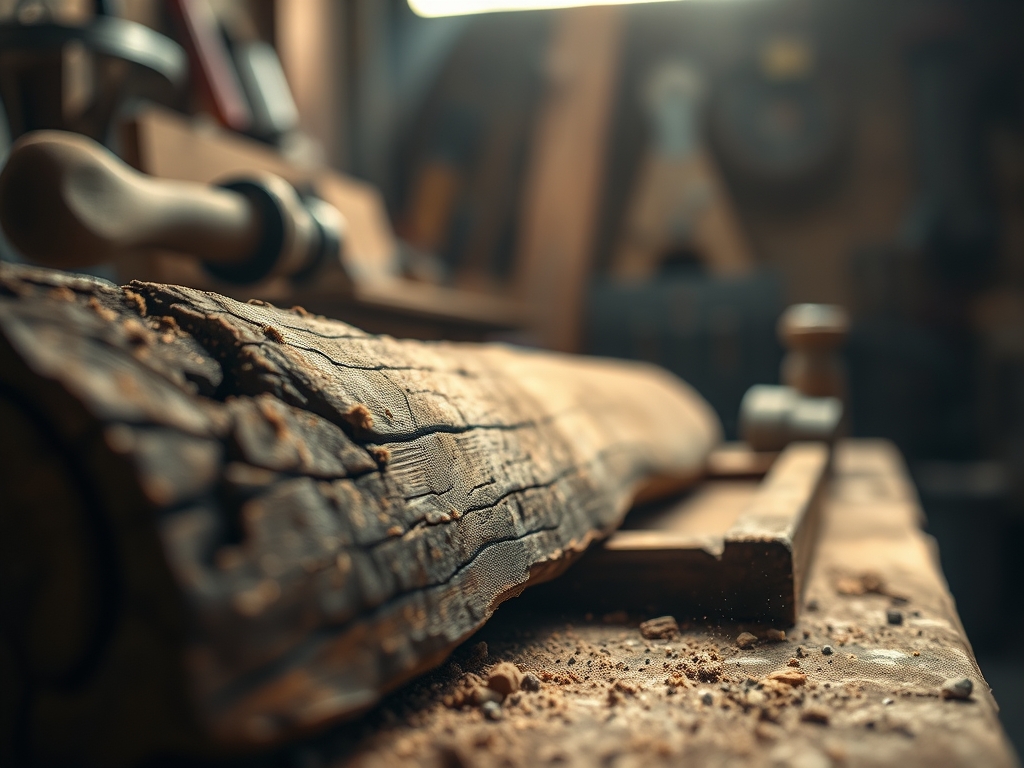
Imagine the sharp, citrus scent of freshly planed White Oak hitting your senses before you even step into the workshop. There is a specific, grounding weight to a board that grew only fifty miles from your bench. When we talk about Professional Woodworking Ethics, we are discussing the conscious decision to respect the biological history of our medium. It is not just about aesthetics; it is about the structural integrity found in slow-growth, local timber that has acclimated to your specific regional humidity. This prevents the heart-wrenching warping that occurs when exotic, kiln-dried wood from a different hemisphere suddenly meets your local dew point. Every fiber in a piece of local Walnut has a story of soil and season that translates directly into how it yields to your chisel. You can feel the difference in the lignin density when you run your thumb across the grain. It feels intentional. It feels like a partnership between the maker and the forest, ensuring that our craft does not outpace the earth's ability to regenerate.
THE STUDIO KIT
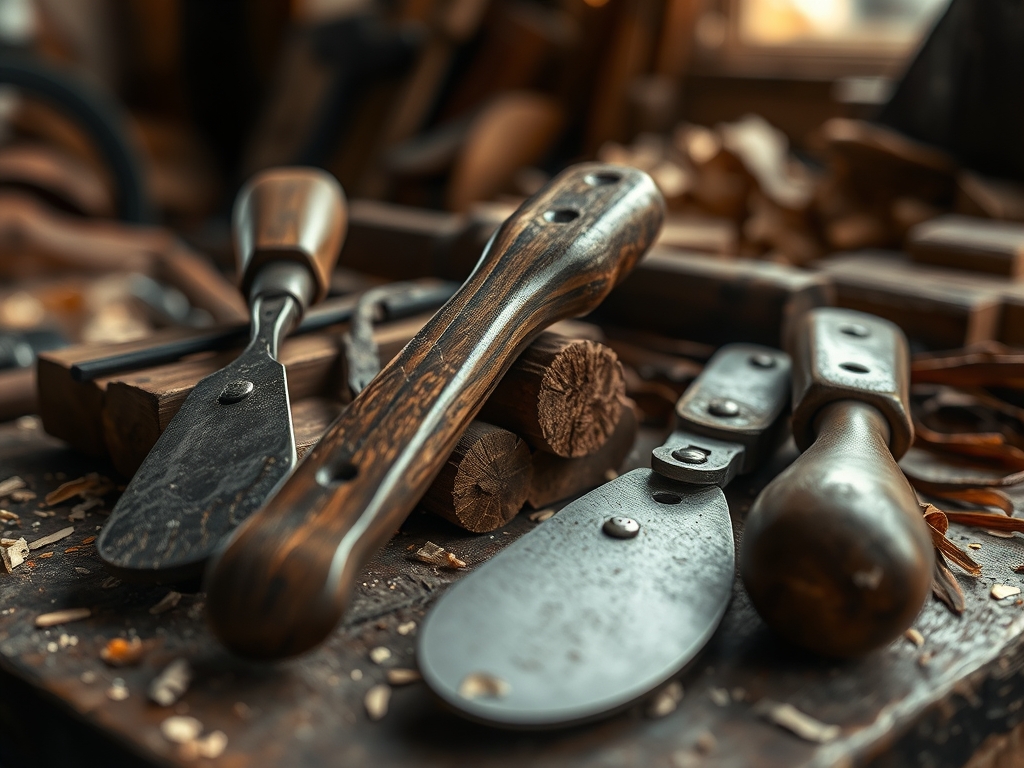
To execute a project that honors these ethics, your kit must be as precise as your philosophy. We start with digital calipers to measure thickness down to the thousandth of an inch, because local timber often requires custom milling to account for natural variations. You will need a high-carbon steel marking awl for scribing lines that sever the wood fibers cleanly, preventing the "fuzzing" common with duller tools. For the surface, we use a low-angle block plane to shear the end grain, which is more porous and prone to moisture absorption than the face grain.
Our material list focuses on local hardwoods like Cherry or Maple, which possess high tensile strength and excellent shock resistance. If you cannot source local hardwoods, "Material Substitutions" include reclaimed Douglas Fir beams from local demolition sites. These carry a high resin content that offers natural rot resistance. You will also need a burnishing tool to compress the surface fibers for a natural luster, avoiding the need for heavy chemical resins that mask the wood's organic breathability.
THE TEMPO
The "Maker's Rhythm" is a biological clock that dictates the pace of the shop. You cannot rush the hygroscopic nature of wood. Phase one is the Acclimation Period, which takes at least seven to ten days. This allows the internal moisture content of your timber to reach equilibrium with your studio environment. If you skip this, your joinery will fail as the wood shrinks or expands post-assembly.
Phase two is the Milling and Dimensioning, a high-energy four-hour block where we take raw slabs to square stock. Phase three is the Joinery Dance, a meticulous six-hour session of cutting and fitting. Finally, the Curing Phase for natural oils takes forty-eight hours. Respecting this tempo ensures that the internal stresses of the wood are relieved gradually, preventing the catastrophic checking that ruins a weekend of hard work.
THE CORE METHOD
1. Scribing the Baseline
Using your marking awl, scribe a deep line across the grain. This is not just a visual guide; you are physically breaking the cellulose chains on the surface. By pre-cutting these fibers, you ensure that when the saw blade enters the wood, it does not create "tear-out."
Mastery Tip: The science here is about fracture mechanics. A pre-scribed line acts as a stress riser, ensuring the wood shears exactly where you want it rather than splintering along the path of least resistance.
2. Establishing the Reference Face
Select the most stable face of your board and use a jointer plane to create a perfectly flat surface. Check for "wind" or twist using a pair of winding sticks. This face becomes your "North Star" for every subsequent measurement.
Mastery Tip: Wood is an anisotropic material, meaning its properties differ depending on the direction of the grain. Establishing a reference face accounts for the natural curve of the growth rings, ensuring the piece remains stable under load.
3. Precision Joinery Execution
Cut your tenons slightly proud and use a shoulder plane to pare them down to a piston-fit. The joint should slide together with firm hand pressure but stay together when lifted. We use a moisture-meter to ensure both pieces of the joint are within two percent of each other.
Mastery Tip: This relies on capillary action. When you apply a thin layer of hide glue, the wood fibers swell slightly, locking the joint at a molecular level through a process called mechanical adhesion.
4. The Final Burnish
Instead of heavy sanding, which clogs the wood's pores with dust, use a card scraper to remove a few microns of material. Follow this by rubbing the surface with a smooth piece of bone or polished stone to compress the fibers.
Mastery Tip: Burnishing increases the surface tension of the wood. By crushing the cellular structure flat, you create a surface that naturally repels liquid and reflects light without the need for plastic-based films.
THE TECHNICAL LEDGER
Maintenance and longevity are the hallmarks of ethical woodworking. A piece made from local, sustainable timber should last three generations. To maintain the patina, apply a mixture of beeswax and linseed oil every six months. This allows the wood to "breathe" while providing a sacrificial layer against oxidation.
Material Variations:
- Sustainable: Certified local Ash (excellent flexibility).
- Recycled: Old-growth heart pine (high density, historic character).
- Premium: Quarter-sawn White Oak (maximum dimensional stability).
The Correction:
- The Gap: If a joint has a hairline gap, do not use wood filler. Instead, "burnish" the edges together or insert a thin veneer shim of the same species to maintain grain continuity.
- The Tear-out: If a plane blade catches a knot, switch to a high-angle frog or use a scraper. This changes the cutting geometry to shear rather than lift the fibers.
- The Warp: If a board cups overnight, it likely has uneven moisture. Place it concave-side down on a grassy patch or a damp towel for an hour to re-balance the cellular tension.
Studio Organization:
Store your project-in-progress on a flat rack with stickers (small wood strips) between layers. This ensures 360-degree airflow, preventing "sticker stain" and ensuring the wood does not develop a permanent "set" or bow due to gravity and uneven evaporation.
THE FINAL REVEAL
There is nothing quite like the moment you apply that first coat of oil to a piece of local Walnut. The grain "pops" with a three-dimensional depth that looks like liquid amber. Because you followed Professional Woodworking Ethics, the piece feels alive; it has a warmth and a tactile vibration that mass-produced furniture simply lacks. It is heavy, solid, and perfectly balanced. You have created something that is not just a functional object, but a carbon-sequestering testament to your local ecosystem. It is a masterpiece of physics and heart.
STUDIO QUESTIONS
Why is local timber better for the environment?
Local timber minimizes "carbon miles" by reducing transportation distances. It also supports regional forest management, ensuring that local ecosystems remain diverse and healthy while providing a transparent supply chain for the ethical maker.
What does "dimensional stability" actually mean?
This refers to how much a specific wood species shrinks or expands with changes in humidity. Using local, seasoned wood ensures the piece has already adapted to your climate, reducing the risk of cracks or stuck drawers.
Can I use construction lumber for fine furniture?
While possible, construction lumber is often kiln-dried too quickly, leaving high internal stresses. If you use it, you must let it acclimate for weeks and expect more movement than professional-grade local hardwoods.
How do I know if my tools are sharp enough?
A truly sharp tool should shave the hair on your arm or slice through end-grain pine without leaving any crushed fibers. If the wood looks "shiny" after a cut, your edge is perfect.
What is the best way to fix a dent?
Apply a drop of distilled water to the dent and touch it with a hot soldering iron. The steam will cause the compressed cellulose fibers to swell back to their original shape, effectively "healing" the wood.

