
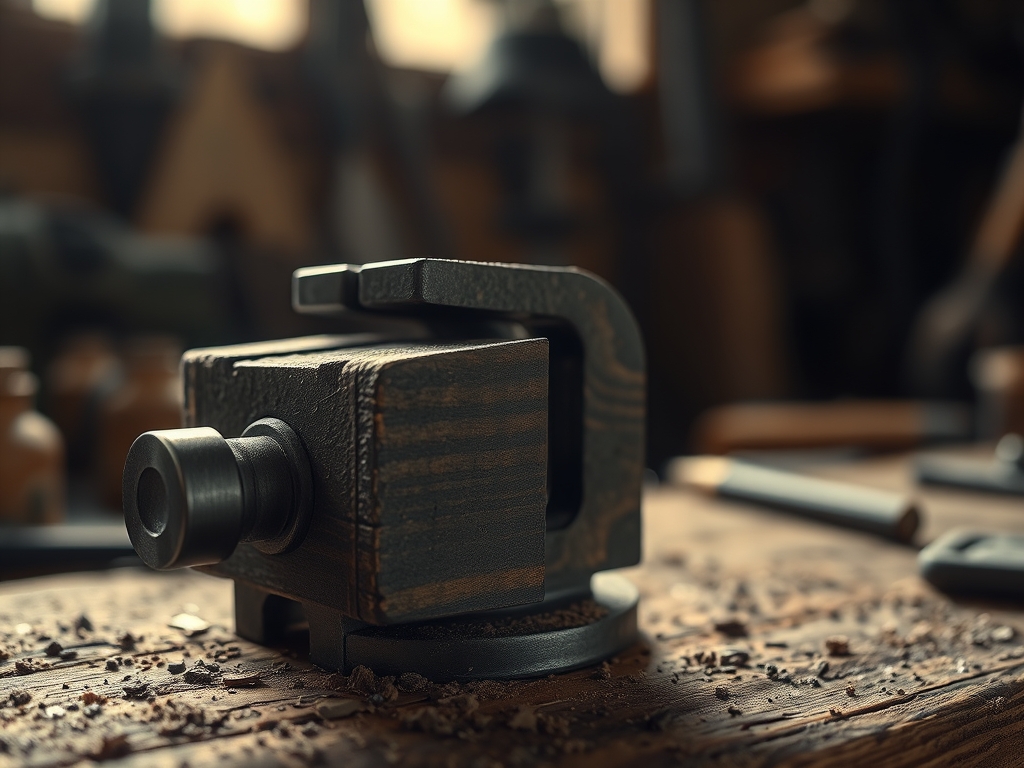
Imagine the sharp, metallic screech of steel teeth biting into a delicate piece of cherry wood. It is a sound that makes every seasoned maker wince. When you are Mastering the Bench Vice, you quickly realize that raw clamping power is useless if it destroys the workpiece. A wooden jaw provides a sympathetic embrace; it is the difference between a handshake and a vice grip. The tactile feedback of wood on wood allows for a nuanced pressure that metal simply cannot replicate. By lining your vice with a softer, sacrificial face, you create a high friction interface that prevents marring while distributing clamping force across the entire surface area. This is not just about protection; it is about the physics of compression and the preservation of grain integrity.
THE STUDIO KIT
To execute this upgrade, you need materials that balance tensile strength with a forgiving surface. Start with a pair of hardwood blanks; sugar maple or beech are the gold standards due to their tight grain and high Janka hardness rating. You will also need a high quality wood glue with a high solids content for maximum bond strength. Your tool kit should include a set of digital calipers for precise thickness matching, a sharp marking awl to denote hole placement, and a block plane to chamfer the edges.
If you cannot source maple, consider "Material Substitutions" like high density polyethylene (HDPE) for a slick, non stick surface, or thick vegetable tanned leather for an ultra high friction grip. For the attachment hardware, stainless steel countersunk bolts are preferred to prevent oxidation. Ensure your drill press is calibrated to 90 degrees to ensure the mounting holes are perfectly perpendicular to the jaw face, preventing any structural skewing during high pressure clamping tasks.
THE TEMPO
The Maker's Rhythm is a three act play: Preparation, Execution, and Curing. Total active work time is approximately ninety minutes, but the project spans twenty four hours to allow for full chemical cross linking of the adhesive.
- The Prep (30 Minutes): This phase involves truing your blanks and measuring the existing vice jaw dimensions. Precision here prevents mechanical interference later.
- The Fit (60 Minutes): Drilling, countersinking, and mounting the jaws. This is the "high focus" zone where tool alignment is critical.
- The Cure (23 Hours): Patience is a technical requirement. Allowing the wood to acclimate to the workshop's humidity levels prevents future warping or "cupping" of the jaw faces.
THE CORE METHOD
1. Dimensioning the Blanks
Use your calipers to measure the exact width and height of your metal vice jaws. Cut your hardwood blanks slightly oversized, roughly one eighth of an inch larger on all sides. This allows for a final "flush trim" once the jaws are mounted. Hardwood has a specific grain direction; ensure the grain runs horizontally to maximize the shear strength of the jaw.
Mastery Tip: Understanding hygroscopic expansion is vital. Wood expands and contracts with atmospheric moisture. By orienting the grain horizontally, you ensure that any dimensional change happens vertically, which is less likely to interfere with the vice's screw mechanism.
2. Mapping the Mounting Holes
Place the metal jaws over your wooden blanks and use a marking awl to transfer the hole locations. This is more accurate than using a ruler. If your vice does not have pre drilled mounting holes, you will need to use a cobalt drill bit to pierce the cast iron. Cast iron is brittle but easy to drill if you maintain a slow surface feet per minute (SFM) to prevent work hardening the metal.
Mastery Tip: Use a center punch before drilling. This creates a small indentation that prevents the drill bit from "walking" across the surface, ensuring your axial alignment remains true to your measurements.
3. The Countersink Operation
Using a Forstner bit or a dedicated countersink bit, create a recess for the bolt heads. The goal is to seat the hardware at least three millimeters below the surface of the wood. This ensures that even if you plane the jaws flat in the future, your tools will never strike the metal bolts.
Mastery Tip: This preserves the structural integrity of your cutting tools. If a chisel or plane blade hits a steel bolt, it causes a catastrophic nick in the edge, requiring hours of regrinding on a motorized sharpener or whetstone.
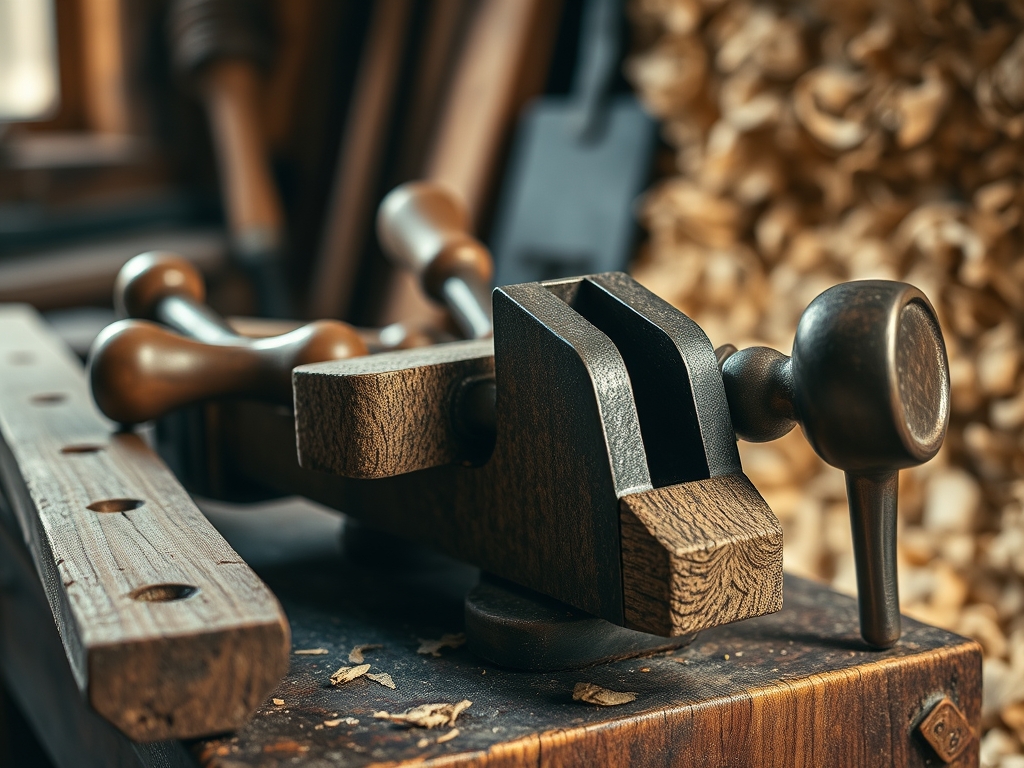
4. Surface Refinement and Burnishing
Once mounted, use a block plane to bring the wooden edges flush with the metal. Finally, burnish the top edges with a smooth piece of steel or a bone folder. This compresses the wood fibers at the corners, making them more resistant to splintering and impact damage.
Mastery Tip: This process utilizes work hardening of the organic fibers. By compressing the cellular structure of the wood at the edges, you increase the local density, which significantly extends the lifespan of the sacrificial jaw.
THE TECHNICAL LEDGER
Maintenance & Longevity: Wooden jaws are sacrificial by design. Every six months, inspect the surfaces for embedded metal shavings or dried glue. Use a cabinet scraper to "refresh" the face, revealing clean, flat wood. Apply a light coat of boiled linseed oil to keep the fibers supple and prevent cracking in dry climates.
Material Variations:
- Sustainable: Bamboo plywood offers incredible compressive strength and is a rapidly renewable resource.
- Recycled: Old growth oak salvaged from floor joists provides unmatched density and stability.
- Premium: Lignum Vitae is a self lubricating wood that contains natural oils, making it the ultimate luxury choice for a smooth grip.
The Correction:
- The Slip: If the wood is too slick, the workpiece may slide. Fix: Scuff the surface with 80 grit sandpaper to increase the coefficient of friction.
- The Rack: If the jaws close unevenly, it is often due to "racking." Fix: Insert a scrap piece of equal thickness on the opposite side of the vice to balance the pressure.
- The Split: If the wood splits at the bolt holes, the hole was too small. Fix: Drill a larger pilot hole and use a washer to distribute the clamping load.
Studio Organization: Store spare jaw blanks in a climate controlled drawer. Avoid hanging them on pegboards near windows, as UV exposure and rapid humidity shifts can cause the wood to "potato chip" or twist, rendering them useless for precision work.
THE FINAL REVEAL
Stand back and look at that bench! The transformation is immediate. Those warm, honey colored maple jaws look professional and inviting. When you turn the handle, the movement feels dampened and deliberate. You can now clamp a fragile violin neck or a polished brass tube without a hint of anxiety. The grip is firm yet soft; a perfect mechanical paradox. You have successfully upgraded a blunt instrument into a precision instrument. This is the hallmark of a master maker: modifying your environment to serve your craft.
STUDIO QUESTIONS
Why use wood instead of rubber pads?
Rubber has high elasticity, which can cause the workpiece to "bounce" or shift under heavy vibration. Hardwood provides a rigid, non-deforming surface that maintains precise geometry while still being softer than the metal of your tools.
What is the best wood for vice jaws?
Hard maple or European beech are ideal. They possess high compressive strength and a closed grain structure, which prevents small parts from getting lost in the pores and ensures a smooth, even distribution of pressure.
How do I prevent wood glue from sticking?
Apply a thin layer of paste wax or blue painter's tape to the wooden jaws. This lowers the surface energy, preventing the adhesive from forming a mechanical bond with the jaw fibers during glue-up operations.
Can I use plywood for vice jaws?
Yes, but only high grade Baltic Birch. Standard construction plywood has internal voids and soft veneers that will collapse under clamping pressure. Baltic Birch uses uniform, thin plies that offer excellent dimensional stability and impact resistance.

