Close your eyes and listen to the sound of a hand plane whispering across a length of Hinoki cypress. It is a crisp, rhythmic hiss that signals the removal of a shaving so thin you could read a newspaper through it. This is the sensory gateway into the world of Japanese Joinery Basics; a discipline where wood behaves more like a fluid than a solid. When you slide two perfectly cut pieces of timber together, there is a moment of resistance followed by a vacuum-like seal that feels almost magnetic. You are not just building furniture; you are mastering the physics of friction and cellular compression. The secret lies in the moisture content and the way the tracheids in the wood fibers interlock. Unlike Western carpentry which often relies on the brute force of nails or the chemical bond of PVA glue, this ancient craft utilizes the internal tensile strength of the material itself. We are going to dive into the geometry of the hidden joint where every millimeter of surface area is a calculated decision in structural integrity.
THE STUDIO KIT

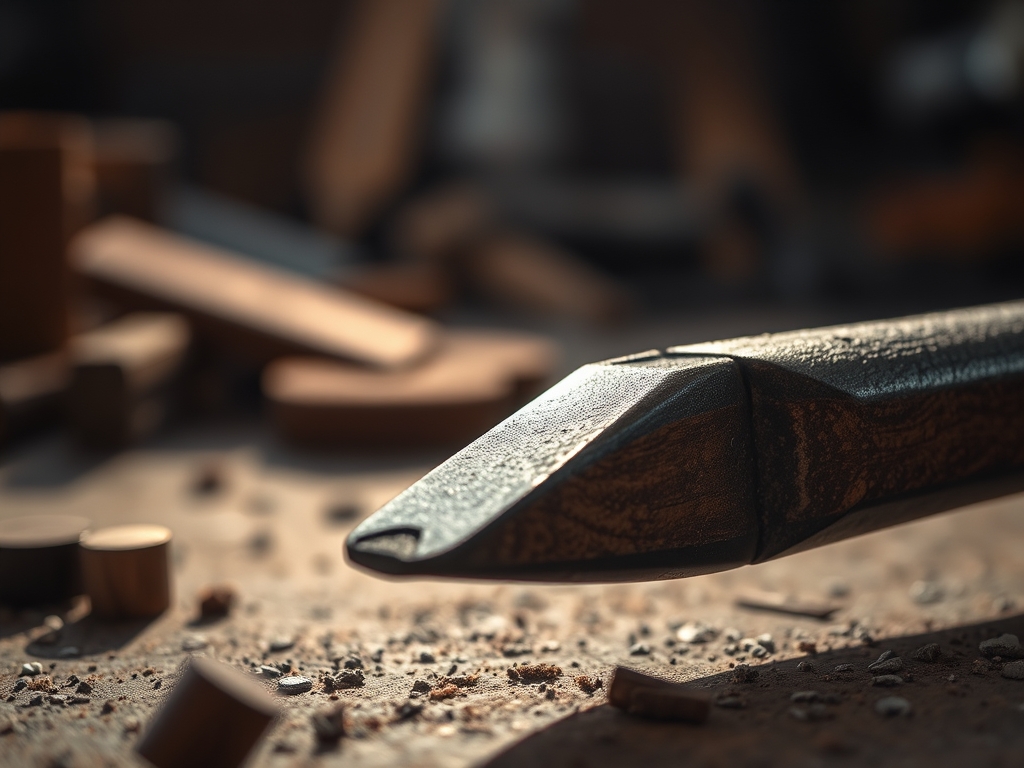
To master these joints, your tool kit needs to be an extension of your own nervous system. We start with the Ryoba saw, a double-edged marvel with graduated teeth. One side is designed for the rip cut, slicing parallel to the wood grain to minimize fiber tearing; the other side is for the crosscut, featuring a high-density tooth count to sever the lignin bonds cleanly. You will need a set of Omi-nomi chisels, which feature a hollow-ground back to reduce friction during deep mortising. Precision is non-negotiable, so keep a pair of digital calipers and a hardened steel marking awl nearby. The awl is superior to a pencil because it severs the surface fibers, creating a physical "track" for your saw to follow.
For materials, the gold standard is quartersawn timber. This cut ensures the growth rings are perpendicular to the face, providing maximum dimensional stability and predictable hygroscopic expansion. If you cannot source traditional cedar or cypress, high-quality white oak or cherry serves as an excellent substitute. Material Substitutions: If you are practicing on a budget, look for "Select Grade" pine, but ensure the moisture content is below twelve percent using a pin-style meter. Avoid construction-grade spruce, as the high resin content and erratic grain direction will cause your chisels to wander, ruining the flush-fit geometry required for a hidden joint.
THE TEMPO
The "Maker's Rhythm" is a psychological state where your heart rate syncs with your stroke speed. Do not rush the layout phase; this is where the intellectual heavy lifting happens. Expect to spend at least forty-five minutes just marking your lines and verifying squareness. The waste removal phase is the most physically demanding, requiring about sixty minutes of focused chiseling and sawing. Finally, the fitting phase is a delicate dance of micro-adjustments that can take another hour. In total, a single complex joint requires a dedicated three-hour block. If you feel your focus slipping, stop. In Japanese joinery, a single over-zealous strike with a mallet can result in a fracture along the grain line that renders the entire workpiece useless.
THE CORE METHOD
1. The Surgical Layout
Use your marking awl to scribe the boundaries of your joint directly into the wood. Unlike graphite, a scribed line provides a physical "stop" for your chisel. Mastery Tip: This technique utilizes the shear strength of the wood. By pre-cutting the surface fibers, you prevent "spelching" or splintering when the saw teeth engage with the wood, ensuring the shoulder of the joint remains perfectly crisp.
2. The Relief Cut Strategy
When removing the waste for a mortise, use your Ryoba to make a series of parallel "kerf" cuts within the waste area. Stop exactly one millimeter before your scribed line. Mastery Tip: This manages the internal compression of the timber. By removing the bulk of the material through kerfing, you provide a path of least resistance for the waste to escape, preventing the wood from splitting outward during the heavy chisel work.
3. The Precision Pare
Using your widest chisel, pare away the remaining millimeter of wood. Hold the chisel at a low angle and use a paring motion rather than a striking motion. Mastery Tip: This relies on capillary action and surface smoothness. A pared surface is glassy and closed-pore; when two such surfaces meet, the atmospheric pressure helps hold them together, a phenomenon known as "Jo block" adhesion in metallurgy.
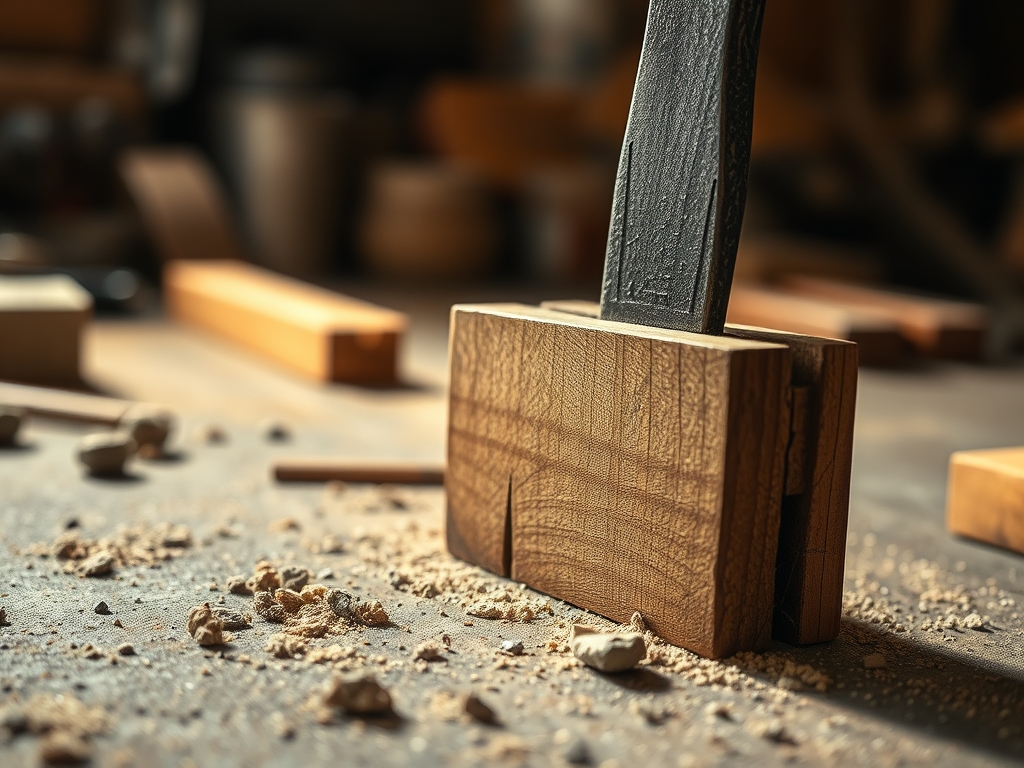
4. The Compression Fit
Slightly chamfer the leading edges of the tenon with a fine file or sandpaper. Use a wooden mallet to gently tap the pieces together. Mastery Tip: This involves elastic deformation. You want the tenon to be roughly 0.1mm larger than the mortise. As you drive it in, the wood cells compress slightly and then "spring back" once seated, creating a permanent mechanical lock without the need for fasteners.
THE TECHNICAL LEDGER
Maintenance & Longevity: To ensure your joints last for centuries, you must burnish the end grain. Use a smooth piece of hardwood or a specialized burnishing tool to crush the open pores at the tips of the fibers. This creates a natural seal against moisture ingress. Apply a thin coat of camellia oil to your steel tools after every session to prevent oxidation from the salt in your sweat.
Material Variations:
- Sustainable: Reclaimed Douglas Fir offers incredible strength-to-weight ratios but requires extremely sharp tools to handle the alternating hard and soft grain.
- Premium: Black Walnut provides a luxurious aesthetic and excellent dimensional stability, meaning it will not warp as the seasons change.
- Recycled: High-density fiberboard (MDF) is unsuitable for this craft as it lacks the long-chain cellulose fibers required for structural interlocking.
The Correction:
- The Gap: If your joint is loose, do not use wood filler. Instead, glue a "shim" of the same wood species onto the tenon and re-pare it to size.
- The Split: If the wood cracks, use a syringe to inject high-viscosity cyanoacrylate (CA) glue into the fissure and clamp it immediately.
- The Out-of-Square: if the joint is leaning, check the "shoulders." Usually, one side is slightly higher, preventing a flush seat. Use a shoulder plane to level it.
Studio Organization: Store your unfinished projects in a climate-controlled environment. Drastic swings in humidity will cause the wood to "move," meaning the joint you cut perfectly on Friday might not fit on Monday. Wrap your workpieces in cotton towels to buffer them against rapid atmospheric changes.
THE FINAL REVEAL
There is nothing quite like the "thunk" of a finished hidden joint seating home. When you pull that clamp away and see a seamless line where two pieces of organic material have become one, the dopamine hit is real. The surface should feel like a single continuous piece of silk. You have successfully navigated the complexities of Japanese Joinery Basics; you have balanced the forces of tension, compression, and friction to create something that defies the entropy of time. Run your fingers over the corner; if you cannot feel the transition between the two pieces, you have achieved mastery.
STUDIO QUESTIONS
Why is quartersawn wood preferred for joinery?
Quartersawn wood is more stable because the growth rings run vertically. This minimizes radial shrinkage and expansion, ensuring that your intricate joints remain tight and do not pull apart or crack during seasonal humidity shifts.
Can I use a standard Western handsaw?
You can, but Western saws cut on the "push" stroke, which requires a thicker blade for stability. Japanese saws cut on the "pull" stroke, allowing for a thinner kerf and much higher precision in tight tolerances.
What is the best way to sharpen chisels?
Use waterstones ranging from 1,000 to 8,000 grit. Maintaining a polished bevel is essential; a dull chisel will crush wood fibers rather than slicing them, leading to weak joints and poor structural integrity over time.
Is glue ever used in Japanese joinery?
While many traditional joints are purely mechanical, a small amount of rice paste or hide glue is sometimes used. These natural adhesives are reversible and do not interfere with the wood's ability to breathe and move.
How do I fix a joint that is too tight?
Never force a tight joint, as it will split the mortise. Use a marking gauge to identify high spots, then use a sharp paring chisel to remove shavings as thin as dust until the fit is snug but sliding.