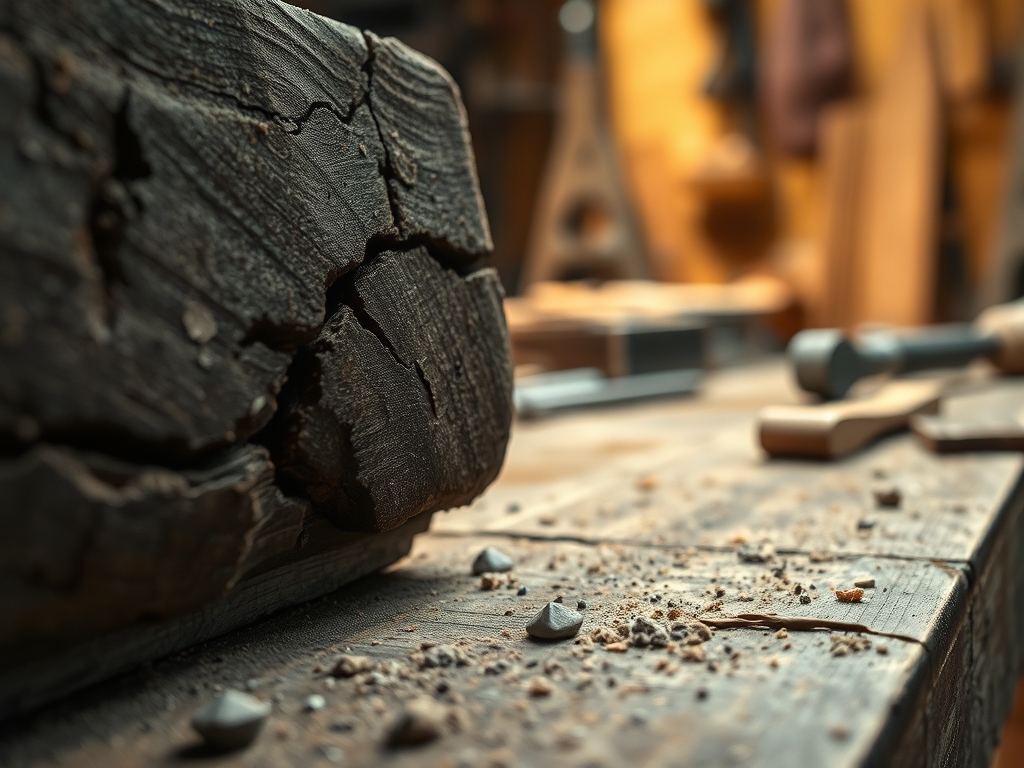
Imagine the scent of freshly sliced walnut filling your lungs as you run your fingertips across a surface so thin it feels like paper; yet, it holds the soul of a centuries old forest. We are diving into the world of Masterful Veneer Matching today. This is not just about gluing wood to a board; it is about manipulating the cellular architecture of timber to create a visual mirror image that tricks the eye into seeing perfect symmetry. When you hold two consecutive leaves of veneer, you are holding the literal history of a tree. The grain patterns are nearly identical because they were sliced mere millimeters apart. Our goal is to flip those leaves like the pages of a book to create a breathtaking, symmetrical Rorschach test in wood. This process requires a delicate touch and an understanding of how light interacts with the tracheid cells of the wood fibers. Get ready to transform a flat panel into a masterpiece of geometric nature.
THE STUDIO KIT
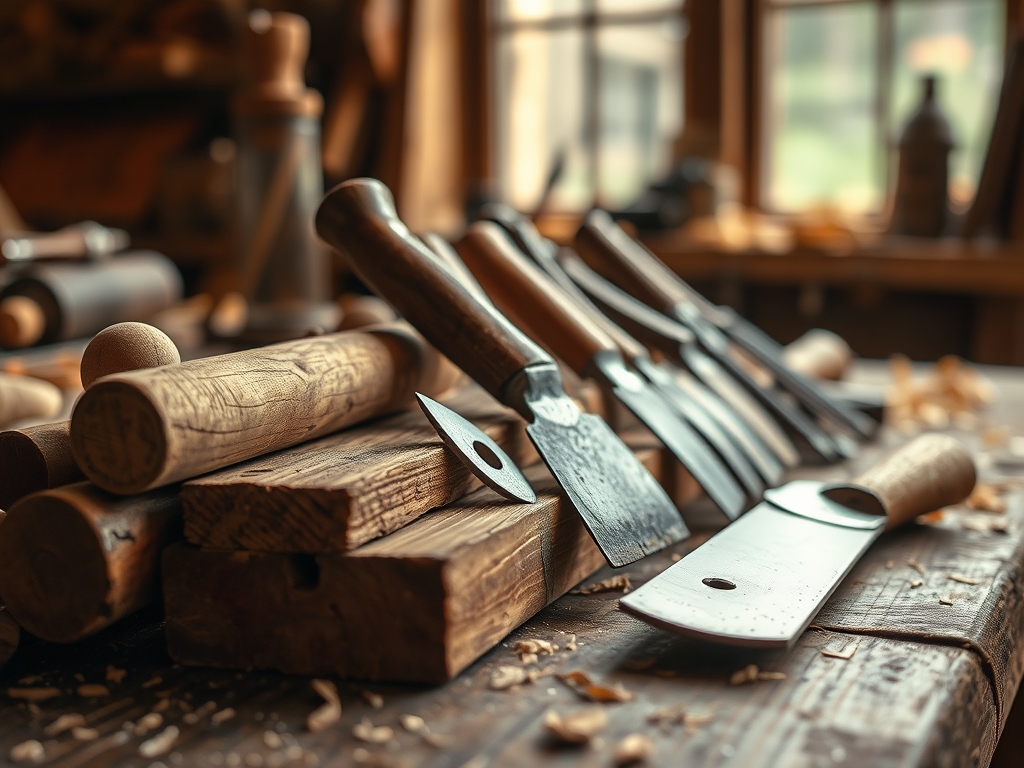
To achieve professional results, your workbench needs to look like a hybrid between a surgery suite and a high end woodshop. You will need a veneer saw with a fine tooth count to prevent "blowout" or splintering of the fragile edges. A rotary cutter is excellent for thinner leaves, while a marking awl allows you to score precise lines without the lead thickness of a pencil. For the joinery, veneer tape is non negotiable; it is a water activated gummed paper that shrinks as it dries, pulling the seam together with immense mechanical force. You will also need a veneer hammer, which is actually a specialized squeegee tool used to press out air pockets and excess adhesive.
If you cannot find traditional hide glue, a high quality PVA glue with a long open time is a suitable material substitution. For those working on a budget, a sharp utility knife with a fresh blade can replace the veneer saw, provided you use a heavy steel straightedge to guide your stroke. Always keep a bone folder nearby to burnish the tape and ensure every fiber is seated perfectly against the substrate.
THE TEMPO
The maker's rhythm for bookmatching is a slow dance followed by a sprint. Expect to spend approximately two hours in the "Selection Phase," where you analyze the grain and decide on your focal point. The "Cutting and Taping Phase" takes another three hours of intense, focused precision. Once the glue is applied, the "Pressing Phase" requires a minimum of twelve to twenty four hours under heavy clamping pressure or in a vacuum press. Do not rush the drying cycle. Wood is hygroscopic, meaning it absorbs moisture from the glue; if you remove the pressure too early, the veneer will curl and potato chip as it dries unevenly.
THE CORE METHOD
1. Sequential Leaf Selection
Start by numbering your veneer leaves in the order they were sliced from the flitch. To create a bookmatch, you take leaf one and leaf two, then flip leaf two over like a page. This exposes the "mirror" grain. Mastery Tip: Understand that wood is a three dimensional structure. When you flip a leaf, you are looking at the "loose side" and the "tight side" of the cut. Because the knife bends the wood slightly during slicing, one side has microscopic fractures. You must use a grain sealer or careful sanding to ensure both sides take finish identically despite these structural differences.
2. Squaring the Joint
Place your two leaves on top of one another, aligning the grain patterns perfectly. Use a heavy straightedge and your veneer saw to cut through both layers simultaneously. This ensures that even if your cut is not perfectly 90 degrees, the two edges will still mate perfectly because they share the same "error" in reverse. Mastery Tip: This relies on the principle of complementary angles. By cutting both at once, you eliminate the gap that occurs when trying to match two independently cut edges.
3. The Tension Tape Joint
Lay the leaves side by side on a flat surface. Apply small "cleats" of veneer tape across the seam every few inches to pull the joint tight. Then, run a long, continuous strip of tape down the entire length of the seam. Mastery Tip: As the water in the gummed tape evaporates, the paper fibers undergo hygro-expansion in reverse. The tape literally shrinks, acting as a microscopic winch that pulls the wood cells together for a seamless invisible joint.
4. Adhesive Application and Pressing
Apply a thin, even layer of glue to your substrate, usually MDF or high quality plywood for stability. Lay your taped veneer assembly onto the glue. Place a sheet of parchment paper over the veneer to prevent the tape from sticking to your press. Mastery Tip: Use a veneer hammer to work from the center outward. This utilizes hydrostatic pressure to force excess glue and air out from under the veneer, ensuring a 100 percent bond across the entire surface area.
THE TECHNICAL LEDGER
Maintenance & Longevity: A bookmatched table is a living object. To prevent the joints from "checking" or opening over time, maintain a consistent humidity level in your home. Use a high quality catalytic lacquer or hard wax oil to seal the pores and slow down the exchange of moisture.
Material Variations:
- Premium: Burl walnut or bird's eye maple offer the most dramatic visual symmetry.
- Sustainable: Bamboo veneer or reconstituted wood veneers provide eco friendly options with highly predictable grain patterns.
- Recycled: Look for "offcut" bundles from architectural millwork shops to find unique, small batch gems.
The Correction:
- The Gap: If a seam opens after pressing, use a mixture of fine wood dust and clear resin to fill the void.
- The Bubble: If you find a "boss" or air bubble, slit it carefully with a scalpel, inject a tiny amount of glue with a syringe, and re-press with a warm iron.
- Tape Residue: If the gummed tape is stubborn, do not sand it off. Use a damp cloth to reactivate the glue and scrape it gently with a cabinet scraper.
Studio Organization: Store your veneer flitches flat, between sheets of acid free paper, and weighted down with a heavy board. Exposure to UV light will "tan" the wood, causing the colors to shift before you even begin your project.
THE FINAL REVEAL
There is a moment when you peel back that brown paper tape and wipe the surface with a bit of mineral spirits to see the final grain. The room goes quiet. What was once two separate pieces of wood has become a singular, symmetrical explosion of natural art. The way the light catches the chatoyancy of the fibers, shimmering as you move around the table, is the ultimate reward for your precision. You have not just made a table; you have captured a moment of biological symmetry and frozen it in time.
STUDIO QUESTIONS
How do I prevent the veneer from cracking?
Keep your veneer in a stabilized environment with 40 to 50 percent humidity. If the wood is brittle, use a veneer softener solution to increase the pliability of the lignin before you attempt to cut or flatten it.
Can I bookmatch with a standard hand saw?
No; the teeth on a standard saw are too aggressive and will tear the delicate fibers. Use a veneer saw or a very sharp marking knife to ensure the edges are clean enough for a seamless joint.
What is the best substrate for veneer?
MDF (Medium Density Fiberboard) is the gold standard because it is isotropic, meaning it does not expand or contract significantly with weather changes. This prevents the veneer from shearing off due to the movement of the base material.
How do I hide the seam?
The secret is the "double cut" method. By cutting both leaves at the same time while they are stacked, you create a perfectly mirrored edge that disappears when the capillary action of the glue pulls the fibers together.
Is veneer tape different from masking tape?
Yes; veneer tape is a water activated paper tape that shrinks as it dries. This shrinkage is essential for pulling the joint together. Masking tape is elastic and will allow the joint to creep or open during pressing.