Close your eyes and listen to the high pitched whine of the bit meeting the grain. It is a sensory experience that defines Precision Drill Press Work; the smell of toasted oak mixing with the cold, metallic scent of machine oil. You feel that slight resistance against the quill handle as the steel teeth begin to bite into the cellulose fibers. If your jig is off by even a fraction of a degree, the exit hole will wander, ruining the structural integrity of your entire build. We are chasing that elusive, perfect ninety degree angle today, my friend. It is not just about power; it is about the physics of perpendicularity and the way we manipulate the tensile strength of our workpiece to ensure every bore is as straight as a laser beam.
THE STUDIO KIT
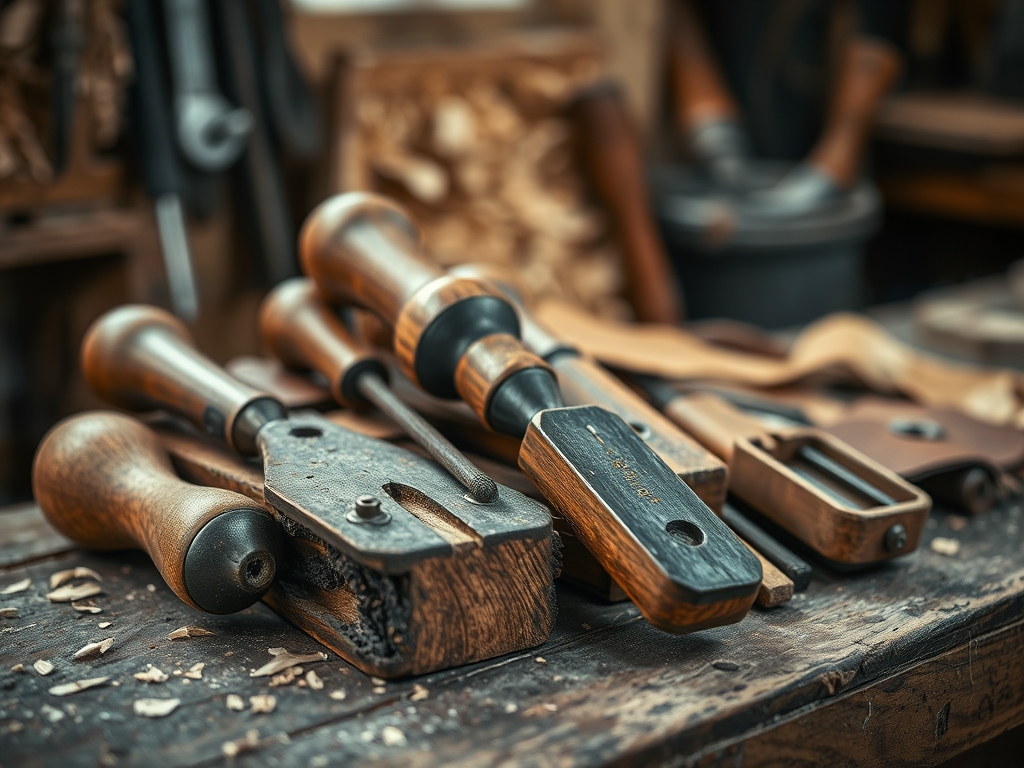
To master this, you need more than just a motor and a chuck. We are looking for high density materials that can withstand the vibration of the spindle without shifting. Your primary tool is the drill press itself, but the secret sauce lies in the fence and stop block system. You will need a pair of digital calipers to verify the diameter of your bits down to the thousandth of an inch. Grab a hardwood scrap for your sacrificial fence; something with high density like maple is ideal because it resists compression when you clamp it down.
For the marking phase, skip the dull pencil. Use a precision awl or a marking knife to create a physical divot in the wood. This mechanical "nest" guides the tip of the bit, preventing it from skating across the surface. If you are working with metal, a center punch is non negotiable. For material substitutions, if you do not have a professional cast iron fence, a length of extruded aluminum T-track bolted to a flat plywood base works beautifully. It offers excellent rigidity and allows for modular clamping. Always keep a depth stop handy to ensure uniformity across multiple bores.
THE TEMPO
The "Maker's Rhythm" is all about the pulse of the machine. You cannot rush the steel. Expect to spend about twenty minutes in the Calibration Phase, where you square the table to the spindle using a dial indicator. The Jig Assembly Phase takes another fifteen minutes; this is where you lock in your coordinates. The actual Boring Phase is the fastest part, usually taking only thirty seconds per hole, but it requires the most focus. You must listen to the motor. If the pitch drops, you are feeding too fast and risking thermal expansion of the bit. Give yourself a solid hour for a standard project to ensure you are not rushing the cooling periods between deep plunges.
THE CORE METHOD
1. Squaring the Table
Before you even touch your workpiece, you must ensure the table is perfectly perpendicular to the spindle. Place a precision square on the table and align it against a straight rod held in the chuck.
Mastery Tip: This step accounts for mechanical runout. Even a high end press can have a slight wobble in the bearings; by squaring to a rod rather than a fluted bit, you ensure the central axis of rotation is the true north of your project.
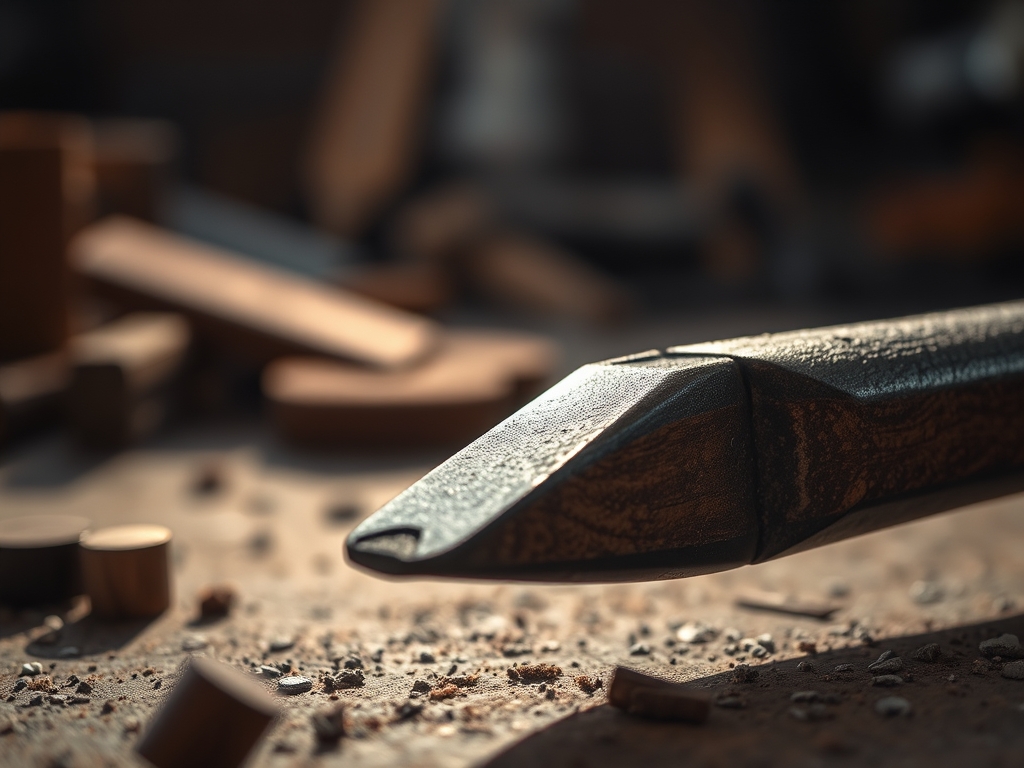
2. Scribing the Datum Line
Use your marking knife to score a deep line where the center of the hole will sit. This breaks the surface fibers and provides a path of least resistance for the drill point.
Mastery Tip: This technique utilizes the capillary action of the wood fibers. By severing the top layer of lignin, you prevent the grain from "pulling" the bit off center as it makes its initial contact, ensuring the entry point is surgically clean.
3. Setting the Sacrificial Fence
Clamp your fence so that it is perfectly parallel to the center of the chuck. Use a scrap piece of the same thickness as your project to test the alignment.
Mastery Tip: The fence acts as a stabilizer against rotational torque. When the bit grabs the wood, the material wants to spin at the same RPM as the motor; the fence transfers that energy into the heavy mass of the drill press table, keeping your hands safe and the cut straight.
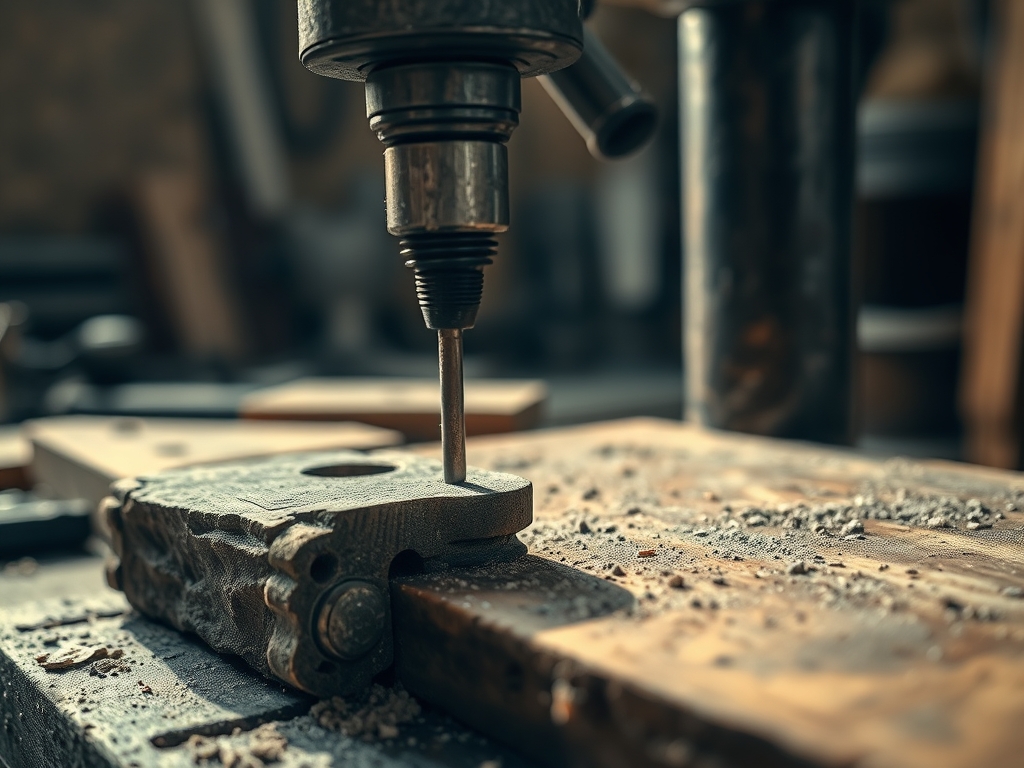
4. Executing the Plunge
Lower the bit slowly, using a "pecking" motion. Pull the bit out every half inch to clear the chips. This prevents heat buildup and keeps the flutes from clogging.
Mastery Tip: Clearing chips is vital for thermal management. Friction creates heat, which can cause the metal bit to expand and the wood to char. By removing waste, you maintain a consistent bore diameter and protect the temper of your tool steel.
THE TECHNICAL LEDGER
Maintenance & Longevity: Keep your table waxed with a non silicone paste wax. This prevents rust and allows your jigs to slide smoothly. Check the tension on your drive belts monthly; a slipping belt causes inconsistent torque, which leads to jagged holes.
Material Variations: For sustainable options, use recycled HDPE plastic for your jig faces. It is incredibly slick and does not swell with humidity. For premium builds, phenolic resin boards offer the highest level of dimensional stability, ensuring your jig stays true for years.
The Correction:
- The Wander: If the bit exits at an angle, your table is not square. Fix: Re-calibrate using a dial indicator.
- The Tear-out: If the bottom of the hole is fuzzy, you lack a backing board. Fix: Clamp a sacrificial "spoiler board" tightly underneath the workpiece.
- The Burn: If the wood is smoking, your feed rate is too slow or the bit is dull. Fix: Sharpen the bit and increase the downward pressure slightly.
Studio Organization: Store your custom jigs on a vertical French cleat wall. This prevents the wood from warping due to uneven pressure or moisture contact with the floor. Label each jig with the specific bit size and offset used.
THE FINAL REVEAL
Look at that! When you slide a dowel through those holes, it should seat with a satisfying, airtight "thunk." There is no wobble, no gaps, and no light shining through the seams. The precision you have achieved is a testament to your respect for the physics of the craft. You have taken raw, chaotic materials and forced them into a state of perfect geometric alignment. It feels professional because it is. Your project now has the structural integrity to last a lifetime; all because you took the time to master the dance of the drill press.
STUDIO QUESTIONS
How do I stop my drill bit from wandering?
Use a center punch or awl to create a physical starting point. This mechanical divot captures the bit tip, preventing it from walking across the grain before the cutting edges can engage the material fibers.
What is the best way to prevent exit hole tear-out?
Always use a sacrificial backing board clamped tightly against the underside of your workpiece. This supports the wood fibers as the bit exits, preventing the pressure from blowing out the grain at the bottom of the bore.
How do I know if my drill press table is square?
Insert a straight, machined rod into the chuck and check it against a precision machinist square placed on the table. Check both the front to back and side to side axes to ensure total perpendicularity.
Why are my holes coming out slightly oversized?
This is usually caused by spindle runout or a bent bit. Check the tightness of your chuck and ensure the bit is seated deeply. If the vibration persists, the bearings in the quill may need replacement.