The scent of freshly sheared cedar hits you before you even pick up the saw. It is that crisp, resinous perfume that signals a project is about to get serious. You are standing over a pile of premium lumber, feeling the tactile grain patterns under your fingertips, and you realize your standard square just will not cut it for these compound joints. Mastering the Sliding Bevel is the only way to bridge the gap between a messy gap and a seamless, professional finish. When you are dealing with tensile strength and the way wood fibers compress under pressure, a single degree of error can ruin the structural integrity of your entire build. You need to feel the cold, heavy weight of the brass and steel in your hand. It is about more than just a measurement; it is about capturing a physical moment in space and locking it down so tight that the wood has no choice but to obey. Let us dive into the physics of the pivot and get those angles perfect.
THE STUDIO KIT
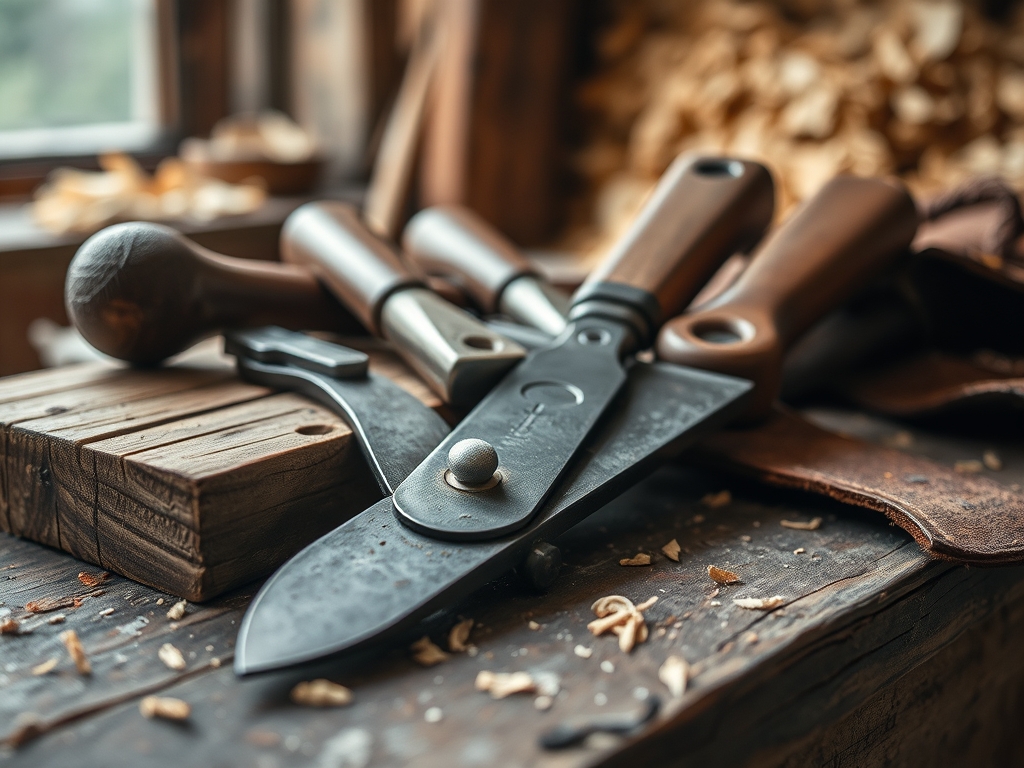
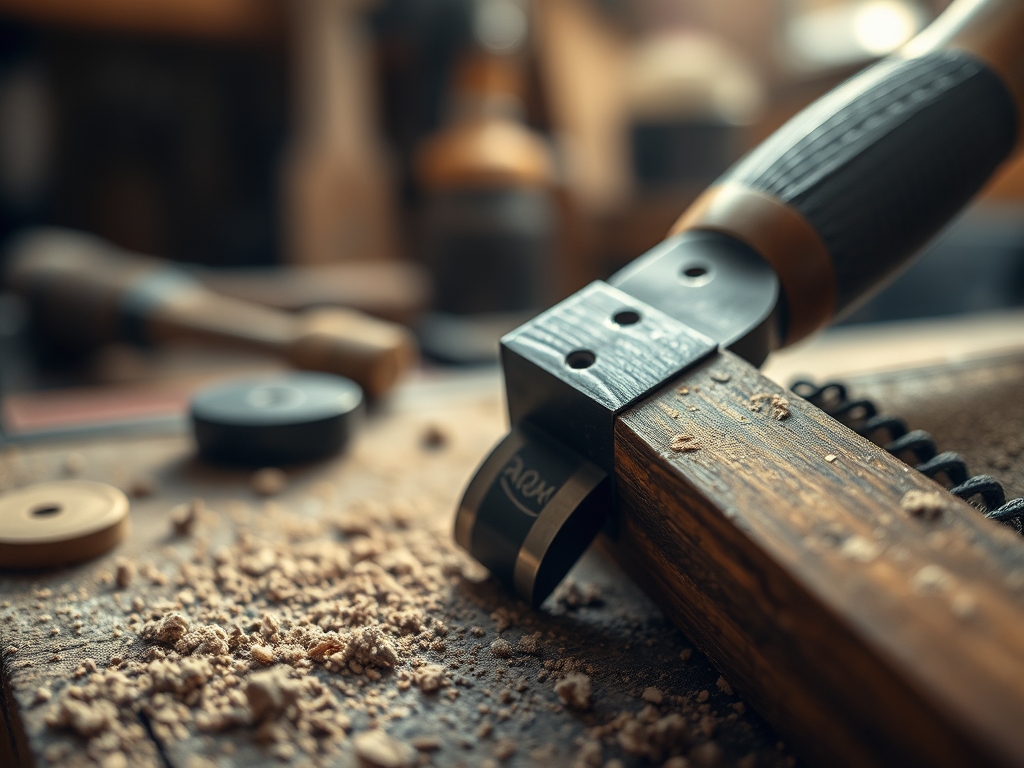
To achieve absolute precision, your kit must prioritize high-grade materials that resist thermal expansion. Your primary tool is the sliding T-bevel, preferably one with a stainless steel blade and a solid brass or kiln-dried hardwood stock. You will also need a marking awl to scribe lines that are thinner and more accurate than any graphite point could ever be. Keep a pair of digital calipers nearby to verify the gauge of your stock; even a fraction of a millimeter difference in thickness can throw off a mitered joint. For the actual marking, a precision square acts as your constant North Star.
Material Substitutions: If you are working on a budget, you can substitute a high-end brass bevel with a glass-filled nylon version, though you must be careful not to over-tighten the wing nut and strip the threads. Instead of a professional marking awl, a sharpened dental pick or a heavy-duty sewing needle held in a pin vise works beautifully for scribing into porous grain. For the lumber, if premium walnut is out of reach, high-density Baltic birch plywood offers incredible dimensional stability, though you must account for the ply layers when calculating your screw depth and glue absorption.
THE TEMPO
The "Maker's Rhythm" is a three-act play that requires patience over speed. The Calibration Phase takes approximately 15 minutes. This is where you check your tools for square and ensure your bevel blade is perfectly flat. The Transfer Phase is the heart of the work, taking 30 to 45 minutes depending on the complexity of the angles. Here, you are moving slowly, "feeling" the blade seat against the reference surface. Finally, the Execution Phase involves the actual cutting and fitting, which can take several hours. Do not rush the scribe. A fast line is often a crooked line. By syncing your breathing with your saw strokes, you maintain a steady tempo that prevents the blade from wandering across the grain.
THE CORE METHOD
1. Setting the Reference
First, you must identify your "true" edge. Use your calipers to ensure the reference side is perfectly parallel to its opposite. Place the stock of the bevel firmly against this edge and swing the blade until it kisses the angle you wish to duplicate.
Mastery Tip: This relies on mechanical advantage. By locking the thumb screw at the base, you create a rigid template that resists the lateral forces of the marking tool. If the pivot point is loose, the tensile stress of the scribe will shift the blade, resulting in a cumulative error known as "angle creep."
2. Scribing the Fiber
Once the bevel is locked, do not use a pencil. Take your marking awl and lightly score the surface of the wood. This is not just a visual guide; you are physically severing the upper cellulose fibers.
Mastery Tip: Scribing creates a microscopic shoulder for your saw or chisel to register into. This utilizes the principle of surface tension within the wood cells. When the saw blade enters the scribe line, it naturally wants to follow the path of least resistance, which is the pre-cut valley you just created.
3. The Double-Check Transfer
Before you make the cut, flip the bevel over and check the angle from the opposite side of the workpiece. In a perfect world, the blade should align perfectly with your scribe line in both orientations.
Mastery Tip: This is a test of geometric symmetry. If the bevel does not line up when flipped, your reference edge is not as flat as you thought. This "mirroring" technique exposes microscopic deviations in the gauge of the material that the naked eye would miss.
4. Establishing the Kerf
Position your saw on the "waste" side of the scribe line. Use a burnish technique with your thumbnail to guide the first few strokes. The goal is to leave exactly half of your scribe line visible on the finished piece.
Mastery Tip: This accounts for kerf loss. Every saw blade has a specific thickness. By understanding the displacement of the wood fibers as they are turned into sawdust, you ensure that the final dimension of the piece matches your mathematical intent.
THE TECHNICAL LEDGER
Maintenance & Longevity: To keep your sliding bevel in peak condition, wipe the steel blade with a light coat of camellia oil after every session. This prevents oxidation and ensures the sliding mechanism remains ergonomic and smooth. Check the locking nut for debris; a single grain of sawdust can prevent the blade from locking securely.
Material Variations:
- Sustainable: Reclaimed heart pine offers incredible density but contains hidden nail holes that can nick your blade.
- Recycled: Compressed paper composites are extremely stable but require carbide-tipped tools because they are highly abrasive.
- Premium: Quarter-sawn white oak provides the best structural integrity for complex joinery due to its interlocking grain.
The Correction:
- The Gap: If your joint has a gap, use a bone folder to burnish the edges of the wood, slightly compressing the fibers to close the space.
- The Over-Cut: If you cut too deep, create a "shimming paste" using fine sawdust from the same board mixed with wood glue to maintain color consistency.
- The Blade Slip: If the bevel moves during a transfer, re-calibrate using a protractor and re-scribe the line exactly 1mm away to avoid confusion.
Studio Organization: Store your sliding bevels vertically on a magnetic strip or in a padded drawer. Never throw them into a toolbox where they can be knocked out of alignment. Keeping them in a climate-controlled environment prevents the metal from expanding and contracting, which preserves your calibration.
THE FINAL REVEAL
There is nothing quite like the moment those two pieces of wood slide together with a soft "thunk." When you master the sliding bevel, you are not just building furniture; you are mastering the physics of your environment. Look at those seams! They are so tight they look like they grew that way. The way the light hits the burnished edges of the joint proves that your attention to the tactile details paid off. You have taken a complex, intimidating angle and tamed it with nothing but a bit of steel and a lot of focus. That is the power of a true maker.
STUDIO QUESTIONS
How do I know if my sliding bevel is truly accurate?
Place the stock against a known straight edge and scribe a line. Flip the tool over. If the blade aligns perfectly with the line from the opposite direction, your tool is calibrated and ready for high-precision tactile work.
What is the best way to mark dark hardwoods?
Use a white charcoal pencil or a specialized silver marking tool. However, for ultimate accuracy, a marking awl is superior because it creates a physical groove in the porous grain that your saw blade can actually feel.
Can I use a sliding bevel for metalworking?
Yes, but you must use a hardened steel blade to avoid scratching the tool. Use a scribe with a tungsten carbide tip to mark the metal, as standard awls will dull quickly against non-porous surfaces like aluminum or steel.
Why does my bevel keep slipping during use?
Check the locking mechanism for oil or sawdust buildup. If the friction plates are contaminated, they cannot maintain the necessary tensile grip. Clean the pivot point with a degreaser and ensure the wing nut is tightened with firm, ergonomic pressure.