
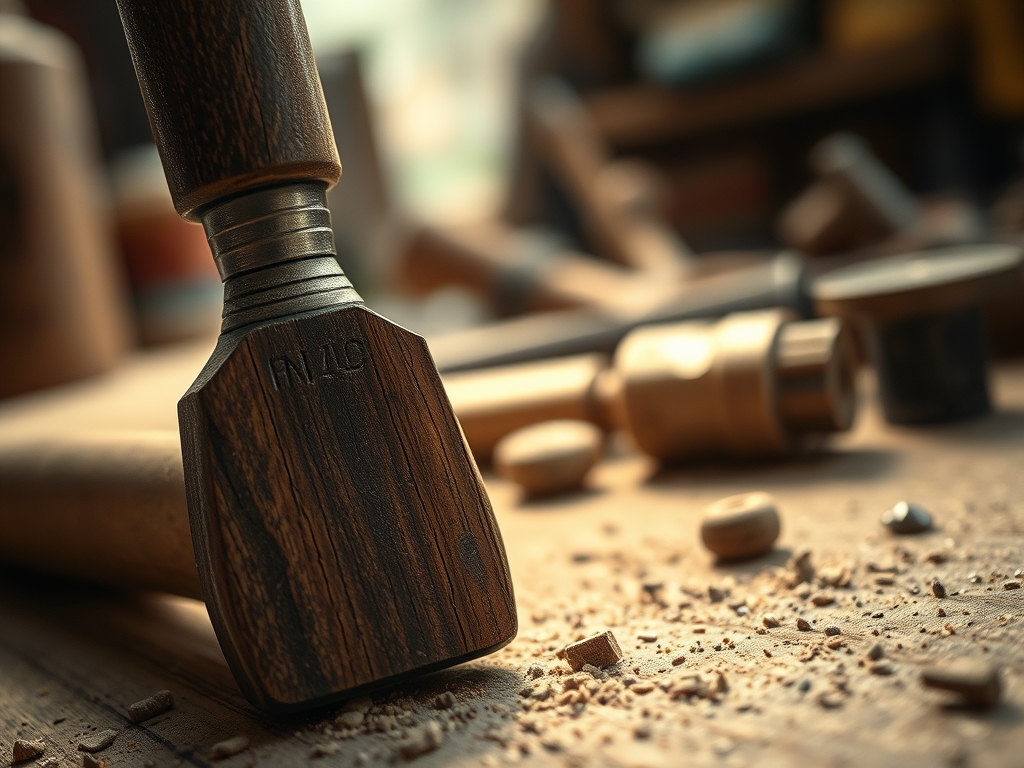
Imagine the smell of fresh cedar shavings dancing through the air as the sun hits your workbench at just the right angle. There is a specific, electric thrill that happens when you pick up a tool and feel the weight of professional grade steel in your palm. It is not just about making a shape; it is about the physics of the fiber. When you use Advanced Wood Carving Tools, you are engaging in a high stakes conversation with the internal structure of the timber. You can feel the resistance of the cellulose walls and the way the grain wants to fight back or yield. To a beginner, it is just a block of wood. To us, it is a complex lattice of organic polymers waiting for the right edge to unlock its potential. We are looking for that perfect, buttery slice where the steel glides through the lignin without a single stutter. It is tactile, it is technical, and honestly, it is a total rush.
THE STUDIO KIT
THE STUDIO KIT
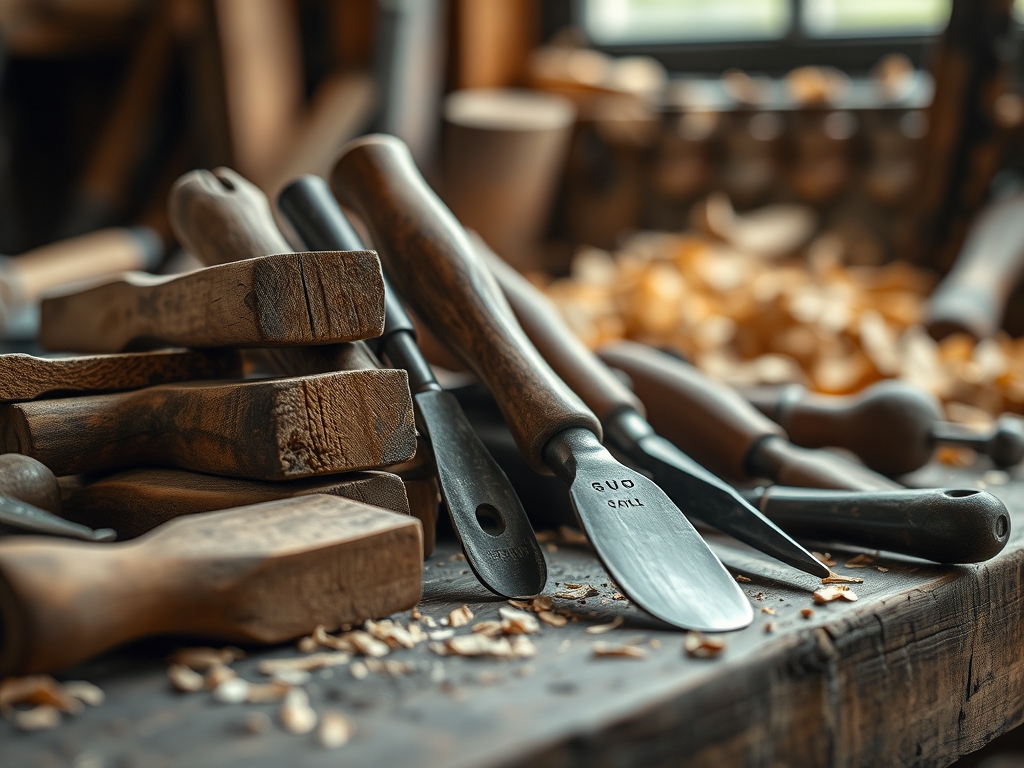
To master the art of the cut, your kit needs to be as precise as a surgeon's tray. We start with the heavy hitters: a set of high carbon steel chisels with various sweep profiles. You will need a #7 gouge for those deep, rhythmic excavations and a V-parting tool for crisp, anatomical detail. Because we are obsessed with precision, we also keep a set of digital calipers nearby to measure wall thickness and ensure structural integrity. For the finer work, a jeweler's saw is essential for tight internal radii that a standard chisel simply cannot navigate.
The materials themselves require a deep understanding of density and moisture content. I prefer working with black walnut or cherry because their interlocking grain provides incredible tensile strength, allowing for delicate, spindly features that would snap in softer woods. If you are looking for Material Substitutions, you can swap premium hardwoods for high density polyurethane carving foam. It does not have the same soul as timber, but it is an excellent medium for testing the ergonomic flow of a new design without risking a pricey slab of exotic wood. Always have a burnish tool ready to compress the fibers at the end; it creates a natural luster that no sandpaper can replicate.
THE TEMPO
The "Maker's Rhythm" is less about the clock and more about the metabolic rate of the wood. Phase one is the Bulk Reduction, which usually takes about three to five hours depending on the volume of the block. This is high energy, high impact work where you are clearing the "waste" to find the form. Phase two is the Refinement Stage, taking anywhere from ten to twenty hours. This is where the tempo slows down; every stroke is calculated, and the focus shifts to the surface tension of the curves.
Finally, we enter the Detail and Finishing Phase. This can stretch for days. You are no longer removing mass; you are manipulating light. This phase requires a meditative state because one slip of a gauge can ruin forty hours of work. The time spent is proportional to the fiber density of your material; denser woods require more frequent sharpening intervals, which adds to the overall project duration. Respect the tempo, and the wood will cooperate.
THE CORE METHOD
1. Mapping the Grain Direction
Before the first strike, you must perform a "grain audit" using a bright LED light to reveal the growth rings. Understanding the longitudinal and radial planes of the wood prevents "tear out," which happens when the blade digs deeper than intended.
Mastery Tip: The science here is all about cleavage planes. Wood is essentially a bundle of straws glued together. If you carve "uphill" against the grain, you are lifting those straws and snapping them. Always carve "downhill" to keep the fibers compressed and smooth.
2. The Relief Cut Strategy
Use your V-parting tool to create "stop cuts" around your primary forms. These act as physical barriers that prevent a larger gouge from over-traveling into an area you want to preserve.
Mastery Tip: This utilizes the principle of structural isolation. By severing the surface fibers early, you prevent the kinetic energy of a heavy mallet strike from radiating through the entire block and causing unintended fractures in delicate sections.
3. Progressive Refinement of Sweep
Start with your highest number gouges (the ones with the most curve) to remove bulk, then progressively move toward flatter chisels. Use your calipers constantly to check that you aren't thinning the ply of the wood too much in high stress areas.
Mastery Tip: This is about mechanical advantage. A deep gouge concentrates all the force into a small, curved area, making it easier to shear through the lignin bonds. As the surface becomes more refined, a flatter tool distributes that force, preventing deep bruising of the wood cells.
4. Shear Cutting and Slicing
Instead of pushing the tool straight forward, use a lateral sliding motion. This "slicing" action engages the micro-serrations of the sharpened steel edge, resulting in a much cleaner surface.
Mastery Tip: This technique reduces frictional resistance. By sliding the blade as you push, you are decreasing the surface area of the leading edge in direct contact with the wood at any single millisecond, which prevents the "crushing" of the porous cell structure.
THE TECHNICAL LEDGER
Maintenance & Longevity: Your tools are useless if they aren't terrifyingly sharp. Use a multi-stage sharpening system: a 1000-grit waterstone for shaping, a 6000-grit for honing, and a leather strop infused with chromium oxide for that final mirror finish. Store your chisels in a tool roll made of oil-treated canvas to prevent oxidation and moisture damage to the high carbon steel.
Material Variations: While we love premium hardwoods, Sustainable options like reclaimed Douglas Fir offer a unique challenge due to their varying tensile strengths between latewood and earlywood. If you are using Recycled timber, always run a metal detector over the surface to check for hidden nails that will instantly chip your Advanced Wood Carving Tools.
The Correction:
- The Mistake: Deep tear-out in a visible area. The Fix: Use a sharp awl to texture the area to match the surrounding grain, then apply a mixture of wood glue and fine sanding dust from the same block to create a "structural putty."
- The Mistake: Tool slipping and gouging the finish. The Fix: Use a damp cloth and a soldering iron to "steam" the dent. The moisture causes the crushed wood cells to expand back to their original volume.
- The Mistake: A thin section snaps off. The Fix: Clean the break with a rotary cutter to create a flat surface, then "dowel" the piece back on using a tiny sliver of the same wood for a seamless grain match.
Studio Organization: To prevent degradation, store your wood in a climate controlled environment with a consistent humidity level of 40 to 50 percent. Fluctuations cause the wood to "breathe," leading to checking and warping. Keep your workbench clear of metal shavings, as these can react with the tannins in woods like oak, causing permanent black staining.
THE FINAL REVEAL
Look at that! The way the light catches the burnished edges of the walnut is absolutely breathtaking. We have taken a raw, chaotic piece of nature and, through the application of physics and some seriously sharp steel, turned it into a structured masterpiece. The curves are fluid, the transitions are crisp, and the surface feels like polished stone. There is nothing quite like the pride of knowing every single facet was earned through a deep understanding of the material. You didn't just carve wood; you mastered it.
STUDIO QUESTIONS
How do I stop my tools from rusting?
Apply a thin coat of camellia oil after every session. This creates a hydrophobic barrier that prevents oxygen and moisture from reaching the high carbon steel, stopping oxidation before it starts.
Why is my wood splitting during carving?
This usually happens because the internal moisture content is dropping too fast. Keep your project covered in a plastic bag between sessions to slow down the evaporation and stabilize the cellular structure.
Can I use a rotary tool for detailing?
Yes, an oscillating tool or rotary carver is great for hard to reach spots. However, they lack the "clean shear" of a hand chisel, often leaving "fuzz" that requires extra manual burnishing.
What is the best wood for a total beginner?
Basswood is the gold standard. It has a very low grain definition and consistent density, making it incredibly forgiving when you are still learning to control your Advanced Wood Carving Tools.

