Freshly sawn lumber has a scent that hits you right in the chest; it is a heavy, damp perfume of cedar oils and trapped groundwater that feels cool to the touch. When you run your hand over a raw slab, you are feeling the literal circulatory system of a tree. However, if you try to build a table with that wet board today, it will twist into a pretzel by next Tuesday. Mastering the art of Professional Wood Seasoning is the difference between a masterpiece and a pile of expensive firewood. It is about taming the internal tension of the wood fibers and coaxing that moisture out without causing the cellular walls to collapse. We are essentially performing a slow-motion magic trick where we swap water for stability. You have to respect the grain, understand the physics of evaporation, and have the patience of a saint. Let us get into the grit of how we turn a heavy, sodden log into a crisp, stable material ready for your finest joinery.
THE STUDIO KIT
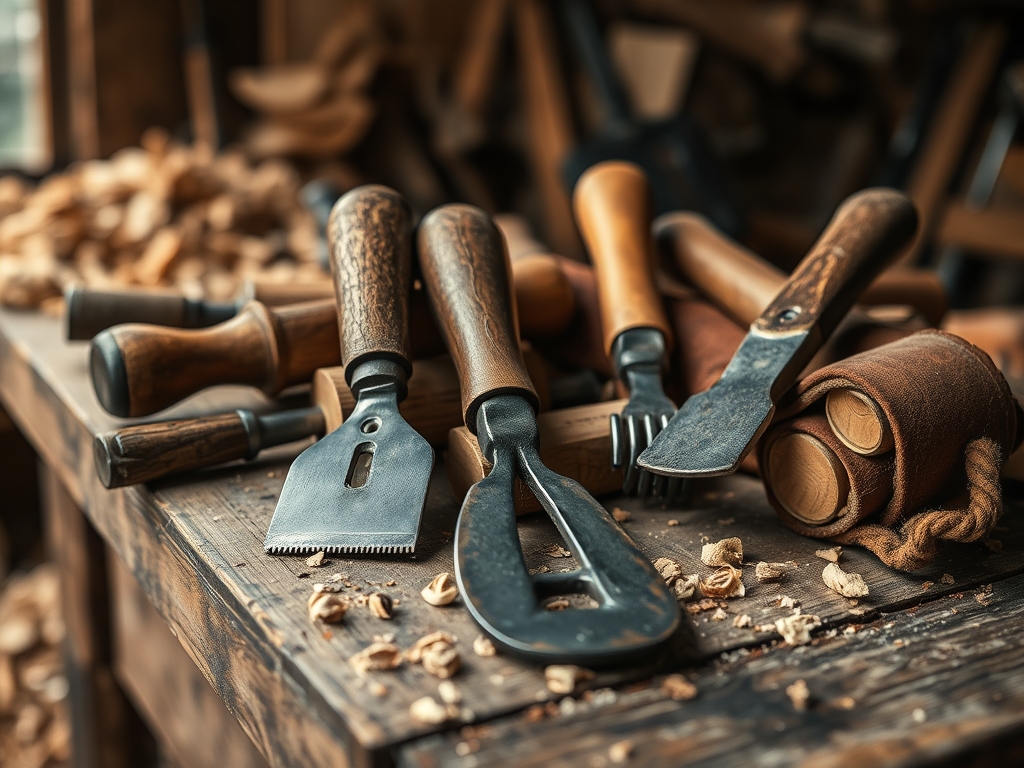
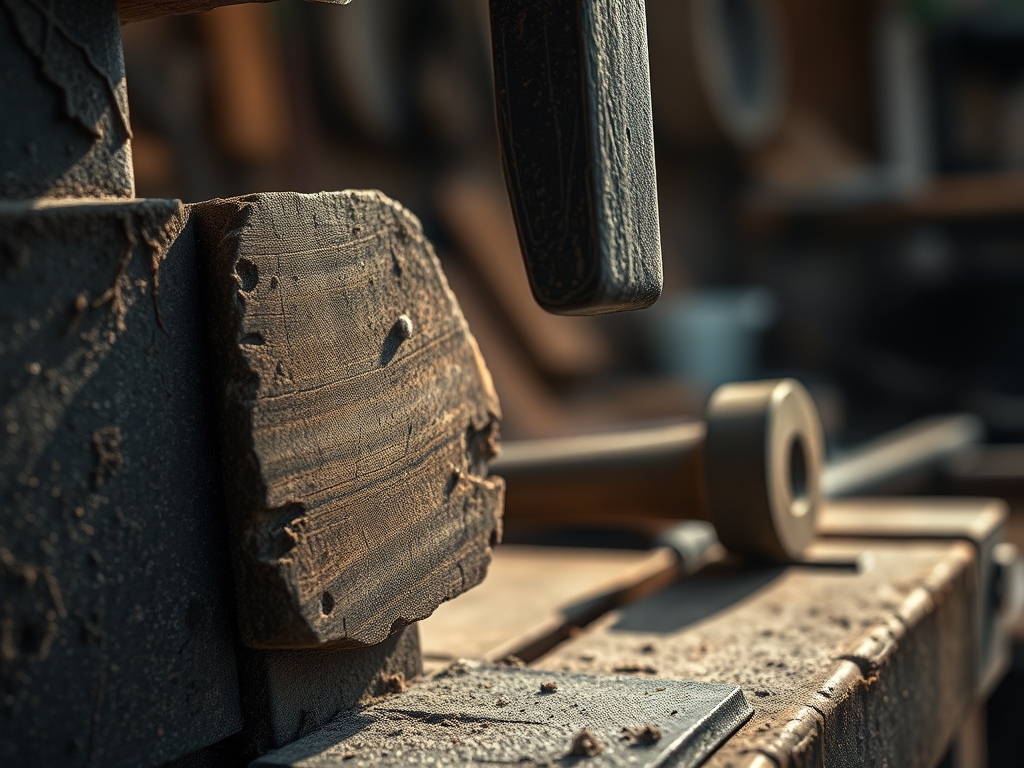
To do this right, you need more than just a corner of the garage. You need a controlled environment where you can monitor the equilibrium moisture content (EMC). Your primary weapon is a high-quality pin-style moisture meter to probe the internal saturation levels. You will also need a digital hygrometer to track the ambient humidity of your shop. For the physical handling, grab a heavy-duty drawknife to strip away bark where wood-boring insects love to hide.
You must have stickers, which are small, uniform strips of dry wood (usually 1×1 inch) used to create airflow between layers. Do not use green wood for stickers or you will leave permanent "sticker stain" bruises on your lumber. For the ends of the boards, you need a wax-based end sealer or a thick emulsified paraffin. This prevents the ends from drying too fast and splitting.
Material Substitutions: If you cannot find a commercial end sealer, you can use a thick coat of exterior latex paint or even melted candle wax in a pinch, though the professional stuff is far superior for vapor barrier integrity. If you lack a moisture meter, you can use the oven-dry mass method with a precise digital scale, though it requires a bit of math and a sacrificial wood sample.
THE TEMPO
The Maker's Rhythm for seasoning is not measured in hours, but in seasons. The gold standard rule is one year of drying time per inch of thickness. If you are seasoning a 2-inch thick slab of walnut, you are looking at a twenty-four month commitment.
The first phase is the Surface Evaporation Phase, which happens in the first few weeks as "free water" leaves the cell cavities. The second phase is the Fiber Saturation Point, where the "bound water" inside the cell walls begins to exit. This is where the real shrinking and movement happen. Finally, we reach the Conditioning Phase, where the wood sits in your actual workspace for at least two weeks to acclimate to the specific humidity where it will live its final life.
THE CORE METHOD
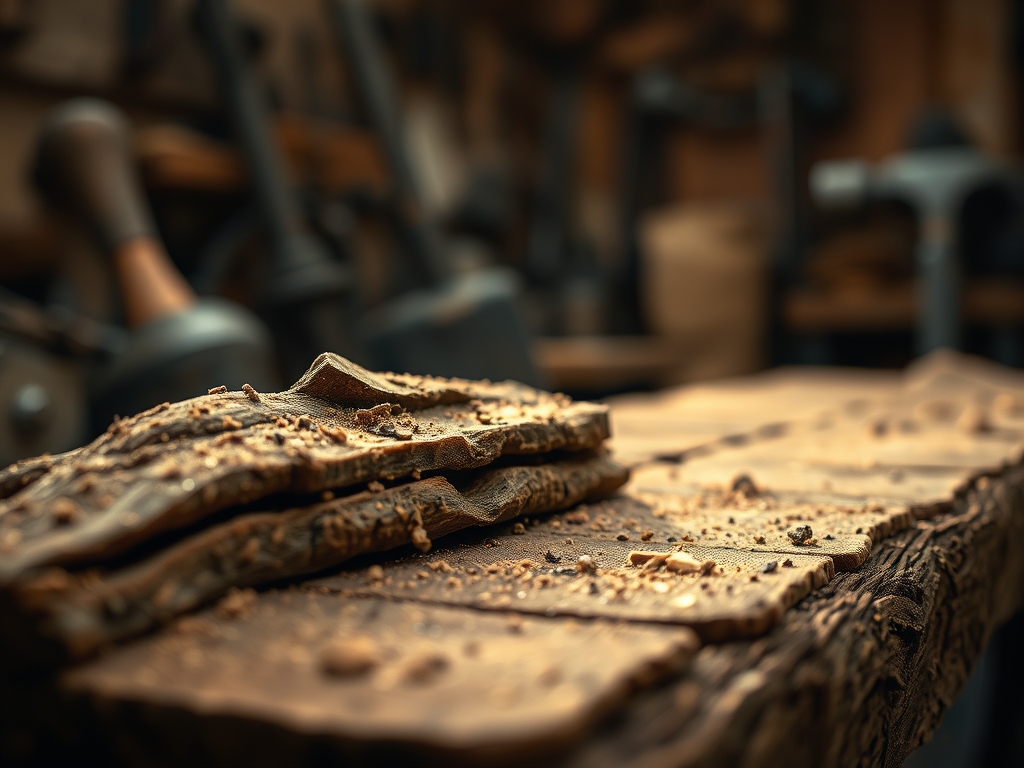
1. Debarking and Cleaning
Strip every bit of bark using a drawknife or a stiff-bladed scraper. Bark acts as an insulator that traps moisture unevenly and provides a buffet for powderpost beetles. By removing it, you expose the cambium layer to direct airflow, which kickstarts the evaporation process from the outer radius inward.
Mastery Tip: This step prevents differential drying stress. If the bark stays on, the wood underneath stays wet while the exposed faces shrink, leading to deep radial cracks called checks that ruin the structural integrity of the board.
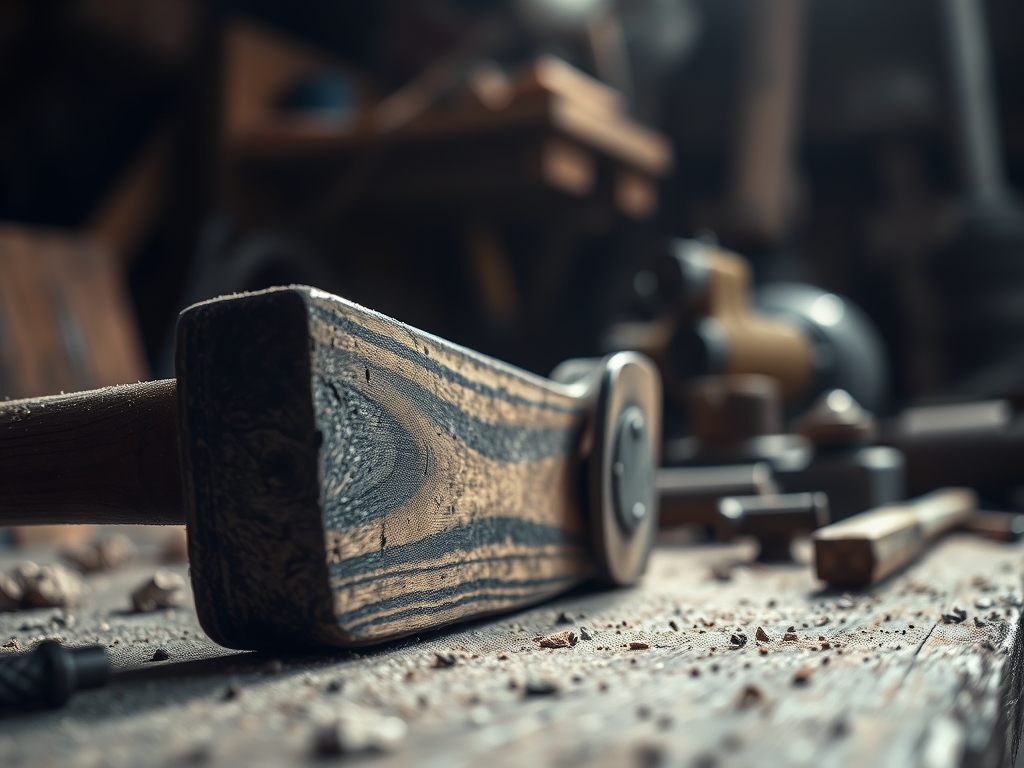
2. Sealing the End Grain
Apply your sealant to the ends of the boards immediately after milling. The end grain is essentially a bundle of open straws; water exits through the ends ten to fifteen times faster than through the faces. You want to force the moisture to take the long way out through the sides of the board.
Mastery Tip: This manages capillary action. By plugging the "straws," you ensure the entire board shrinks at a uniform rate, preventing the ends from "honeycombing" or splitting wide open as the fibers pull apart.
3. Leveling the Foundation
Your drying stack is only as good as the floor it sits on. Use heavy 4×4 skids to raise the pile at least six inches off the ground. Use a spirit level to ensure the foundation is perfectly flat. If your base is twisted, your wood will dry with a permanent "set" in that twisted shape.
Mastery Tip: Wood is plastic when it is wet. It will literally mold itself to the shape of the stack. A level foundation uses gravity to keep the boards flat as the lignin hardens during the drying process.
4. Stickering for Airflow
Place your stickers every 12 to 16 inches along the length of the board. They must be perfectly aligned vertically, one on top of the other, so the weight of the stack is transferred directly down to the foundation skids. This prevents the boards from bowing under their own weight.
Mastery Tip: This optimizes laminar airflow. By creating uniform gaps, you allow air to pull moisture away from the center of the stack, preventing the growth of mold and fungal "spalting" that can rot the wood from the inside out.
5. Weighted Compression
Once the stack is complete, place heavy weights on the top layer or use ratchet straps to keep the pile under tension. This is especially important for the top boards which do not have the weight of a stack to keep them flat.
Mastery Tip: This counters the tensile forces created as the wood shrinks. By keeping the boards compressed, you force the wood to remain dimensionally stable even as the internal cells collapse and tighten.
THE TECHNICAL LEDGER
Maintenance & Longevity: Check your moisture meter readings every three months and log them in a shop journal. Once the readings plateau for two consecutive months, the wood has reached its equilibrium point. Clean the dust off your stack regularly to prevent moisture-wicking debris from settling between the boards.
Material Variations:
- Sustainable: Reclaimed beams often have "case-hardened" exteriors but wet cores; re-seasoning them after resawing is vital.
- Premium: Species like White Oak have tyloses in the pores that make them dry very slowly; they require extra patience.
- Recycled: Pallet wood is often heat-treated (marked HT), which makes it dry but also more brittle.
The Correction:
- The Mistake: Surface checking. The Fix: Increase the humidity in the room or reduce airflow to slow down the drying rate.
- The Mistake: Bowing. The Fix: Wet the board slightly, flip it over, and weight it heavily on a flat surface to "reverse" the memory of the fibers.
- The Mistake: Mold growth. The Fix: Increase airflow with a small shop fan and treat the area with a mild borate solution to kill spores.
Studio Organization: Store your seasoned lumber vertically in a "dry rack" only after it has reached 10% moisture content. Before that, it must remain horizontal and stickered. Use a marking gauge to date every board so you know exactly how long it has been "cooking."
THE FINAL REVEAL
There is nothing quite like the moment you take a plane to a board you seasoned yourself. The shavings come off in long, crisp ribbons that feel like silk rather than the fuzzy, damp chips of green wood. The color is deeper, the grain is more defined, and you have the absolute confidence that the table you build will stay flat for a hundred years. You have successfully navigated the transition from biology to geometry. Your lumber is no longer just a piece of a tree; it is a refined, high-performance material ready for the most intricate joinery your mind can conceive.
STUDIO QUESTIONS
How do I know if my wood is dry enough?
Use a pin-style moisture meter to check the center of the board. For indoor furniture, you want a reading between 6% and 8%. If the reading stays the same for several weeks, it has reached equilibrium with your shop environment.
Can I dry wood faster with a fan?
Yes, but be careful. Too much airflow can cause the surface to dry and shrink faster than the core, leading to "case hardening" or surface cracks. Use a fan on a low setting to maintain gentle, consistent air movement.
What happens if I don't seal the ends?
The ends will lose moisture rapidly, causing them to shrink while the rest of the board stays swollen. This creates massive tension that results in "checking," which are deep splits that can travel several inches into your expensive lumber.
Is it okay to dry wood in a basement?
Only if the basement is climate-controlled. Most basements are too damp, which will prevent the wood from ever dropping below 12% moisture. A dehumidifier is usually necessary to reach furniture-grade dryness levels in a basement setting.
Why are my stickers leaving marks?
This is "sticker stain," caused by using wet stickers or species with high tannin content. Always use dry, scrap softwood for stickers and ensure they are aligned vertically to prevent trapped moisture pockets that encourage fungal staining.