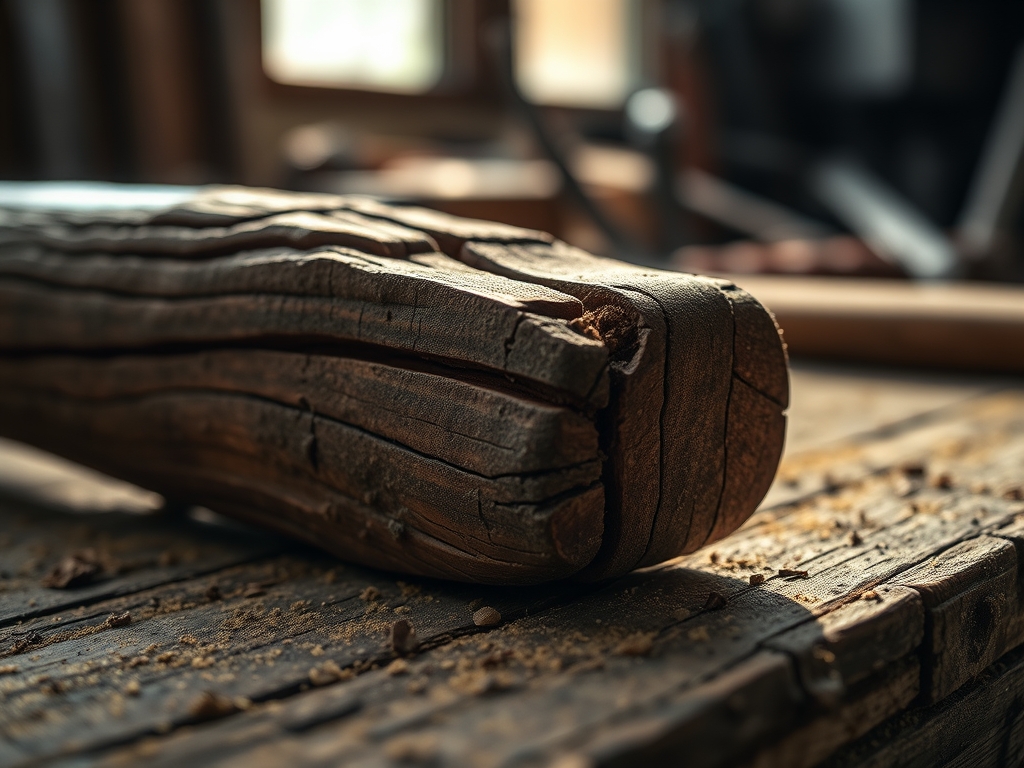
Imagine the scent of toasted vanilla and iron filling the air as your hand plane glides over a slab of curly maple. Your fingertips trace the undulating ridges; that shimmering figure is actually a structural nightmare waiting to happen. To master these fibers, you must commit to Understanding Grain Direction before the first shaving falls. This is not just about aesthetics; it is a high stakes game of material physics where one wrong move results in a jagged crater known as tear out. When you work with high density hardwoods, you are battling the tree's original hydraulic system. Those long, tubular cells are packed with lignin, acting like a bundle of drinking straws. If you plane against the growth, you are essentially prying those straws upward instead of shearing them off. The result is a tactile disaster. You want that glass like finish that reflects light with surgical precision, not a surface that feels like coarse sandpaper. We are going to dive deep into the cellular anatomy of your lumber to ensure every pass of your tool is a victory for structural integrity.
THE STUDIO KIT
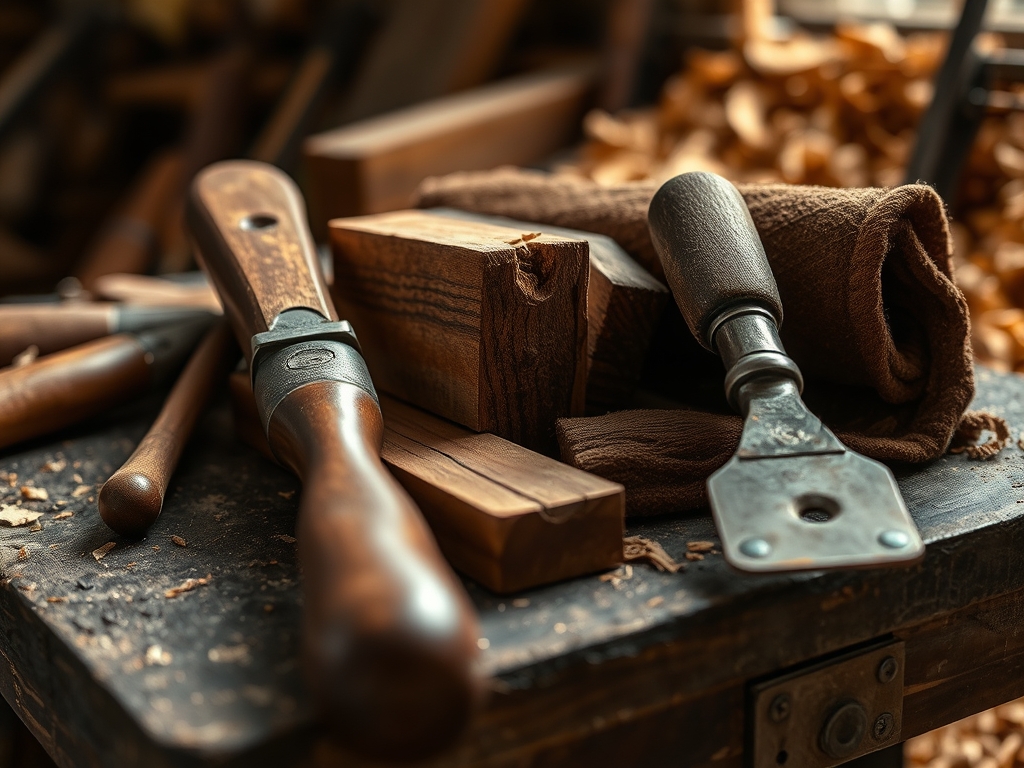
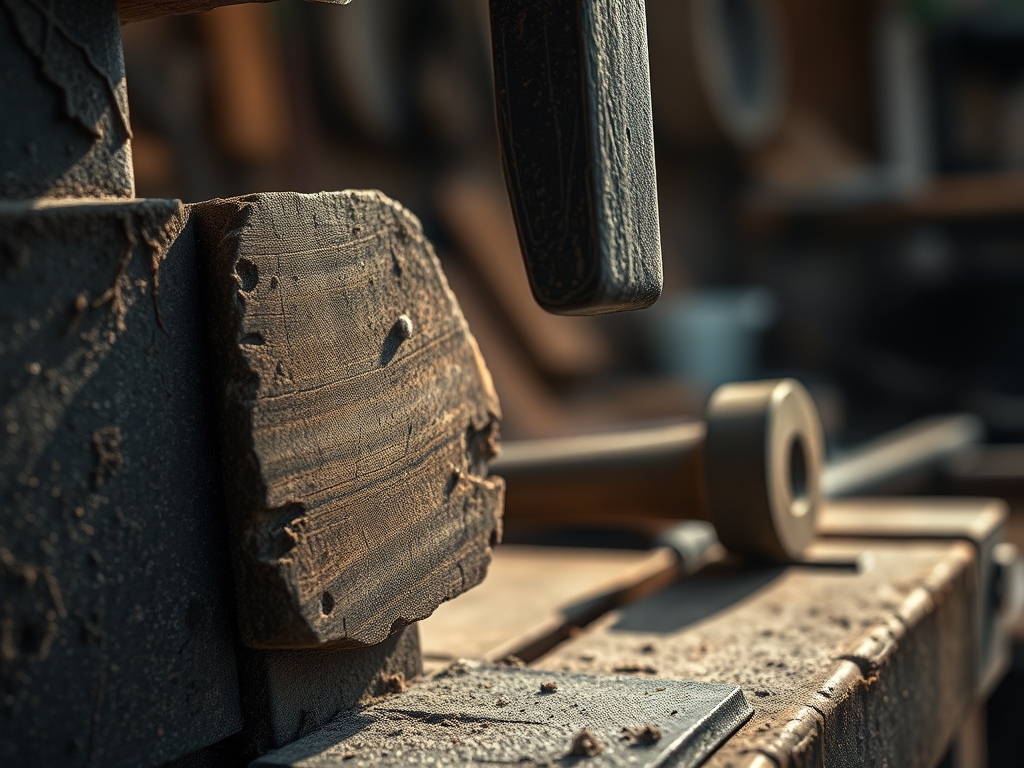
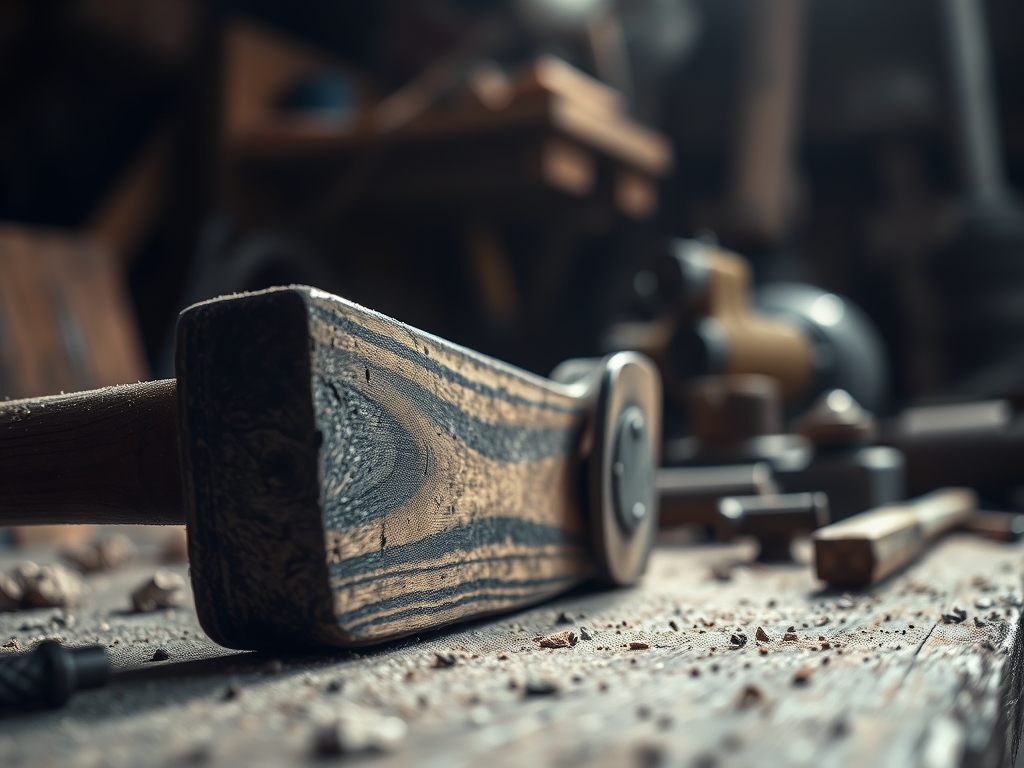
To achieve a tear out free surface, your arsenal must be calibrated for extreme precision. Start with a high angle smoothing plane, preferably one with a 50 or 55 degree bed angle to prevent the blade from diving into the fibers. You will need a set of digital calipers to measure the thickness of your shavings; we are aiming for a gossamer thinness of 0.001 inches. A burnisher and a cabinet scraper are non negotiable for taming interlocked grain. For layout, use a hardened steel marking awl rather than a pencil; the awl severs the surface fibers, creating a physical "stop" for your chisel or plane.
For the materials, we are focusing on "tricky" hardwoods like Quartersawn Oak, Bubinga, or Birdseye Maple. These woods possess a high Janka hardness rating, meaning their cellular structure is incredibly dense and resistant to compression. If you cannot source these premium species, Material Substitutions include thermally modified ash or high density eucalyptus. These alternatives offer similar tensile strength and resistance to checking, though they may lack the specific chatoyancy of figured maple. Always keep a bottle of 100 percent pure camellia oil nearby to lubricate your tool soles, reducing friction and preventing heat buildup during heavy stock removal.
THE TEMPO
The Maker's Rhythm is a three act play of preparation, execution, and refinement. Phase one is the Diagnostic Phase, taking approximately 20 minutes. This is where you read the "cathedrals" on the face of the board and the diagonal rays on the edges to determine the slope of the grain. Phase two is the Calibration Phase, lasting 30 to 45 minutes. Here, you sharpen your blades to a mirror polish using 8000 grit water stones. A dull blade is the primary cause of fiber crushing. Phase three is the Execution Phase, which varies by project size but requires a slow, deliberate cadence. You must listen to the sound of the tool; a crisp "shhh" indicates a clean shear, while a rhythmic thumping warns of impending tear out. This is not a race; it is a mechanical meditation.
THE CORE METHOD
1. Mapping the Fiber Slope
Before any tool touches the wood, use a high intensity raking light to shadow the grain. Look at the side of the board to see which way the fibers "run out" toward the surface. Understanding Grain Direction means always working in the direction of this run out. If the fibers point toward the end of the board like a stack of shingles, you must plane "downhill" to keep them compressed.
Mastery Tip: This relies on the principle of compressive strength. By shearing in the direction of the grain slope, the tool body holds the fibers down while the edge cuts, preventing the wood from splitting ahead of the blade.
2. Setting the Chipbreaker
On a hand plane, the chipbreaker must be set incredibly close to the cutting edge; think 1/64th of an inch or less. This creates a sharp "bend" in the shaving immediately after it is cut. This mechanical interference breaks the shaving's leverage, stopping it from acting like a lever that pries up the wood fibers in front of the mouth.
Mastery Tip: This technique utilizes mechanical leverage reduction. By breaking the shaving early, you neutralize the upward tensile force that causes deep grain fractures.
3. Closing the Mouth Opening
Adjust the frog of your plane to minimize the gap between the blade and the front of the mouth. A tight mouth provides "downward pressure" on the wood fibers just millimeters before the blade reaches them. This prevents the wood from lifting and tearing.
Mastery Tip: This is an application of surface tension management. The physical proximity of the plane's sole to the cutting edge acts as a localized clamp, ensuring the wood stays in a state of compression during the shear.
4. The Skewing Technique
When encountering a knot or a patch of interlocked grain, do not push the tool straight ahead. Instead, rotate the tool slightly so it travels at an angle while still moving along the grain path. This effectively lowers the cutting angle of the blade, making it easier to slice through tough lignin.
Mastery Tip: Skewing the blade changes the effective rake angle. This geometric shift allows the blade to slice rather than chop, significantly reducing the impact force on individual wood cells.
5. Final Refinement with the Scraper
For the most stubborn areas where grain directions flip every inch, put away the plane and use a cabinet scraper. A scraper does not have a traditional cutting edge; it has a microscopic hook or "burr" that removes tiny curls of wood without the risk of diving deep into the board.
Mastery Tip: Scrapers work via high speed friction shearing. Because the tool does not penetrate deep into the substrate, it ignores grain direction entirely, making it the ultimate tool for figured woods.
THE TECHNICAL LEDGER
Maintenance & Longevity: To keep your tools performing at this level, you must prevent oxidation. Wipe all steel surfaces with a microfiber cloth and a light coat of mineral oil after every session. Store your planes on their sides or on wooden strips to protect the sharpened edge from micro chipping.
Material Variations:
- Sustainable: Black Walnut is a classic choice with predictable grain.
- Recycled: Reclaimed Heart Pine offers high resin content but requires frequent blade cleaning with turpentine.
- Premium: African Ebony is the ultimate test of skill; its density requires a 60 degree scraping angle.
The Correction:
- The Mistake: Deep tear out during thicknessing. The Fix: Stop immediately. Dampen the area with a wet cloth to swell the fibers, then use a card scraper to level the area locally.
- The Mistake: Plane tracks or "ridges" on the surface. The Fix: Slightly camber the corners of your plane blade on a sharpening stone so the edges do not dig in.
- The Mistake: Burn marks from a power jointer. The Fix: Slow your feed rate and check for pitch buildup on the knives; clean with a specialized solvent.
Studio Organization: Store your lumber horizontally in a climate controlled environment with a consistent equilibrium moisture content of 6 to 8 percent. Use "stickers" (small wooden spacers) between boards to allow for 360 degree airflow, preventing internal stresses that lead to warping.
THE FINAL REVEAL
Look at that surface. When you get it right, the wood does not just look flat; it looks deep. The light catches the grain in a way that feels electric. You have successfully navigated the complex cellular architecture of a living organism and transformed it into a stable, shimmering piece of art. The tactile reward of a perfectly smooth board is unparalleled. It is the difference between a project that looks "handmade" and one that looks "master crafted." You did not just sand away the problems; you understood the physics and won.
STUDIO QUESTIONS
How can I tell grain direction on a rough board?
Look at the "rays" on the edge of the board. They usually point in the direction the grain is traveling. You can also lightly run a nylon stocking over the surface; it will snag when moving against the grain.
What is the best sharpening angle for hardwoods?
A primary bevel of 25 degrees with a secondary "micro bevel" of 30 to 35 degrees is standard. For extremely difficult woods, increasing the secondary bevel to 40 degrees creates a more robust edge that resists chipping.
Does wetting the wood help prevent tear out?
Yes, lightly wiping the surface with denatured alcohol or water can soften the lignin. This makes the fibers more pliable and easier to shear, though it may raise the grain, requiring a final light pass with a scraper.
Why is my plane skipping across the wood?
Skipping usually indicates the blade is too dull or the "iron" is extended too far. It can also happen if the plane's sole is not perfectly flat. Check the blade sharpness and reduce the depth of cut.