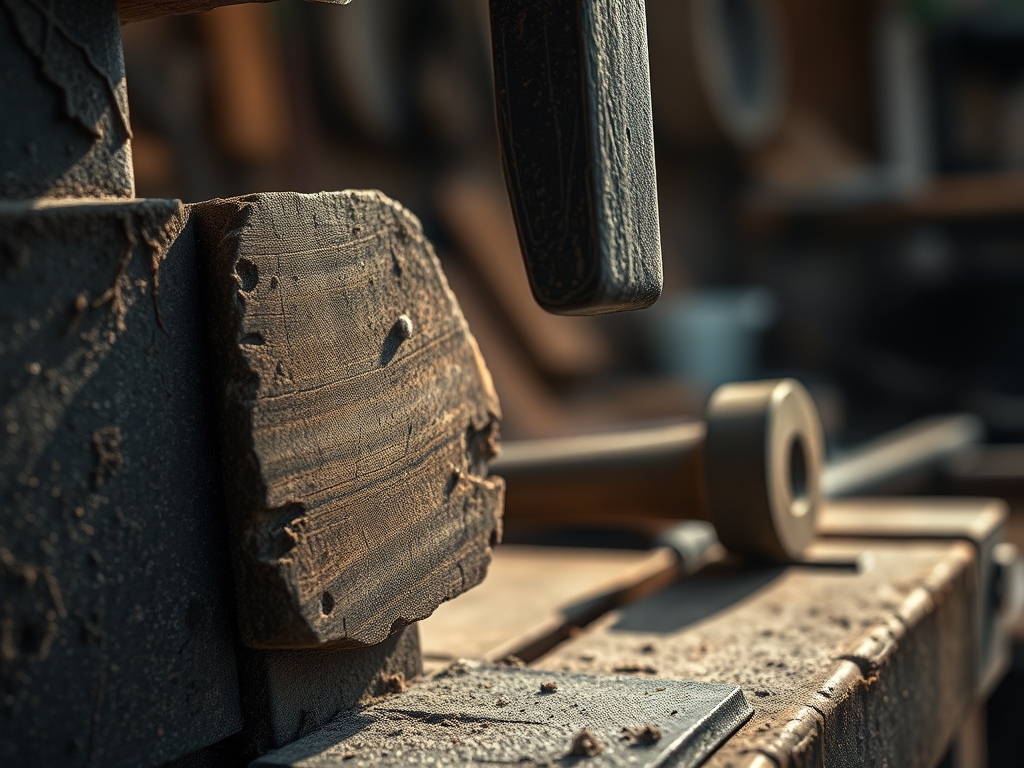
Sawdust is essentially glitter for the technically inclined; it gets everywhere and signifies that something magical is happening in the workshop. When I first committed to Building a Curved Chair, the air in my studio felt thick with the scent of kiln dried white oak and the sharp tang of machine oil. There is a specific, visceral thrill in running your palm over a rough sawn slab and visualizing the internal skeleton of the wood. You are looking for the grain direction because that determines the tensile strength of every joint you are about to cut. If you ignore the way the fibers grew in the forest, your chair will eventually split under the weight of a human body. My hands were already buzzing from the vibration of the jointer, and my mind was racing through the geometry of splayed legs. We are not just making furniture here; we are defying gravity with compound angles and steam. It is a dance between the rigid nature of cellulose and the fluid needs of human ergonomics.
THE STUDIO KIT
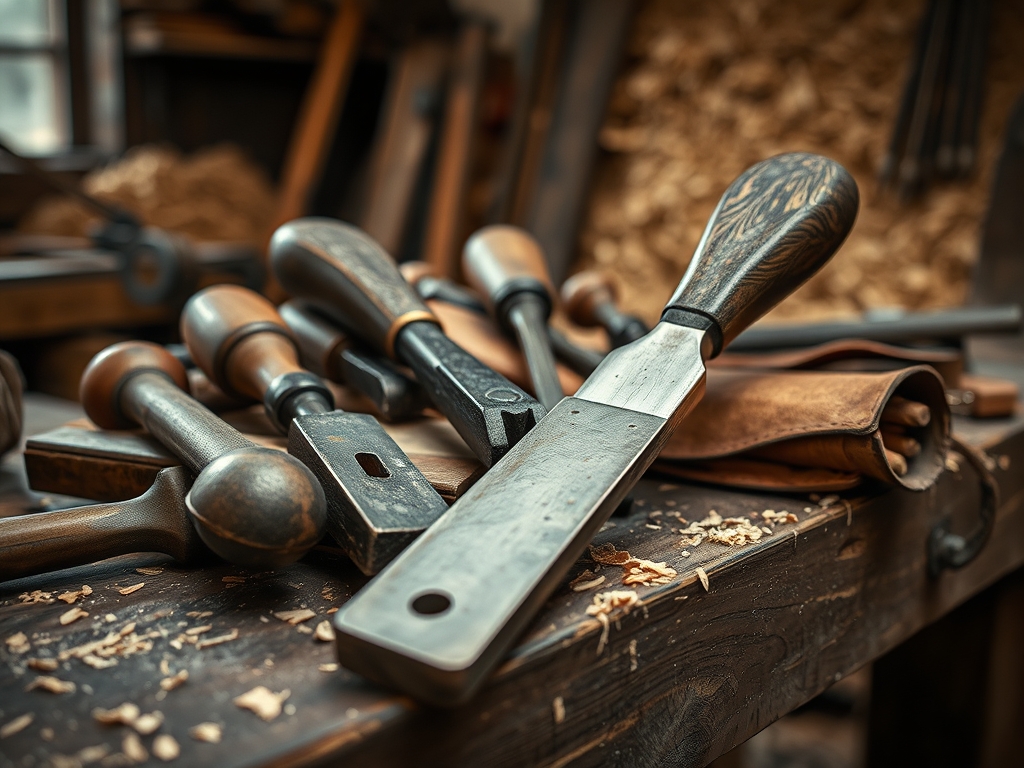
To master this build, your workbench needs to look like a cross between a laboratory and a high end sculpture studio. You cannot rely on standard tape measures for this level of precision. I keep my digital calipers within reach at all times to measure the exact thickness of my laminations down to the millimeter. You will need a high quality oscillating tool for sanding those tight interior radii where a belt sander would simply gouge the wood. For the joinery, a Japanese pull saw is non negotiable; its thin kerf allows for surgical precision when cutting tenons.
Your material list should prioritize hardwoods with high elasticity like ash or hickory if you plan on steam bending. If you are going the bent lamination route, you need a high solids PVA glue with a long open time. Material Substitutions: If white oak is out of your budget, yellow pine offers surprising structural integrity, though its high resin content can gum up your saw blades. For a modern twist, some makers are substituting traditional wood dowels with carbon fiber rods to increase shear strength in the leg joints without adding bulk.
THE TEMPO
The "Maker's Rhythm" is less about the clock and more about the curing cycles of your materials. Phase one is the Milling Sprint, which usually takes about six hours. This is where you flatten your stock and prepare the thin strips for the curves. You are working against the clock to prevent the wood from warping after its initial tension is released.
Phase two is the Lamination Lull. This requires a full twenty four hours for the adhesive to undergo its chemical cross linking. You cannot rush this. If you pull the wood out of the forms too early, you will experience springback, a phenomenon where the wood tries to return to its original straight shape. Finally, the Assembly Marathon takes roughly twelve hours of focused, high intensity work where you fit the compound angles. Total project time usually clocks in at forty hours, excluding finish drying.
THE CORE METHOD
1. The Lamination Layout
First, we slice our stock into thin veneers, usually around three millimeters thick. Observe the alignment in the step by step photos below to ensure your grain patterns are mirrored for visual symmetry. We apply a uniform layer of adhesive to each ply, ensuring full coverage to prevent internal voids.
Mastery Tip: This process relies on capillary action to draw the adhesive into the porous structure of the wood fibers. By applying consistent pressure with a vacuum press or a series of F clamps, you create a monolithic structure that is actually stronger than solid wood because the glue lines act as internal reinforcement.
2. The Steam Box Splay
For the backrest, we use a steam box to reach a temperature of two hundred twelve degrees Fahrenheit. This softens the lignin, which is the natural polymer that holds wood fibers together. Once the wood is pliable, you have roughly three minutes to get it into the jig before it begins to "set" in its new shape.
Mastery Tip: The science here is all about thermoplasticity. By temporarily breaking the hydrogen bonds within the wood cells, you can rearrange the molecular structure. As the wood cools and the moisture evaporates, those bonds reform in the new, curved orientation, locking the shape in place.
3. Cutting the Compound Tenons
This is the heart of the "complex leg angles" challenge. You are cutting a joint that tilts in two directions simultaneously. I use a marking awl to score the fibers before sawing, which prevents "tear out" on the exit side of the cut. Every angle must be verified against your master template using a sliding T bevel.
Mastery Tip: Focus on the structural integrity of the shoulder of the joint. The shoulder is what actually resists the racking forces when someone sits down. A perfectly flush shoulder distributes the load across the entire surface area of the rail, preventing the tenon from snapping under pressure.
4. The Final Burnish
Once the chair is assembled, we move to the finishing stage. Instead of just sanding, I use a burnishing tool or a cabinet scraper to shear the wood fibers cleanly. This creates a surface that is incredibly smooth to the touch and reflects light more vibrantly than a sanded surface ever could.
Mastery Tip: Sanding often leaves microscopic dust trapped in the pores, which can muddy the grain. Scraping cuts the fibers at a cellular level, which increases the surface energy of the wood. This allows your oil finish to penetrate deeper and bond more effectively with the cellulose.
THE TECHNICAL LEDGER
Maintenance & Longevity: A curved chair is a living object. To ensure it lasts a century, you must monitor the humidity in your home. Extreme dryness can cause the laminations to delaminate if the glue becomes brittle. I recommend a yearly application of high quality furniture wax to maintain the moisture barrier.
Material Variations: For those seeking sustainability, reclaimed Douglas fir offers a beautiful, tight grain pattern, though it requires a slower feed rate on your router to avoid splintering. For a premium, "heirloom" feel, walnut provides a rich color and excellent dimensional stability, meaning it expands and contracts less than other species.
The Correction:
- The Gap: If your miter joint has a tiny gap, do not just fill it with putty. Mix fine sawdust from the same board with a drop of glue to create a "structural paste" that matches the color perfectly.
- The Twist: If a leg is slightly out of alignment, use a heat gun to gently warm the glue joint, allowing for a fractional adjustment before it resets.
- The Squeak: A squeaky joint usually means a loose fit. Use a thin "veneer shim" coated in glue to take up the extra space in the mortise.
Studio Organization: Store your curved templates vertically on a pegboard to prevent them from bowing under their own weight. Keep your veneers in a climate controlled "hydration rack" to ensure they don't become too brittle to bend when you are ready to glue.
THE FINAL REVEAL
There is nothing quite like the moment you pull the clamps off and see the silhouette of a finished curved chair. It looks fast even when it is standing still. The way the light catches the radii of the legs creates a sense of movement that straight lines simply cannot replicate. When you sit in it, the ergonomics should feel like a firm handshake; supportive, intentional, and perfectly balanced. You have successfully turned a rigid tree into a piece of functional art through the sheer application of physics and patience. It is high energy, high reward, and honestly, the best feeling in the world.
STUDIO QUESTIONS
How do I prevent wood from snapping during a tight bend?
Ensure the wood is at the correct moisture content, typically around twenty percent for steaming. Use a steel compression strap to support the outer fibers, which prevents the tensile stress from pulling the wood grain apart during the bending process.
What is the best glue for Building a Curved Chair?
Use a urea formaldehyde resin or a high strength PVA with a long open time. These adhesives provide a rigid glue line that minimizes creep, ensuring the curved components maintain their intended geometry over years of use.
How do I calculate the angle for splayed legs?
Use a protractor and basic trigonometry to determine the "resultant angle." This accounts for both the side rake and the back tilt. Always cut a scrap piece first to verify the fit before committing to your expensive hardwood stock.
Why does my wood change shape after I cut it?
This is due to the release of internal stresses within the board. Wood is a dynamic material; when you remove mass from one side, the remaining fibers redistribute their tension, which can cause bowing or cupping if not managed correctly.