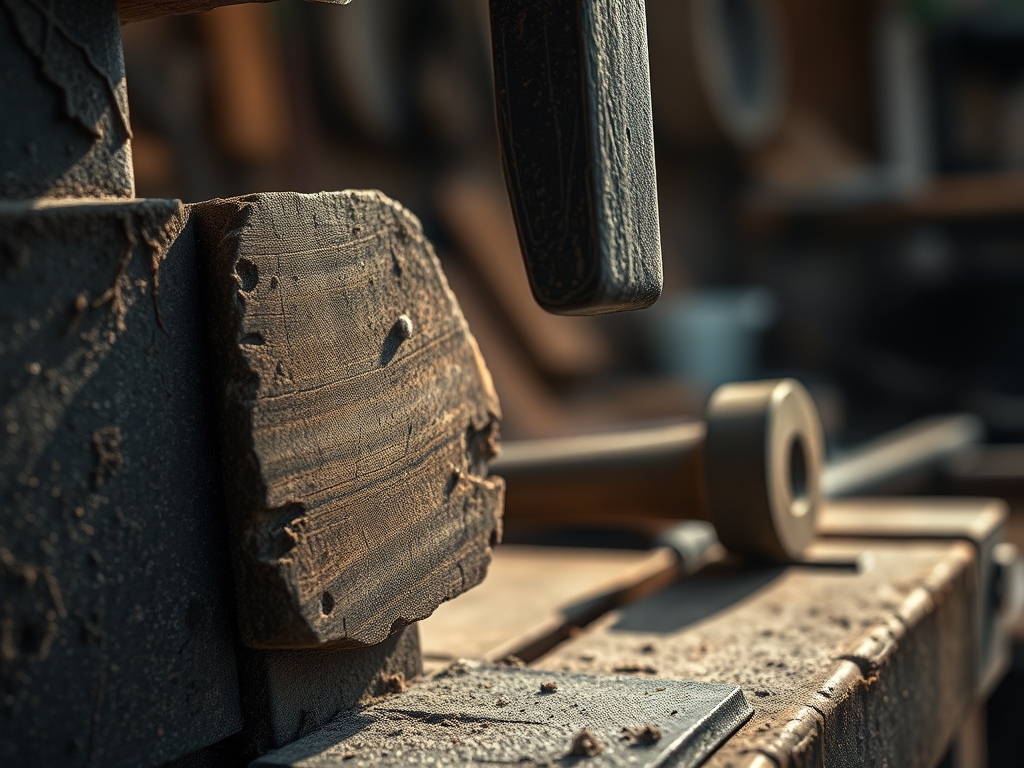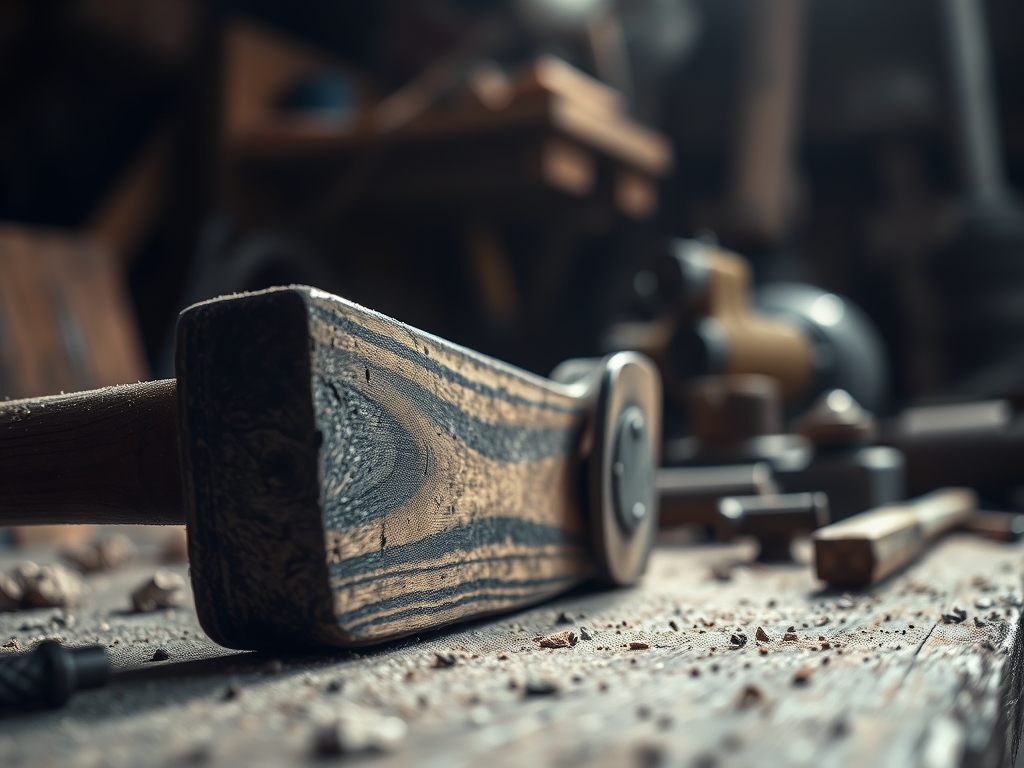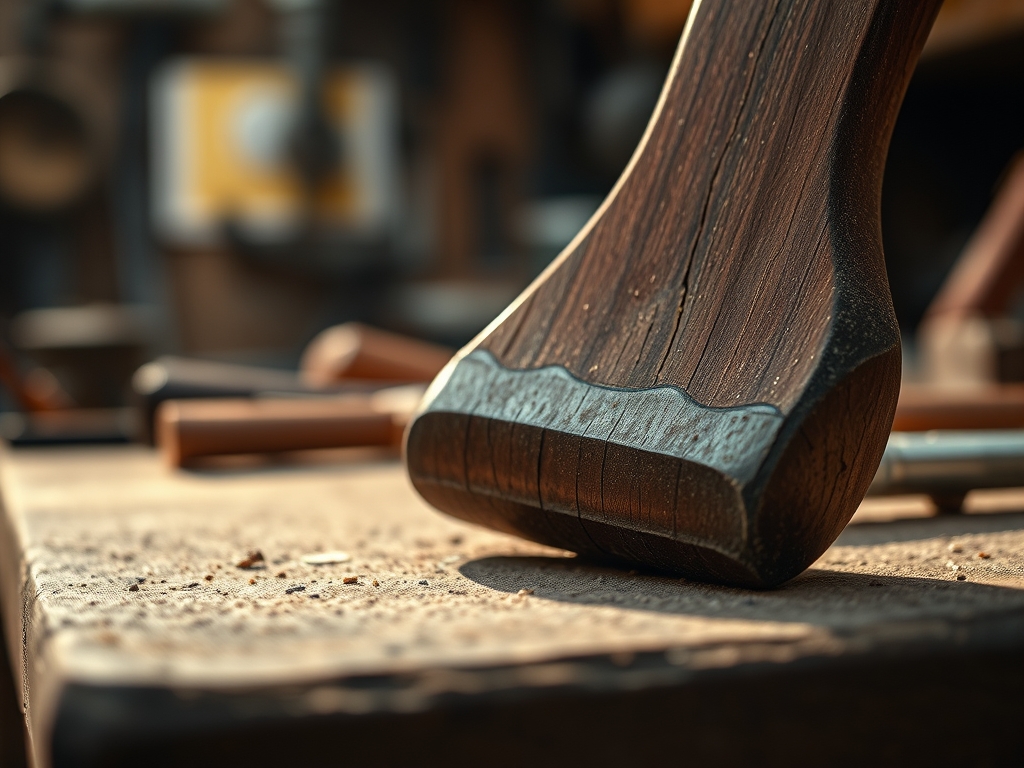
Close your eyes and listen for that distinct, crisp hiss. It is the sound of a perfectly tuned blade shearing through wood fibers like they are made of cold butter. When you first unbox a factory tool, it feels heavy and promising, but it is not ready for the elite dance of fine joinery. To achieve a true master level result, you must master an Advanced Hand Tool Setup that bridges the gap between raw cast iron and a precision instrument. We are talking about micron level tolerances where the steel meets the grain. You can feel the potential energy stored in the weight of the tool, but right now, the sole is likely as flat as a mountain range and the blade has the edge of a butter knife. We are going to strip it down, flatten the friction points, and hone the steel until it reflects your grinning face. This process is not just maintenance; it is an initiation into the physics of wood.
THE STUDIO KIT
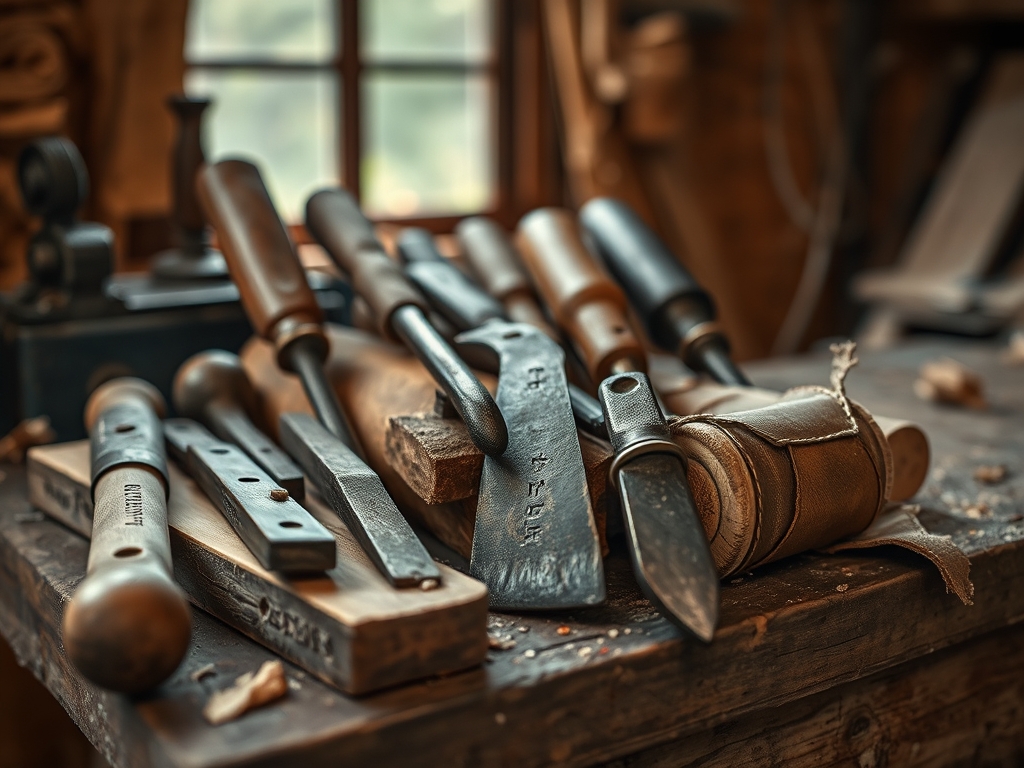
To transform this hunk of metal, you need a specialized arsenal. First, grab your digital calipers to measure the thickness of your shavings; we are aiming for less than .002 inches. You will need a set of diamond sharpening stones in progressive grits (400, 1000, and 6000) and a honing guide to maintain a consistent bevel angle. For the sole, a flat reference surface is non-negotiable. A thick piece of float glass or a granite surface plate is ideal. You will also need silicon carbide sandpaper with adhesive backing to launder the metal.
For the lubrication phase, keep a camellia oil applicator nearby to prevent oxidation on the high carbon steel. If you are looking for Material Substitutions, you can swap the granite plate for a heavy cast iron table saw wing, provided it has been verified with a machinist straight edge. Instead of expensive honing oil, a mixture of water and a drop of dish soap works beautifully to break the surface tension on your stones, ensuring the metal swarf does not clog the abrasive pores.
THE TEMPO
Tuning a plane is a marathon, not a sprint. The "Maker's Rhythm" is about matching your physical exertion to the resistance of the material. Expect to spend approximately ninety minutes on the initial flattening of the sole. This is the most labor intensive phase where you are physically grinding away the "high spots" of the cast iron. The honing of the iron takes about thirty minutes of focused, meditative stroking. Finally, the assembly and fine tuning of the chip breaker and frog will take another twenty minutes. Do not rush the flattening; if you heat the metal too quickly through friction, you risk slight thermal expansion which will throw off your measurements once the tool cools back to room temperature.
THE CORE METHOD
1. Flattening the Sole
Apply your adhesive sandpaper to the glass plate and mark the bottom of your plane with a grid of permanent marker. Rub the plane back and forth using long, even strokes. The marker will disappear from the high spots first. Continue until the entire surface is clean and bright.
Mastery Tip: This process relies on abrasive displacement. By using a reference surface that is flatter than your target, you are forcing the cast iron to conform to a true plane. Ensure you keep the blade inside the tool (retracted) to simulate the internal tension of the body under load.
2. Squaring the Frog
The frog is the bed where your blade rests. If it is not seated perfectly, you will experience "chatter," which is essentially high frequency vibration during the cut. Use a small file to remove any paint or burrs from the mating surfaces where the frog meets the body.
Mastery Tip: This is about mechanical coupling. A seamless connection between the frog and the body increases the effective mass of the cutting edge, absorbing kinetic energy and preventing the blade from skipping across the wood fibers.
3. Honing the Primary Bevel
Secure your blade in the honing guide at a 25 or 30 degree angle. Work through your diamond stones, starting with the coarsest grit. You are looking for a "burr" or "wire edge" to form on the back of the blade. This indicates you have ground the steel thin enough that it has folded over.
Mastery Tip: The science here is molecular alignment. As you move to higher grits, you are removing the deep scratches from the previous stone and aligning the steel molecules into a microscopic point that can sever the lignin bonds in the wood.
4. Back Flattening and Polishing
The back of the blade must be just as flat as the bevel. Use your highest grit stone to polish the first inch of the blade back until it achieves a mirror finish. This ensures that the two planes of the steel meet at a zero radius point.
Mastery Tip: This utilizes capillary action when you add a drop of oil. The mirror polish reduces friction so significantly that the wood shaving can slide up the iron without bunching, which is the secret to those long, continuous ribbons of wood.
THE TECHNICAL LEDGER
Maintenance & Longevity: High carbon steel is a thirsty beast. After every session, wipe down all "bright" metal surfaces with a light coat of jojoba or camellia oil. Store the plane on its side to protect the sharpened edge from accidental contact with the workbench.
Material Variations: If you are working with Premium exotic hardwoods like Ebony or Cocobolo, you may need to increase your bevel angle to 35 degrees to prevent the edge from chipping. For Sustainable softwoods like reclaimed pine, a steeper, sharper angle is preferred to prevent crushing the delicate cellular structure of the wood.
The Correction:
- The Tapered Edge: If your shavings are thicker on one side, your blade is not parallel to the sole. Use the lateral adjustment lever to shift the iron.
- The Clogged Throat: If shavings get stuck, your chip breaker is not seated flush against the blade. Back it off and file the leading edge so no light passes through the gap.
- The Pitted Sole: If you find deep scratches, do not panic. Small pits do not affect performance as long as the area surrounding the mouth is perfectly flat.
Studio Organization: Store your tuned planes in a "plane till" or a wooden cabinet lined with felt. Avoid plastic bins, as they can trap moisture and trigger rapid oxidation. A humidistat in the studio will help you monitor the environment; keep it between 40% and 50% humidity to prevent the wooden handles from shrinking or cracking.
THE FINAL REVEAL
There is nothing quite like the moment you take that first pass after a full tune up. The plane feels like it is floating on a cushion of air. Instead of the jagged, dusty chips you started with, you are now producing translucent, gossamer ribbons that you can practically see through. The surface of the wood left behind is so smooth it requires zero sanding; it has a natural luster because the cells were sliced cleanly rather than torn. This is the pinnacle of the Advanced Hand Tool Setup. You have taken a mass produced object and, through physics and patience, turned it into an extension of your own hands.
STUDIO QUESTIONS
How do I know if my plane sole is flat enough?
Use a machinist straight edge and a flashlight. If no light passes between the straight edge and the sole at the toe, heel, and mouth, your tool has achieved the necessary geometric tolerance for precision work.
Why does my blade dull so quickly?
Rapid dulling usually results from frictional heat or poor steel quality. Ensure you are not "scrubbing" the wood and check that your honing angle is appropriate for the wood's Janka hardness rating to prevent edge collapse.
Can I use a power grinder for sharpening?
You can use a slow speed grinder for the initial primary bevel grind, but never for final honing. High speeds generate heat that can ruin the steel's temper, making it soft and unable to hold an edge.
What is the purpose of the chip breaker?
The chip breaker adds structural rigidity to the thin blade and "breaks" the wood fiber immediately after it is cut. This prevents the grain from tearing deep into the board, especially in figured or curly woods.