Close your eyes and listen to that specific, low frequency thrum of a hand plane shearing through a slab of kiln dried black walnut. It is not just a sound; it is a physical vibration that travels through your marrow. When you are Building a Heirloom Chest, you are not just assembling a box. You are engaging in a high stakes negotiation with organic matter that has spent eighty years drinking sunlight and rain. The wood feels cool and dense against your palms, possessing a tensile strength that can withstand centuries of seasonal expansion. Every fiber has a memory. If you force the joinery, the wood will fight back with a split that echoes like a pistol shot. But if you respect the grain direction and the cellular structure of the timber, you create something immortal. We are chasing that perfect, airtight "whoosh" sound as a lid settles into place. It is about the tactile satisfaction of a surface so smooth it feels like liquid silk. We are building for the year 2124, so let us get our hands dirty.
THE STUDIO KIT
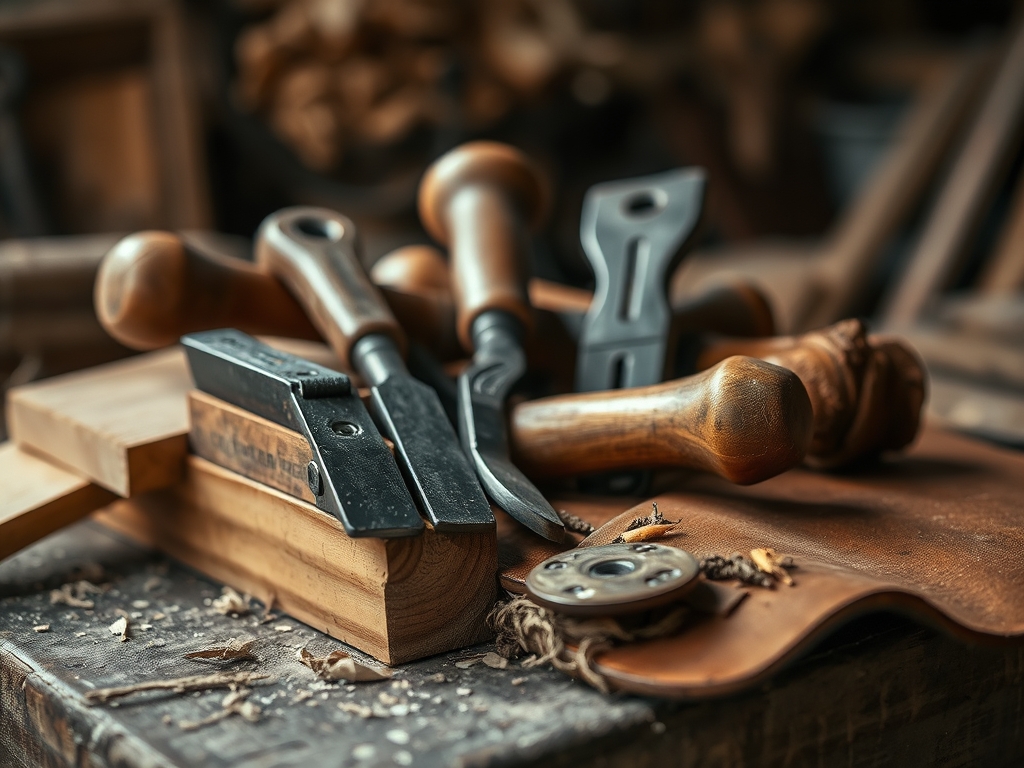
To survive a century, we need tools that offer surgical precision. Forget the flimsy tape measure; we are using stainless steel calipers to measure thickness to the thousandth of an inch. Our primary material is 4/4 (four-quarter) stock hardwood, specifically chosen for its specific gravity and resistance to rot. You will need a low angle block plane to burnish end grain and a set of Japanese pull saws for those razor thin kerfs. For the joinery, grab your mortise chisels and a heavy brass mallet. We also need hide glue, which is reversible and historically accurate, allowing future restorers to repair the piece without destroying the wood fibers.
Material Substitutions: If black walnut is outside the budget, look for White Oak or Hard Maple. Both offer incredible compressive strength. Avoid pine or poplar for the primary structure; their Janka hardness rating is too low to resist the dings and dents of a hundred year lifespan. For the bottom panel, use aromatic cedar to naturally repel pests, or high grade Baltic Birch plywood if you need maximum dimensional stability against humidity shifts.
THE TEMPO
The "Maker's Rhythm" is a psychological state where your heart rate syncs with the stroke of the saw. You cannot rush a legacy. Expect to spend the first twenty hours just in the material selection and acclimation phase. Wood needs time to "breathe" in your studio environment to reach an equilibrium moisture content. The rough milling and dimensioning take another fifteen hours. The real soul of the project, the joinery, demands forty hours of hyper focused detail work. Finally, the finishing process requires a slow, meditative ten hours of layering oils and waxes. Total time? Approximately eighty five to one hundred hours of pure, unadulterated craft.
THE CORE METHOD
1. Dimensioning and Grain Matching
We start by flattening our boards. Use an oscillating tool for minor adjustments, but the heavy lifting is done by the jointer and planer. We are looking for book-matched panels, where the grain patterns mirror each other like a Rorschach test.
Mastery Tip: Always check the moisture content with a digital meter. If the wood is above 8 percent, your joints will shrink and fail as the wood dries. This is basic hygroscopy; wood is a sponge that never stops moving.
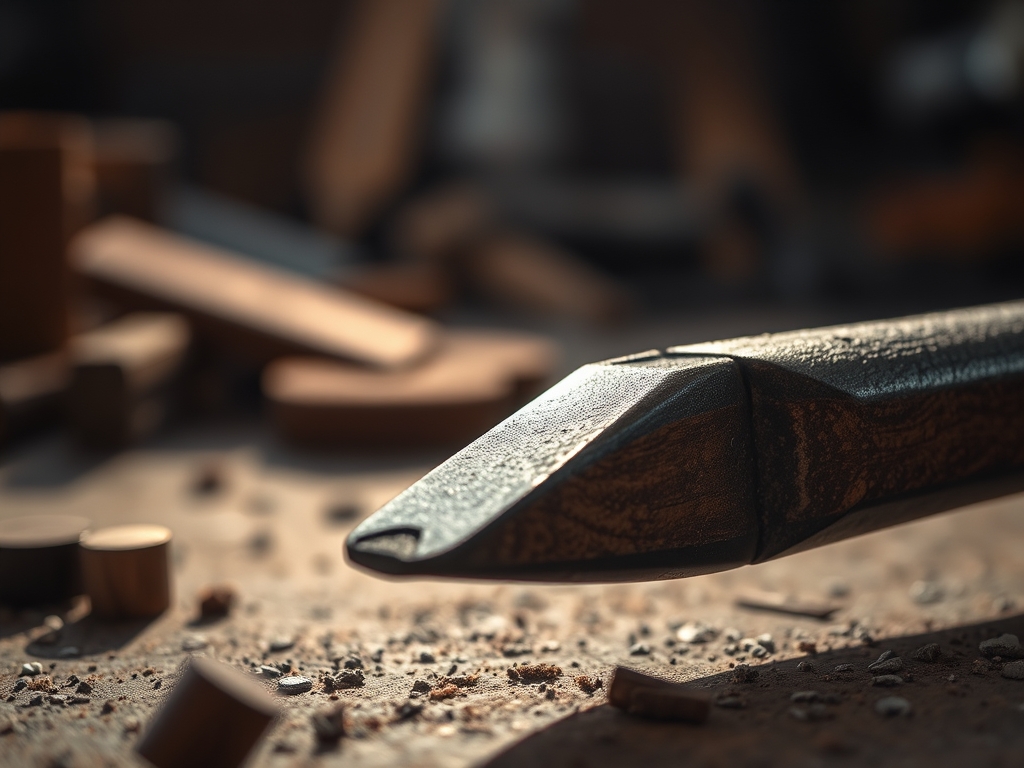
2. Cutting the Dovetails
This is the gold standard of heirloom construction. We use a jeweler's saw to remove the waste between the tails. The mechanical interlock of a dovetail joint means that even if the glue fails in ninety years, the chest will stay together through sheer geometry.
Mastery Tip: Use a marking awl instead of a pencil. A physical scribe line severs the wood fibers, preventing "tear out" and ensuring the chisel drops into a precise, microscopic shoulder. This maintains structural integrity at the most vulnerable points.
3. Creating the Floating Bottom
Never glue the bottom panel into the sides. Instead, cut a groove or dado and let the panel "float" inside. This allows the wood to expand and contract across its width without cracking the main frame.
Mastery Tip: Apply a thin layer of wax to the edges of the bottom panel before assembly. This reduces friction and prevents "panel rattle," utilizing surface tension to keep the fit snug but mobile.
4. The Final Burnish and Oil
We sand up to 400 grit, then use a burnishing tool to compress the surface fibers. We finish with a mixture of linseed oil and beeswax. This is a "living finish" that can be easily refreshed by future generations.
Mastery Tip: The oil penetrates via capillary action, saturating the porous cell walls to prevent water ingress. This deep saturation ensures the wood does not become brittle over the decades.
THE TECHNICAL LEDGER
Maintenance & Longevity: Every five years, the owner should apply a high quality microcrystalline wax. This creates a pH neutral barrier against atmospheric pollutants and acidic finger oils. Keep the chest away from direct HVAC vents to prevent extreme thermal shock.
Material Variations: For a sustainable twist, use reclaimed heart pine salvaged from old mills; its high resin content makes it nearly as hard as stone. For a premium "black tie" look, incorporate ebony stringing or mother of pearl inlays using a precision router base.
The Correction:
- The Gap: If your dovetails have a tiny gap, mix fine sawdust from the same board with hide glue to create a matching structural filler.
- The Warp: If a panel cups, dampen the concave side and apply heat; the cells will expand and flatten the board.
- The Tear-out: If a plane gouges the wood, use a card scraper to shave off micron-thin layers until the surface is uniform.
Studio Organization: Store your wood vertically with "stickers" (small wood spacers) between slabs. This ensures even airflow on all sides, preventing the dreaded "bow" or "twist" that ruins a project before it starts.
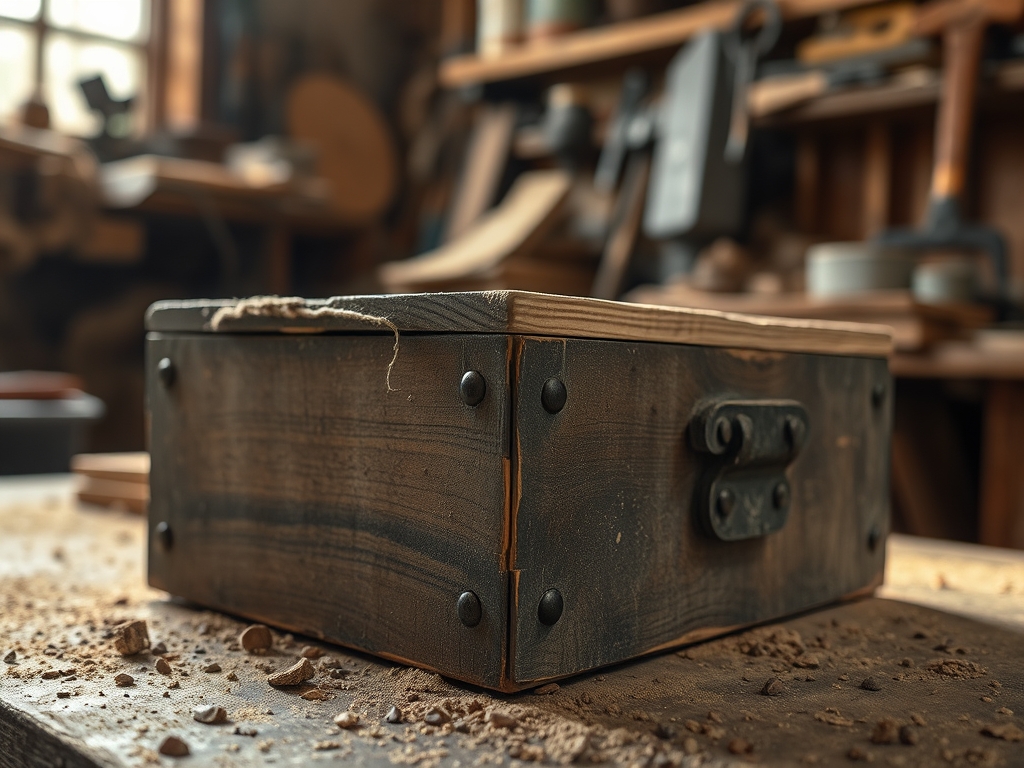
THE FINAL REVEAL
Stand back and look at that. The light catches the chatoyancy of the grain, making the wood look three dimensional. When you run your hand across the lid, there is no friction; only the buttery, organic warmth of a perfectly finished surface. This chest is heavy, solid, and silent. It does not creak or wobble. It feels like an anchor in a fast moving world. You have successfully bypassed the "disposable" culture of modern furniture and created a vessel for memories. It is bold, it is elegant, and it is technically flawless. You did not just build a box; you built a century.
STUDIO QUESTIONS
What is the best wood for a heirloom chest?
Hardwoods like Black Walnut, Cherry, or White Oak are superior due to their high Janka hardness and dimensional stability. These species resist rot and mechanical wear, ensuring the joinery remains tight for over a century of use.
Why use hide glue instead of modern PVA?
Hide glue creates a molecular bond that is incredibly strong yet reversible with heat. This allows future conservators to disassemble and repair the chest without damaging the wood, a key requirement for true heirloom longevity.
How do I prevent the wood from cracking?
Always use floating panel construction. Wood expands and contracts perpendicular to the grain due to humidity changes. By allowing panels to move freely within grooves, you prevent the internal stresses that cause catastrophic splitting and warping.
Is a hand rubbed finish better than lacquer?
Yes. Oil and wax finishes penetrate the fibers rather than sitting on top. Unlike lacquer, which can crack and peel over time, a hand rubbed finish is easy to maintain and develops a beautiful patina over decades.
What tool is most critical for precision?
A high quality marking gauge or marking awl is essential. By scribing a physical line into the wood fibers, you provide a definitive mechanical "stop" for your saws and chisels, ensuring tolerances within a fraction of a millimeter.