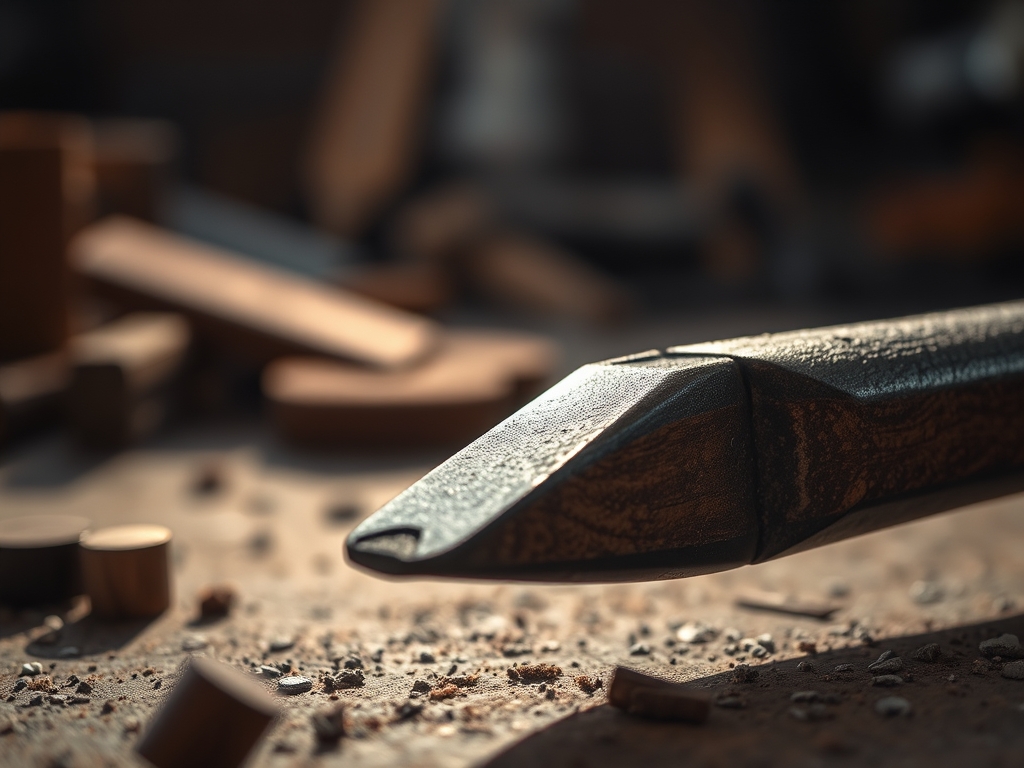
Close your eyes and run your fingertips over a raw slab of walnut. You feel that? That is the chaotic landscape of open vessels and severed cellulose fibers fighting against your touch. It is rough; it is honest; but it is far from finished. To transform this rugged topography into something that feels like liquid silk, we have to talk about the physics of friction. Achieving Precision Wood Sanding is not just about rubbing a block back and forth until your arm goes numb. It is a calculated strike against the material's natural resistance. We are essentially shearing off the microscopic peaks of the wood grain to create a perfectly flat plane that reflects light rather than scattering it. When you master this, the wood stops being a "thing" and starts being an experience. We are going to dive deep into the cellular level of your lumber to ensure every single pass of your abrasive is intentional. Grab your safety glasses and a cold brew; we are about to turn dust into high art.
THE STUDIO KIT
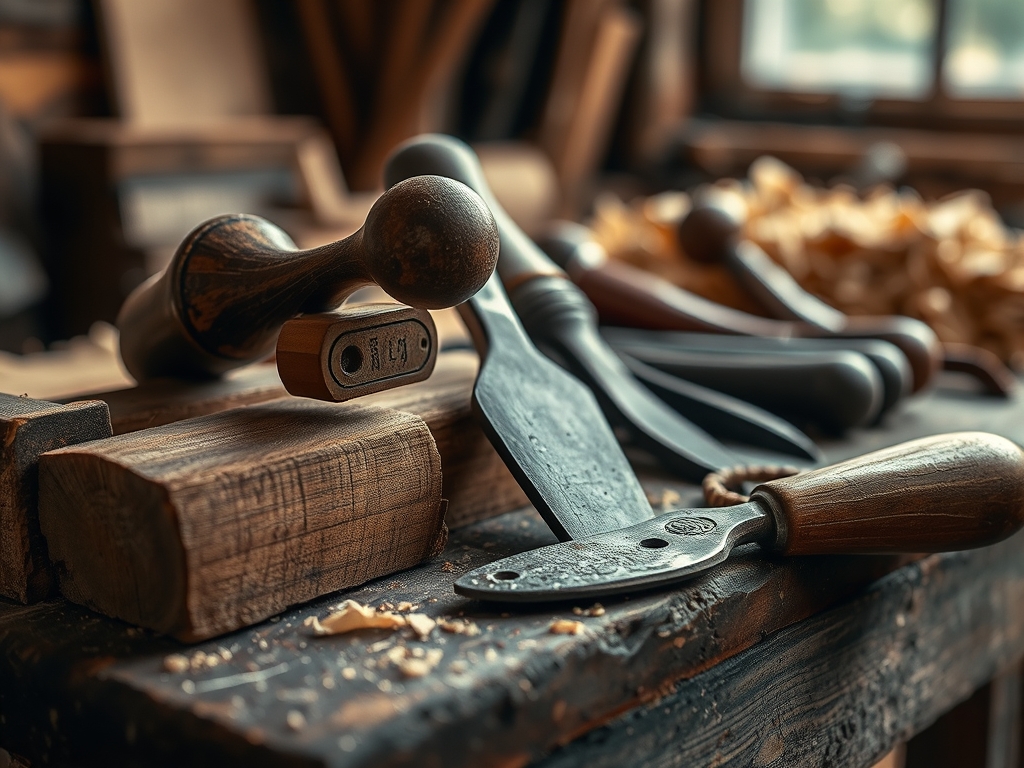
To get that glass-like finish, your arsenal needs to be more than just a random drawer of sandpaper. We start with a high-quality Random Orbital Sander (ROS). The "random" part is vital because it prevents the abrasive grains from traveling the same path twice, which eliminates those dreaded swirl marks. You will need a full progression of Aluminum Oxide or Silicon Carbide abrasives, ranging from 80-grit (the heavy lifters) up to 320-grit (the polishers). For the tight corners where a machine cannot reach, keep a set of hard rubber sanding blocks and a sharp card scraper. The card scraper is a secret weapon; it uses a hooked burr to literally peel away micro-layers of wood, which is far more efficient than sanding alone.
I also keep a set of digital calipers on the bench to monitor thickness consistency and a tack cloth to lift away the microscopic debris that clogs your finish. If you are working on a budget, you can substitute expensive sanding sponges with a simple wooden block wrapped in a piece of an old leather belt for a firm yet slightly forgiving backing. For premium builds, consider Ceramic Abrasives; they stay sharper longer and generate less heat, which prevents the wood resins from glazing over your paper and ruining the cut.
THE TEMPO
The "Maker's Rhythm" is all about patience and auditory feedback. You cannot rush the physics of abrasion. For a standard tabletop, expect to spend about twenty minutes per grit level. The first stage, the Coarse Leveling, takes the longest because you are correcting the sins of the sawmill. Once the surface is flat, the Refinement Phase moves faster as you are simply replacing large scratches with smaller ones. Finally, the Burnishing Phase is a quick, meditative lap to close the pores. Listen to the sound of the sander; a high-pitched hiss means you are gliding, while a low growl means the paper is loaded with dust and needs cleaning.
THE CORE METHOD
1. The Initial Leveling Pass
We start with 80-grit to remove machine marks and "snipe" from the planer. Move the sander at a rate of one inch per second. If you go faster, the orbital pattern becomes elongated and visible. Use a pencil light held at a low angle to reveal shadows in the grain.
Mastery Tip: This stage relies on Structural Integrity. By removing the crushed fibers from the milling process, you are exposing the stable, "heartwood" cells that will hold finish more evenly.
2. Grain Raising and Hydration
Before moving to your medium grits, wipe the wood with a damp cloth. This is called "popping the grain." The water causes the severed ends of the wood fibers to swell and stand upright.
Mastery Tip: This utilizes Capillary Action. When the wood dries, those "fuzzies" stay stiff, allowing you to sand them off cleanly in the next step rather than having them rise later when you apply your expensive topcoat.
3. Progressive Scratch Refinement
Move through 120, 150, and 180-grit. Never skip a grit! If you jump from 80 to 180, the 180-grit is too fine to reach the bottom of the 80-grit valleys. You will end up with a shiny surface that still has deep, ugly scratches underneath.
Mastery Tip: This is about Surface Tension. A smoother surface has less surface area, which allows oils and lacquers to flow out and self-level more effectively.
4. The Final Burnish
For the ultimate touch, finish with 220 or 320-grit. At this stage, use very light pressure. The weight of the sander itself is usually enough. You are no longer "cutting" wood; you are polishing the cell walls.
Mastery Tip: Over-sanding (going above 400-grit on some species) can actually "burnish" the wood so much that the porous structure closes up entirely, preventing stains from penetrating. Know when to stop!
THE TECHNICAL LEDGER
Maintenance & Longevity: Keep your abrasives clean with a rubber crepe stick. Pressing this against a running sander pulls the "pitch" and dust out of the grit, extending the life of your discs by 300 percent. Always store your sandpaper in a climate-controlled area; humidity can soften the paper backing and cause the grit to shed prematurely.
Material Variations:
- Sustainable: Bamboo requires higher speeds and sharper grits because of its high silica content.
- Recycled: Pallet wood often contains embedded grit or metallic fragments; use a metal detector before sanding to save your tools.
- Premium: Exotic hardwoods like Cocobolo are oily; wipe them with acetone before sanding to prevent the oils from "gumming" your paper.
The Correction:
- Pigtail Swirls: These happen when a piece of grit breaks off and gets trapped. Fix: Go back down one grit level and sand the area thoroughly with a hand block.
- Dishing: This occurs when you stay in one spot too long. Fix: Use a long straightedge to find the dip, then sand the surrounding high spots to blend the transition.
- Glazing: The sandpaper looks "shiny." Fix: This is caused by heat melting the wood resin. Lower your sander speed and use a fresh disc.
Studio Organization: Store your finished, sanded pieces vertically with spacers (stickers) between them. This allows airflow and prevents moisture from being trapped, which can cause the wood to "cup" or warp before you get the chance to apply the finish.
THE FINAL REVEAL
There is a specific moment when you blow off the final veil of dust and the wood transformed. It no longer looks like a dead tree; it looks like a piece of amber. When you run your hand across it, there is zero resistance. The light hits the surface and dives deep into the grain, reflecting back the "chatoyancy" or inner shimmer of the fibers. This is the reward for your precision. You have successfully navigated the physics of friction to create a surface that is perfectly balanced, tactile, and ready for the ages. It is flawless, it is professional, and you did it with pure science.
STUDIO QUESTIONS
How do I know when I am done with a grit?
Draw a light pencil grid across the wood. When the pencil marks are completely gone, you have sanded the entire surface evenly to that specific depth. This ensures you do not miss spots or over-sand one area.
Can I use a high-speed grinder for sanding?
No, the RPM is too high. High speeds generate excessive heat which scorches the wood fibers and ruins the tensile strength of the surface. Stick to a dedicated orbital sander or manual blocks for control.
Why does my wood look blotchy after staining?
This is usually caused by uneven sanding. If some areas are sanded to 180-grit and others to 220-grit, the porosity varies. The rougher areas will absorb more stain and appear darker than the smoother sections.
What is the best way to sand round edges?
Avoid power tools on tight curves. Use a flexible sanding pad or a piece of abrasive backed with heavy tape. This allows the paper to conform to the ergonomic shape without creating flat spots or "facets" on the curve.
Is dust collection really that important?
Absolutely. Beyond health, dust left on the surface acts as an unintended lubricant. It prevents the sandpaper from biting into the wood, which turns your sanding session into a long, inefficient slide rather than a precise cut.