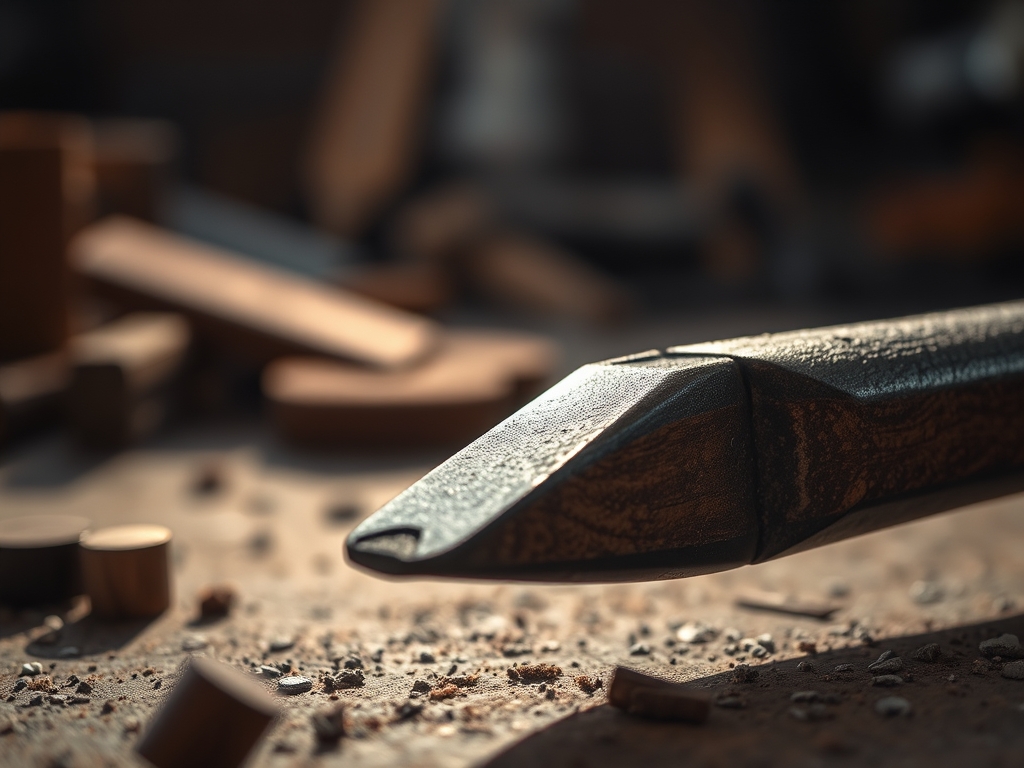
Imagine the sharp, metallic scent of cold-rolled steel meeting the sweet, earthy aroma of freshly milled walnut. Your fingertips trace the grain; it is a map of resistance and potential. You feel the tensile strength of the wood under your palm, knowing that without the right constraints, it will fight you at every turn. This is where the magic happens. We are diving deep into the world of Advanced Jigs and Fixtures to transform your studio from a place of chaos into a high-precision lab. These are not just scraps of wood and metal; they are the physical manifestation of geometry and physics working in your favor. When you build a tool that holds your work with absolute rigidity, you are not just making things; you are mastering the very laws of friction and force. It is about that perfect, tactile "click" when a piece slides into place with zero wiggle room. We are going to stop guessing and start engineering because your creativity deserves a foundation that is as solid as a diamond.
THE STUDIO KIT
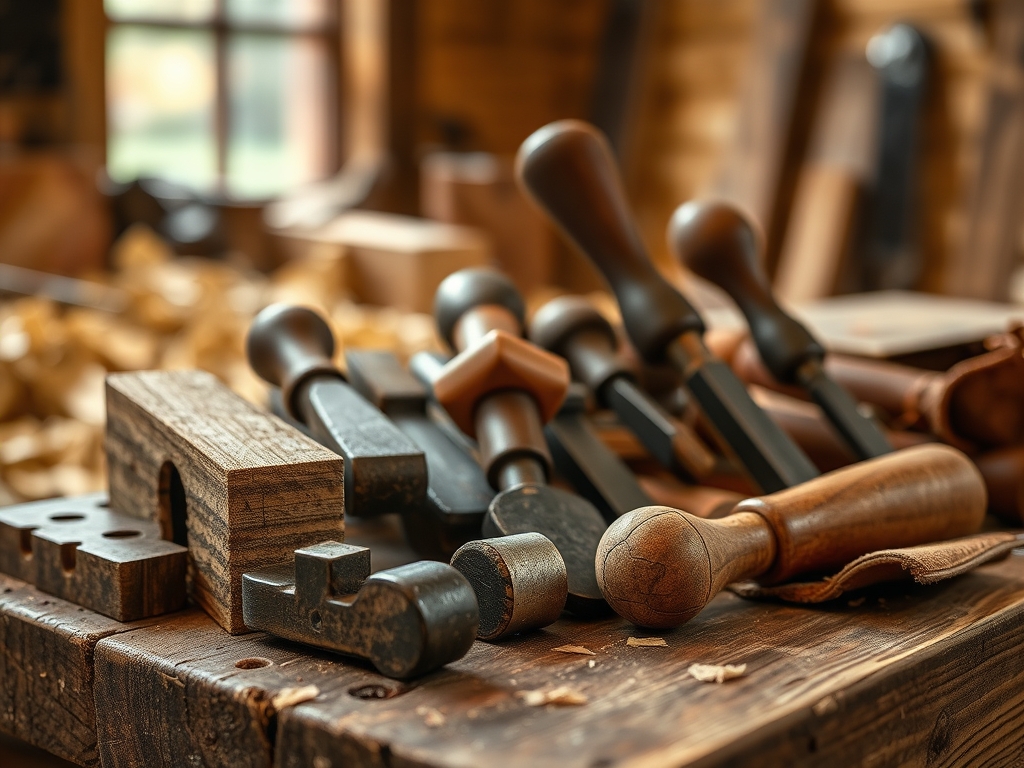
To build these precision assets, you need a kit that respects the micrometer. We are talking about calipers for sub-millimeter accuracy and a high-quality square to ensure every angle is a perfect ninety degrees. Your primary materials will include high-density polyethylene (HDPE) for its low-friction coefficient and multi-ply birch plywood for its incredible dimensional stability. Unlike standard lumber, the alternating grain directions in birch ply prevent warping under varying humidity levels. You will also need T-track extrusions and toggle clamps to provide the mechanical advantage necessary to lock your workpieces down against the torque of a router or saw.
Material Substitutions: If you cannot find HDPE, you can use phenolic-coated plywood or even a heavy application of paste wax on hardwood to reduce surface tension. For the metal components, aircraft-grade aluminum is the gold standard for its weight-to-strength ratio, but mild steel works if you are prepared to maintain it against oxidation. Always keep a bone folder or a fine awl nearby for marking lines; a pencil lead is far too thick for the level of precision we are chasing today.
THE TEMPO
The Maker's Rhythm is a steady, deliberate pulse. Building Advanced Jigs and Fixtures is not a sprint; it is a calibration exercise. Expect to spend the first sixty minutes in the "Analysis Phase," where you measure your primary tools and map out the physics of the cut. The "Fabrication Phase" usually takes three to four hours of focused cutting and assembly. Finally, the "Calibration Phase" is an ongoing dance that can take an hour of fine-tuning.
You must respect the thermal expansion of your materials. If you cut your jigs in a freezing garage and move them to a warm studio, the fit will change. Give your materials at least twenty-four hours to acclimate to your workspace. This patience ensures that your ergonomic handles and sliding fences do not bind when the seasons shift.
THE CORE METHOD
1. The Base Plate Calibration
Start by truing your base material. Use your calipers to verify the thickness across the entire sheet. Any variation in the gauge of your base will translate into an uneven cut later. Secure the material to your workbench and use a jointer or a precision fence to ensure the primary edge is perfectly straight.
Mastery Tip: This step relies on structural integrity. By ensuring the base is perfectly flat, you prevent "teetering," which occurs when a workpiece vibrates at a different frequency than the jig, leading to rough finishes or dangerous kickbacks.
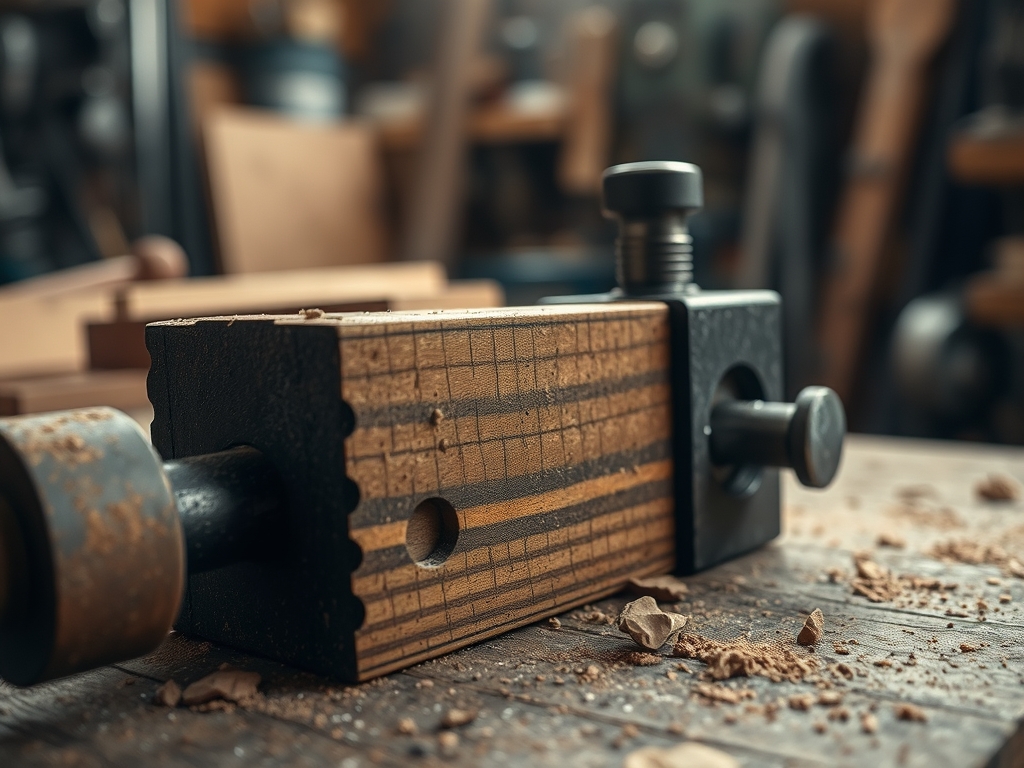
2. Milling the Guide Slots
Using a router with a carbide-tipped bit, mill the channels for your T-tracks. The depth must be precise; if the track sits too high, it interferes with the workpiece; too low, and you lose clamping pressure. Aim for a fit that is interference-fit adjacent, meaning it should slide in with just a whisper of resistance.
Mastery Tip: Utilize capillary action when gluing or seating tracks. A thin bead of cyanoacrylate adhesive will draw itself into the microscopic gaps between the metal and wood, creating a permanent bond that resists the lateral forces of high-speed machining.
3. Installing the Toggle Clamps
Position your clamps so they apply pressure directly over the most stable part of the jig. Use a drill press to ensure your pilot holes are perfectly vertical. If your screws go in at an angle, the clamp will shift under load, ruining your alignment.
Mastery Tip: This is about mechanical advantage. The toggle clamp uses a pivot point to multiply the force of your hand. If the geometry is off by even a few degrees, the clamp can fail to "lock over center," causing the workpiece to fly loose during operation.
4. The Zero-Clearance Insert
The final step is to "marry" the jig to the tool. Run the tool through the jig for the first time to create a zero-clearance path. This supports the wood fibers right up to the edge of the cut, virtually eliminating tear-out.
Mastery Tip: This controls shear stress. By providing a backing material immediately adjacent to the blade, you prevent the wood fibers from splintering downward. It is the difference between a ragged edge and a polished, professional finish.
THE TECHNICAL LEDGER
Maintenance & Longevity: To keep your Advanced Jigs and Fixtures in peak condition, you must burnish the sliding surfaces regularly. Use a dry PTFE spray or high-quality paste wax. Avoid silicone-based lubricants, as they can transfer to your wood and ruin your final finish. Check the tightness of all bolts every ten uses; vibration is the enemy of precision.
Material Variations: For a sustainable approach, look for recycled paper-composite boards (like Richlite). These are incredibly dense, waterproof, and have a higher tensile strength than many hardwoods. For premium builds, use anodized aluminum for all wear surfaces to prevent the "galling" that happens when raw aluminum rubs against itself.
The Correction:
- The Binding Slide: If your jig sticks, do not sand it yet. Check for dust buildup in the tracks. Use a vacuum and then apply wax.
- The Wobble: If there is lateral play, your guide rails are too thin. Apply a layer of UHMW tape to the side of the rail to take up the slack.
- The Tear-out: If you see splintering, your zero-clearance insert is worn out. Route out a small section and "patch" it with a fresh piece of hard maple to reset the edge.
Studio Organization: Store your jigs vertically on a pegboard or a dedicated rack. Never lean them against a wall at an angle, as the constant force of gravity will cause even the thickest plywood to creep and bow over time. Label each jig with the specific tool and blade it was calibrated for.
THE FINAL REVEAL
Look at that! You have just leveled up from a hobbyist to a precision maker. Can you feel the weight of that jig? It is solid, dependable, and perfectly tuned to your specific machines. When you slide your workpiece into the cradle, there is no guesswork, no "close enough," and no fear. You have created a system that handles the physics, leaving you free to focus on the artistry. The edges are crisp, the angles are dead-on, and the safety factor has increased tenfold. This is the hallmark of a sophisticated studio; tools that work as hard as you do. Now, go make something that would have been impossible yesterday!
STUDIO QUESTIONS
What is the best material for jig runners?
UHMW plastic or quarter-sawn white oak are ideal. They offer high dimensional stability and a low friction coefficient, ensuring the jig slides smoothly through miter slots without binding or expanding due to humidity changes in the studio environment.
How do I stop my jigs from warping?
Use multi-ply baltic birch and seal all surfaces with a film-building finish like shellac. Storing jigs flat or hanging them vertically prevents gravitational creep, which can permanently deform the wood fibers over long periods of time.
Why use a zero-clearance base?
A zero-clearance base supports the tensile fibers of the material at the exact point of the cut. This prevents "blowout" or splintering, resulting in a much cleaner edge and providing a safer work environment by minimizing small off-cut debris.
Can I use MDF for advanced fixtures?
Yes, but only for static parts. MDF is perfectly flat but lacks the internal structural integrity for parts under high stress. Use it for base plates, but stick to hardwoods or phenolic for any moving or clamping components.
How often should I recalibrate my jigs?
Check the alignment with a precision square before every major project. Wood is a living material that reacts to seasonal shifts in moisture. A quick five-minute calibration ensures your Advanced Jigs and Fixtures remain accurate to a thousandth of an inch.