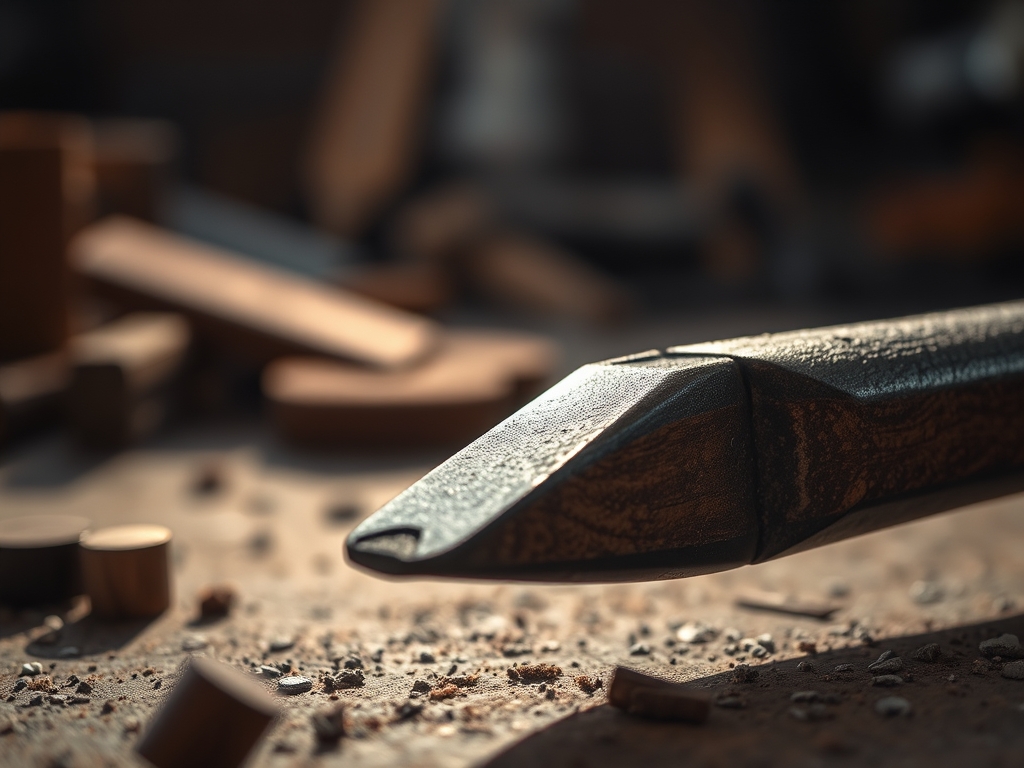
Imagine the scent of freshly sheared white oak filling your lungs while your thumb rests against the cold, high carbon steel of a freshly honed blade. There is a specific, electric hum that happens when your tool meets the grain at the perfect angle. Mastering the Chisel is not just about brute force; it is about the physics of a microscopic wedge slicing through cellulose fibers with surgical precision. When you finally nail that delicate paring cut, the wood curls away like a silk ribbon, leaving a surface so smooth it looks like it was polished by a jeweler.
We are diving deep into the mechanics of the hand today. You see, the wood is a complex matrix of tubular cells held together by lignin. If you approach it with a dull blade or an improper grip, you are not cutting; you are crushing. To achieve that glass-like finish, we have to respect the tensile strength of the material and the ergonomic leverage of our own bodies. Grab your favorite beverage and clear your workbench. We are about to transform your relationship with hand tools from a struggle into a choreographed dance of steel and fiber.
THE STUDIO KIT
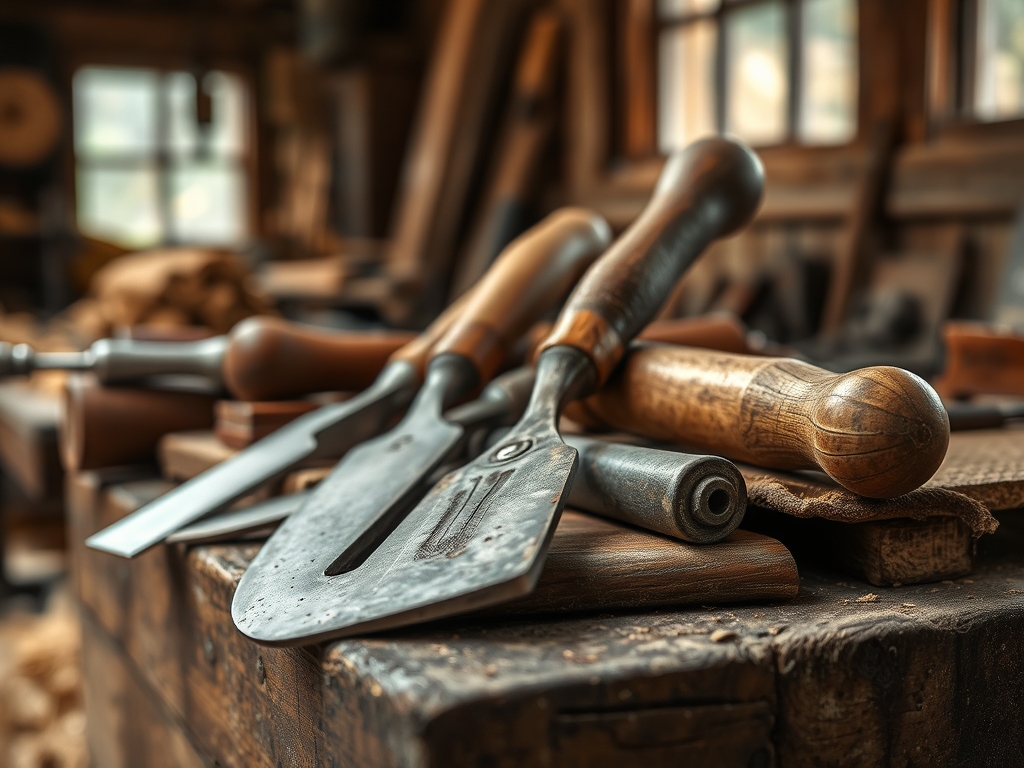
To begin, you need a bevel-edge chisel with a flat back. If the back of your chisel is not lapped to a mirror finish, the physics of the cut will fail because the tool cannot register flat against the wood. You will also need a marking gauge for laying out your joinery and a mallet with a urethane or wooden head to protect the handle of your tool. For the finer details, keep a marking awl and a pair of digital calipers nearby to measure your progress to the thousandth of an inch.
The material choice is critical. For practicing paring, I recommend a tight-grained hardwood like cherry or walnut. These woods have a high fiber density, which allows them to hold a crisp edge without crumbling under the pressure of the blade.
Material Substitutions: If you cannot source premium hardwoods, high-density polyethylene (HDPE) blocks are a fantastic substitute for practicing paring. The synthetic material behaves predictably and lacks the unpredictable grain changes of natural timber. Alternatively, dense plywood can work, but beware of the adhesive layers; they will dull your edge faster than you can say carbide tipped.
THE TEMPO
The "Maker's Rhythm" is all about managing your internal clock to match the resistance of the material. You cannot rush a paring cut.
- The Calibration (15 Minutes): This is the time spent checking your blade for nicks and honing the edge on a series of whetstones. A sharp tool is safer because it requires less force to engage.
- The Layout (20 Minutes): Using your marking gauge, you define the boundaries of your cut. This is a slow, meditative phase where precision is paramount.
- The Roughing (30 Minutes): Removing the bulk of the waste. Here, the tempo is faster and more percussive.
- The Delicate Paring (45 Minutes): This is the slowest phase. You are taking shavings thinner than a human hair.
In total, expect to spend about two hours on a single complex joint. The rhythm should shift from the heavy beat of the mallet to the silent, steady pressure of the paring grip.
THE CORE METHOD
1. The Anchored Stance
Before the steel ever touches the wood, your body must be a tripod. Plant your feet shoulder-width apart and lean your hip against the workbench. This creates a stable base that allows you to use your core muscles for power rather than relying solely on your wrists.
Mastery Tip: By anchoring your body, you utilize kinetic chaining. This ensures that the force is distributed evenly, preventing the sudden "blowout" of wood fibers that occurs when a tool slips under uneven manual pressure.
2. The Pincer Grip
For delicate paring, forget the hammer grip. Place your dominant hand on the handle and your non-dominant hand near the cutting edge. Your index finger should extend along the blade's bolster, while your thumb and fingers on the other hand pinch the steel just above the bevel.
Mastery Tip: This grip maximizes tactile feedback. The proximity of your fingers to the cutting edge allows you to feel the vibration of the wood fibers as they sever, giving you real-time data on the grain's resistance.
3. The Shearing Angle
Never push a chisel straight into the grain. Instead, skew the blade so it enters at an angle. This effectively reduces the cutting angle of the tool, making it slice through the fibers rather than chopping them.
Mastery Tip: This technique utilizes the principle of the inclined plane. By skewing the blade, you increase the length of the cutting edge relative to the width of the cut, which lowers the required force and prevents the wood from splintering.
4. The Final Burnish
Once the waste is removed, use the flat back of the chisel to burnish the surface. With the blade held at a very low angle, slide it across the wood without removing any more material.
Mastery Tip: This process compresses the surface cells of the wood. By increasing the surface density through mechanical pressure, you create a natural sheen that resists moisture and prepares the wood for a flawless finish.
THE TECHNICAL LEDGER
Maintenance & Longevity:
To keep your tools in top shape, apply a thin coat of camellia oil after every session. This prevents oxidation on the high carbon steel. Store your chisels in a wooden rack or a leather roll to protect the fragile edges from clashing against other metal tools.
Material Variations:
- Sustainable: Bamboo ply offers an interesting challenge; its high silica content is tough on tools but provides incredible tensile strength.
- Premium: Exotic species like Ebony or Cocobolo have natural oils that act as a lubricant during the cut, though they require frequent sharpening.
The Correction:
- Mistake: The chisel dives too deep into the wood. Fix: Check the grain direction. You are likely cutting "downhill." Flip the workpiece to work with the grain.
- Mistake: The wood fibers are crushing instead of cutting. Fix: Your blade has lost its honed edge. Return to the 8000-grit stone immediately.
- Mistake: The cut is not square. Fix: Use a secondary block of wood as a "paring guide" to keep the chisel perfectly vertical.
Studio Organization:
Keep your project in a climate-controlled environment. Rapid changes in humidity cause wood to expand and contract, which can ruin the tight tolerances of your paring work. Use a dehumidifier if your studio is in a basement.
THE FINAL REVEAL
Look at that! The joint is so tight you can barely see the seam. When you master the proper grip for delicate paring, you move beyond being a hobbyist and become a true practitioner of the craft. The surface you have created is a testament to your patience and your understanding of material science. That shimmering, silky texture is not the result of sandpaper; it is the result of a perfectly executed shearing cut. You should feel an immense sense of pride in that crisp, clean geometry.
STUDIO QUESTIONS
How do I know if my chisel is sharp enough?
A truly sharp chisel should effortlessly shave the hair off your forearm. If it catches or tears the skin, the micro-bevel is not yet fully refined. Continue honing with high-grit polishing stones until the edge is mirror-like.
Why does the wood splinter at the end of a cut?
This is called "breakout." It happens because the wood fibers lack support at the exit point. To prevent this, always score your exit line with a marking awl or use a sacrificial "backer board" to support the fibers.
Can I use a paring grip for heavy mortising?
No, the paring grip is designed for control, not impact. Using this grip with a mallet can lead to hand fatigue or injury. Always switch to a full-palm grip on the handle when mechanical force is required for deep waste removal.
What is the best way to clean wood resin off my blade?
Resin buildup increases friction and heat. Use a small amount of mineral spirits or a dedicated bit-and-blade cleaner. Wipe it dry immediately and re-apply a protective oil to maintain the tool's structural integrity and prevent rust.