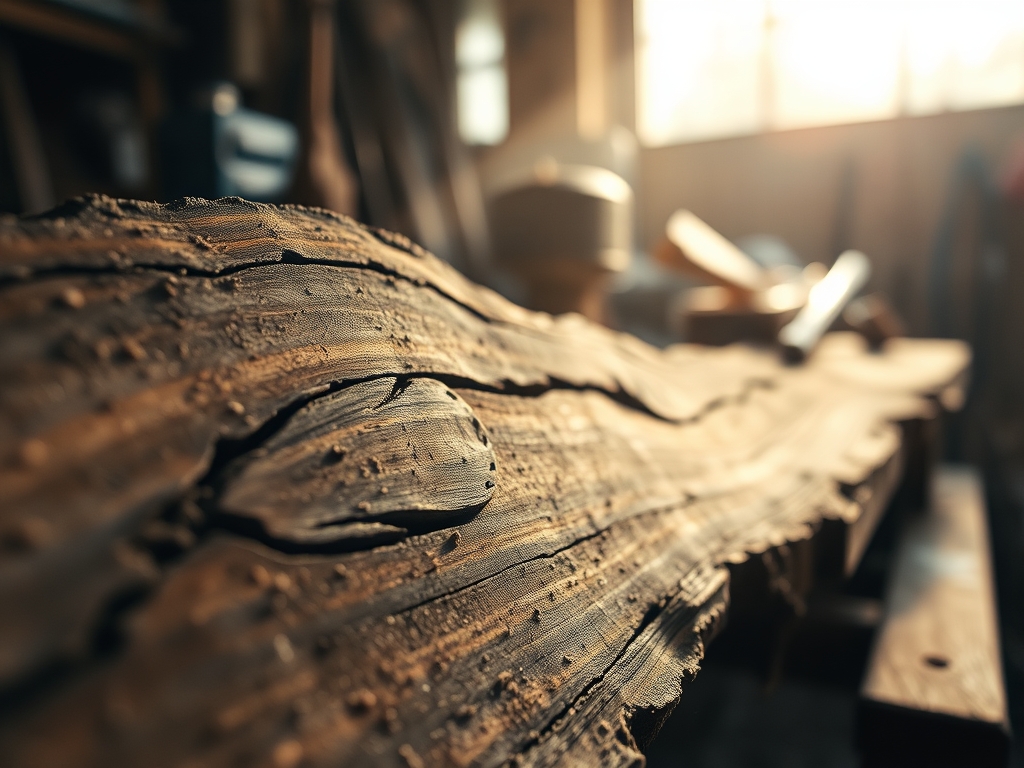
Imagine the smell of freshly planed walnut hitting the air; it is that deep, earthy scent that tells you the wood is ready to transform. Your hands glide over a flat, lifeless panel of plywood or solid oak, and you can practically feel the potential energy stored in those fibers. We are not just sanding things smooth today. We are diving into Advanced Carving Techniques to turn a boring, two dimensional surface into a sculptural masterpiece that catches the light and demands to be touched. To do this right, you have to understand the cellular structure of your material. Wood is essentially a bundle of microscopic straws held together by lignin. When we carve, we are interrupting those straw bundles to create shadows. It is a dance between your sharpest steel and the natural tensile strength of the grain. If you go too fast, the wood splinters; if you go too slow, you lose the fluid rhythm of the design. We are about to manipulate depth, texture, and light to make that flat panel sing.
THE STUDIO KIT
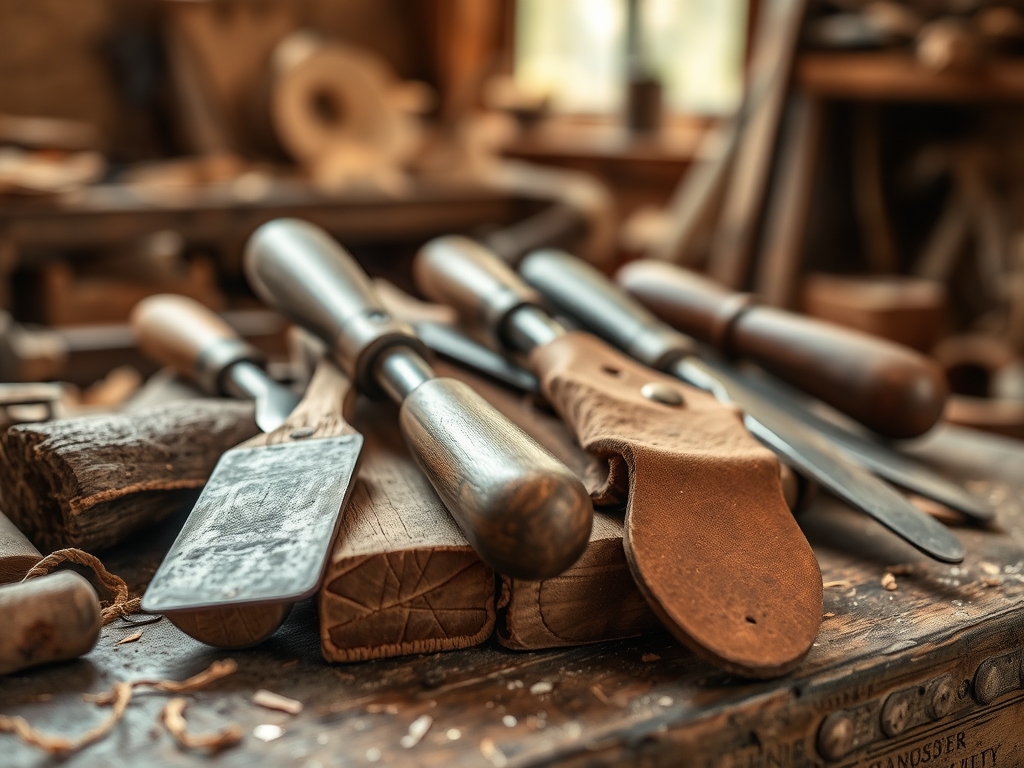
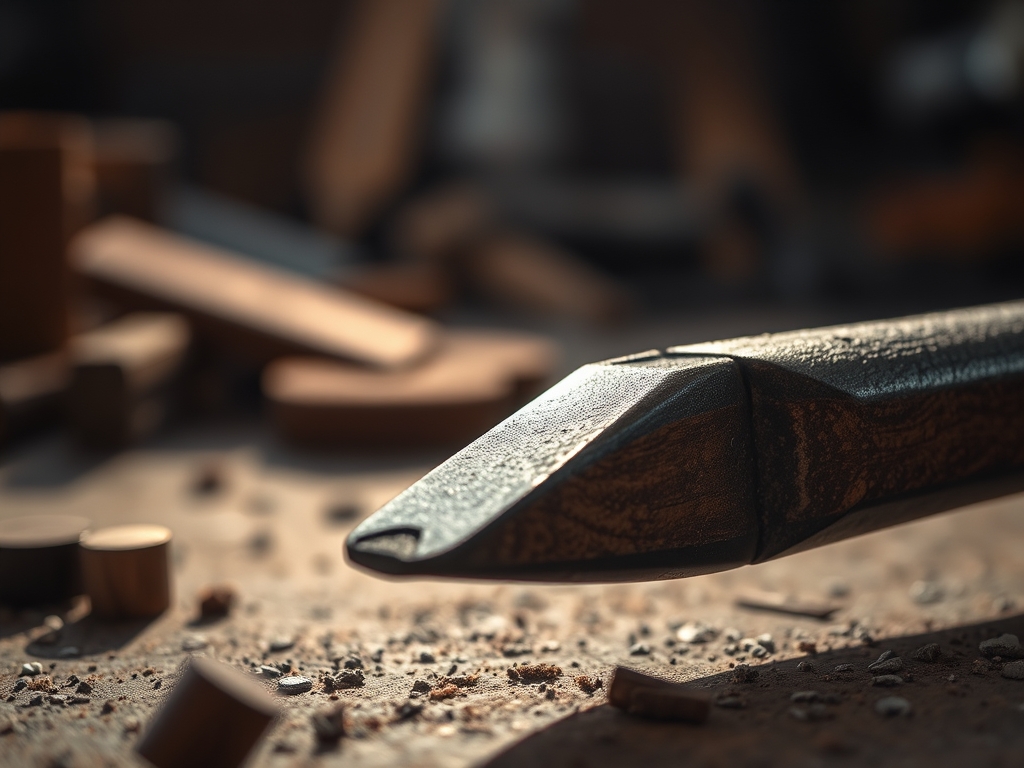
To execute these Advanced Carving Techniques, your kit needs to be a mix of surgical precision and brute force. First, grab your calipers to ensure depth consistency across the panel; even a two millimeter variance can ruin the visual symmetry. You will need a set of high carbon steel gouges and chisels with a Rockwell hardness of at least 60 to maintain an edge against dense hardwoods. A jeweler's saw is essential for intricate piercing work if you decide to go all the way through the panel. For the fine details, a rotary tool with diamond burrs allows you to "draw" on the wood. Do not forget your bone folder for burnishing edges after the cut; this compresses the fibers and prevents fraying.
If you cannot find premium cherry or maple, let's talk Material Substitutions. High density fiberboard (HDF) is surprisingly excellent for practice because it lacks grain direction, meaning it won't split. However, it is very abrasive on tools. If you want a luxury feel on a budget, look for Paulownia wood. It has a high strength to weight ratio and is incredibly easy to carve, though its porous nature means it requires more sealant later.
THE TEMPO
The "Maker's Rhythm" is all about managing your internal clock against the physical resistance of the material. This is not a sprint; it is a marathon of focus.
Phase 1: Mapping (1 Hour). This is the cerebral part where you use a soft lead pencil to trace the grain flow.
Phase 2: The Rough Cut (3-5 Hours). Here, you are removing the bulk of the waste. It is loud, messy, and requires a steady ergonomic grip to avoid hand fatigue.
Phase 3: Detail Refinement (6+ Hours). This is where the magic happens. You are working in fractions of a millimeter.
Phase 4: Finishing (2 Hours). This includes the final burnish and oil application.
The rhythm should feel like a heartbeat. Long, steady strokes for the bulk work, followed by short, controlled bursts of pressure for the fine details. If your heart starts racing, put the chisel down. Precision lives in the calm.
THE CORE METHOD
1. Establishing the Relief Plane
Start by using your marking gauge to set a depth stop around the perimeter of your detail area. This ensures you do not carve too deep and compromise the structural integrity of the panel. Use a straight chisel to create a "wall" around your design.
Mastery Tip: This step relies on shear stress. By cutting vertically into the fibers first, you prevent the wood from splitting upward when you start removing material horizontally. It creates a "stop cut" that protects your finished edges.
2. Directional Grain Analysis
Before the first gouge stroke, identify the grain's "runout." Wood fibers usually grow at a slight angle. If you carve "against" the grain, the tool will dive too deep and tear the wood. Always carve "with" the slope.
Mastery Tip: Observe the capillary action if you are unsure of grain direction. A tiny drop of mineral spirits will travel faster along the grain lines, revealing the hidden orientation of the fibers and preventing catastrophic tear-outs.
3. Creating the Three Dimensional Undercut
To make a detail truly pop, you need to create a shadow line. Use a small veining tool to undercut the edges of your raised shapes. This creates the illusion that the detail is floating above the panel.
Mastery Tip: This technique exploits optical depth perception. By removing material beneath the edge of your design, you create a high contrast shadow. The human eye interprets this shadow as significant physical distance, making a 5mm relief look twice as deep.
4. Texturing and Burnishing
Once the shape is defined, use a stippling tool or a small punch to add texture to the background. This creates a tactile contrast between the smooth "raised" areas and the "recessed" areas. Finally, use a bone folder to press down any stray fibers.
Mastery Tip: Burnishing works through mechanical compression. Instead of cutting away fibers, you are crushing them into a dense, polished surface. This increases the wood's resistance to moisture and gives it a professional, glass-like sheen without using chemicals.
THE TECHNICAL LEDGER
Maintaining your work is just as important as the carving itself. Over time, wood moves. It breathes. To ensure longevity, always seal your carved panels with a high quality polymerized linseed oil or a wipe-on poly. This prevents the porous end grain you have exposed from absorbing too much humidity and warping the panel.
Material Variations:
- Sustainable: Reclaimed barn wood offers incredible character but watch out for hidden nails that will ruin your jeweler's saw.
- Premium: Quarter-sawn white oak provides the most stable base for Advanced Carving Techniques due to its straight grain and resistance to twisting.
The Correction:
- Mistake 1: The Deep Gouge. You slipped and took out a chunk. Fix: Mix the fine sawdust from your project with a bit of wood glue to create a matching paste. Press it in, let it dry, and re-carve.
- Mistake 2: Fuzzy Grain. The wood looks "hairy" after carving. Fix: Your tools are dull. Re-hone your edge on a 6000 grit waterstone and perform a light "skimming" cut.
- Mistake 3: Cracking. The panel is splitting at the ends. Fix: You carved too close to the edge without leaving a "buffer zone." Use a butterfly join (Dutchman) to mechanically lock the crack.
Studio Organization:
Store your unfinished panels flat on a rack with "stickers" (small wooden strips) between them. This allows airflow to all sides, preventing the wood from "cupping" as the moisture content stabilizes. Keep your calipers and precision tools in a lined drawer to prevent nicks to the measuring faces.
THE FINAL REVEAL
Look at that! You have taken a flat, uninspired piece of wood and turned it into a topographical map of your own creativity. The way the light hits those undercuts creates a drama that paint or veneer could never replicate. Your furniture now has a soul. It is heavy, it is textured, and it tells a story of patience and physics. Whether it is a cabinet door or a decorative wall hanging, this piece is now a legacy item. You didn't just make a panel; you mastered the Advanced Carving Techniques that separate the hobbyists from the true artisans. Go ahead, run your hand over it one more time. You earned that tactile satisfaction!
STUDIO QUESTIONS
What is the best wood for a beginner to carve?
Basswood is the gold standard for beginners. It has a very fine, straight grain and low density, making it incredibly easy to cut in any direction without the wood splitting or resisting the blade.
How do I keep my carving tools sharp?
Use a combination of a diamond stone for shaping and a leather strop with polishing compound for daily maintenance. Frequent stropping aligns the microscopic edge of the steel, ensuring clean cuts without the need for heavy grinding.
Can I carve 3D details into plywood?
Yes, but you must be careful of the layers. Carving through plywood reveals the alternating grain of the plies, which can create a beautiful "topographic" look, but the glue layers are very hard on your tool edges.
How do I prevent the wood from splitting?
Always maintain "stop cuts" at the boundaries of your design. By severing the fibers vertically before removing material horizontally, you neutralize the tensile pull that causes long, uncontrolled splits across your panel surface.