The smell of freshly cut walnut is basically my version of expensive perfume; it is earthy, rich, and slightly spicy. When you run your thumb across a raw board, you are feeling the cellular architecture of a living thing that has been frozen in time. If you want that beauty to last, you have to respect the chemistry of the bond. Professional Glue Selection is not just about grabbing the yellow bottle from the junk drawer; it is about matching the molecular weight of an adhesive to the specific pore density of your timber. If you use a high-viscosity glue on a dense, oily exotic like teak, the bond will sit on the surface like a puddle. Conversely, if you use a thin cyanoacrylate on a thirsty softwood like pine, the fibers will suck it dry before you can even align your clamps. We are playing a game of surface tension and mechanical interlocking. If you get it wrong, your masterpiece becomes a pile of expensive kindling the moment the humidity shifts.
THE STUDIO KIT
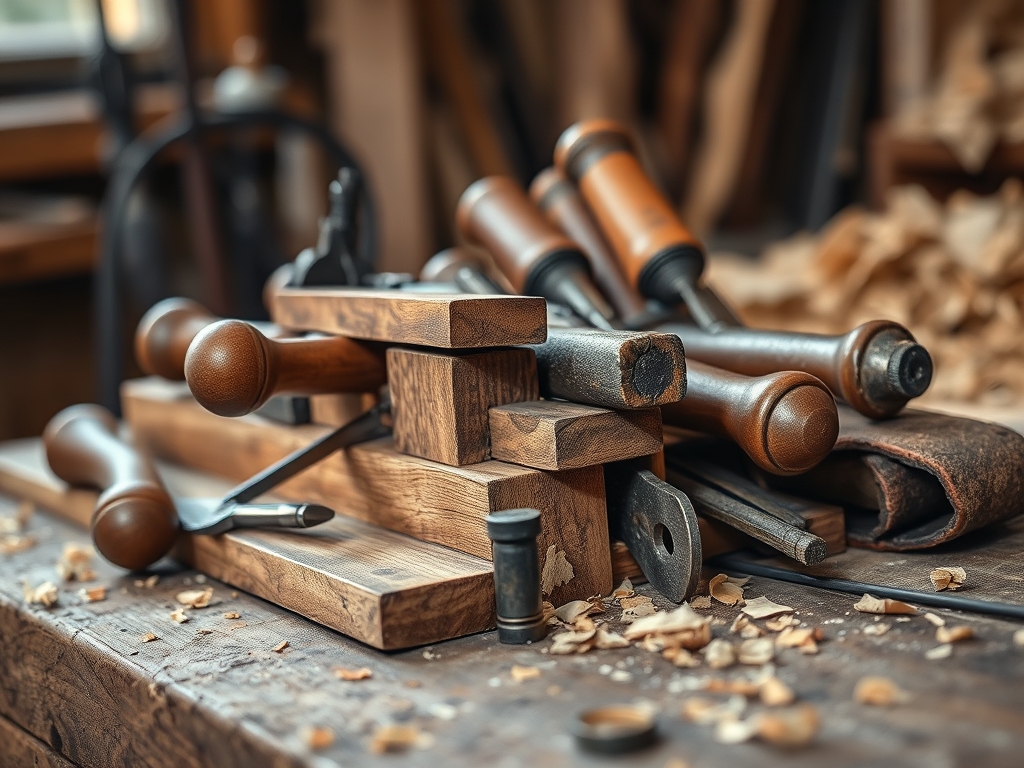
To master the art of the bond, your workbench needs to look like a cross between a chemistry lab and a high-end woodshop. First, you need your calipers to measure the exact thickness of your stock; even a half-millimeter variance can affect how much clamping pressure is required to squeeze out excess adhesive. You will also need a bone folder for smoothing out veneers and a high-quality awl to score the surface of particularly dense hardwoods. For Material Substitutions, if you run out of specialized wood glue, you can use a high-strength PVA (polyvinyl acetate) for general joinery, but never swap it for school glue which lacks the tensile strength to handle the natural expansion and contraction of wood. I also keep a jeweler's saw on hand for cleaning up delicate joints where a standard chisel might crush the fibers. You are looking for tools that offer ergonomic precision so you do not fatigue during the critical "open time" of the glue.
THE TEMPO
The "Maker's Rhythm" is a dance with the clock. You have the Assembly Window, which is typically ten to fifteen minutes where the glue remains fluid enough to allow for micro-adjustments. Following this is the Initial Set, taking about thirty to sixty minutes; this is when the polymers begin to cross-link and the joint becomes immovable. Finally, there is the Cure Phase, which requires a full twenty-four hours for the moisture to fully evaporate and the bond to reach maximum structural integrity. Rushing this process is the fastest way to invite joint failure. You have to learn to listen to the wood; as the moisture leaves the glue and enters the fibers, the wood will slightly swell, creating a temporary internal tension that must be balanced by your clamping pressure.
THE CORE METHOD
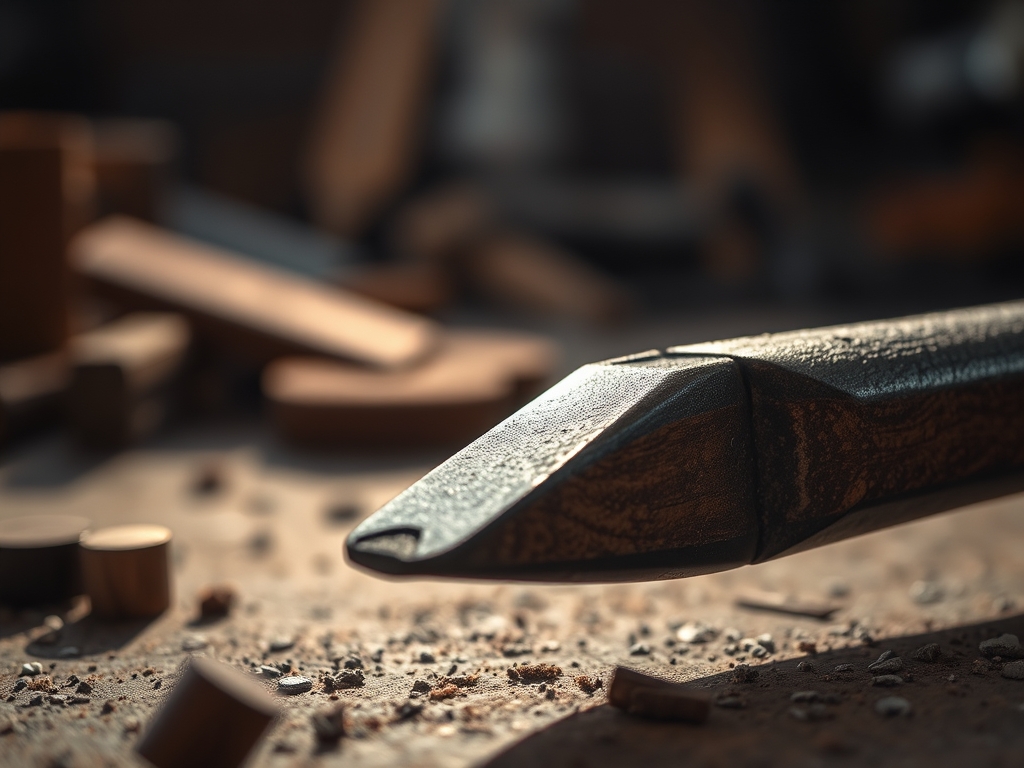
1. Surface Preparation and Scoring
Before a single drop of adhesive touches the wood, the surfaces must be perfectly mated. Use a fine-grit sandpaper or a sharp hand plane to ensure the faces are flat. For oily woods like Ipe or Cocobolo, wipe the surface with acetone to remove surface oils that inhibit adhesion. Mastery Tip: This process relies on capillary action. By lightly scoring the surface with an awl, you increase the surface area and create "micro-channels" that allow the glue to penetrate deeper into the grain.
2. Adhesive Application and Spread
Apply a bead of glue to the center of the joint. Use a silicone brush or a scrap piece of wood to spread it into a thin, even film. You want total coverage without excessive buildup. Mastery Tip: The science here is surface tension. If the glue is too thick, it acts as a wedge rather than a bridge. A thin film allows the molecules of the adhesive to get close enough to the wood molecules to form a van der Waals bond.
3. Clamping and Compression
Apply clamps starting from the center and working your way out. You are looking for "squeeze-out," which is a bead of tiny glue droplets appearing along the seam. Mastery Tip: This is about mechanical interlocking. The pressure forces the liquid glue into the open pores of the wood. Once it hardens, those "fingers" of glue are physically locked into the wood structure, making the joint stronger than the wood itself.
4. Clean-up and Burnishing
Wait about twenty minutes for the squeeze-out to become rubbery, then peel it away with a chisel. Do not wipe it with a wet rag, as this pushes diluted glue deep into the pores and creates "ghost spots" that will reject stain later. Mastery Tip: Use a bone folder to burnish the edges of the joint. This compresses the surface fibers and hides the glue line, resulting in a seamless transition between the two pieces of wood.
THE TECHNICAL LEDGER
Maintenance & Longevity: To ensure your joints stay tight for decades, maintain a stable environment. Wood is hygroscopic, meaning it breathes. Large swings in humidity will stress the glue lines. Using a moisture meter during the build ensures your wood is at equilibrium with its future home.
Material Variations:
- Sustainable: Use soy-based adhesives for projects that require zero-VOC emissions.
- Recycled: When working with reclaimed barn wood, increase your glue volume by 20% to account for the extreme dryness and porosity of the aged fibers.
- Premium: For instrument grade builds, use traditional hide glue. It has a high elastic modulus, meaning it transmits sound vibrations better than synthetic PVAs.
The Correction:
- The Gap: If your joint has a visible gap, do not just fill it with glue. Mix fine sawdust from the same wood species with the glue to create a structural filler.
- The Starved Joint: If you clamped too hard and squeezed all the glue out, the joint will be brittle. Disassemble, sand back to raw wood, and re-apply.
- The Misalignment: If the glue has set but the pieces are crooked, use a heat gun to soften the PVA bonds. Most wood glues lose their grip at 150 degrees Fahrenheit.
Studio Organization: Store your adhesives in a climate-controlled cabinet. Freezing temperatures will ruin the chemical emulsion of PVA glues, causing them to "chalk" and lose all bonding power. Always date your bottles; most professional glues have a shelf life of only twelve months.
THE FINAL REVEAL
There is nothing quite like the moment you take the clamps off and see a perfectly executed joint. When you choose the right glue, the seam disappears, and two separate pieces of timber become a single, unified object. The grain flows across the break like water, and the tactile smoothness of the finished surface is a testament to your technical precision. It feels solid, heavy, and permanent. You have successfully navigated the physics of Professional Glue Selection to create something that is not just beautiful, but structurally sound enough to become an heirloom.
STUDIO QUESTIONS
Which glue is best for outdoor furniture?
Use a Type III waterproof PVA or a polyurethane adhesive. These are chemically formulated to resist moisture and high-heat cycles without losing tensile strength. They prevent the joint from delaminating when exposed to rain or direct sunlight.
How do I glue oily exotic woods?
Clean the mating surfaces with acetone or denatured alcohol immediately before gluing. This removes the natural oils that act as a barrier, allowing the adhesive to achieve a proper mechanical bond with the wood fibers.
Can I use super glue for wood joinery?
Only for small repairs or "tack welding" pieces in place. Cyanoacrylate is very brittle and lacks the flexibility needed for large-scale joinery. It cannot handle the longitudinal expansion that occurs in natural timber over time.
How long should I leave clamps on?
For most PVA glues, thirty to sixty minutes is sufficient for the initial set. However, do not stress the joint for at least twenty-four hours. This ensures the polymer chains have fully cross-linked for maximum structural integrity.